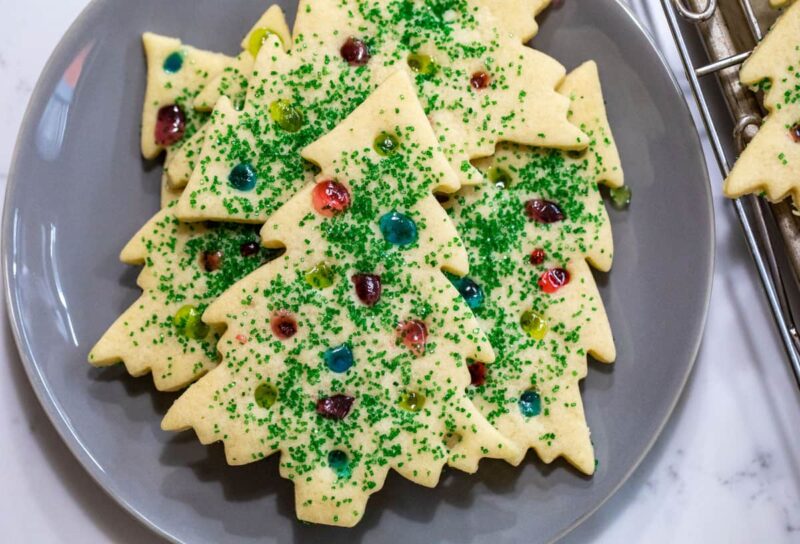
These cookies are not for the faint of heart. They are for those that are okay taking some time to relax and are best made with kiddos. To be honest, I’m not sure I would even bother to make them if I didn’t have some kid help. Stained glass Christmas Tree Cookies are a fun project though and a great winter afternoon baking experiment!
I will say, right off the bat, that these cookies will only be good if you use candy that you LIKE to eat for the cookies. For example, I used Jolly Ranchers for these and Betsy, my wife, doesn’t like Jolly Ranchers, so these were a bit of a miss in the taste department for her.
But the kids ate them up without any issue because sugar on sugar, right?
Mostly, I just think they look festive and fun and are a cool addition to a cookie platter!
What is a stained glass cookie?
A stained glass cookie is a cookie that uses some kind of cut-out dough. In the center though, instead of dough, you place hard candies, which melt in the oven and produce a stained glass effect in the cookies.
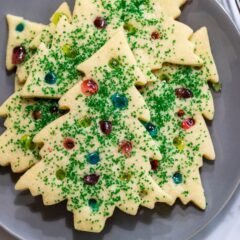
You can get very creative with the designs once you get the method down! They can be simple cutouts with circles or more involved designs like these cookies, where I used the stained glass effect to look like ornaments on the Christmas trees!
What cookie dough works best for these cookies?
You can use any cut-out cookie dough for stained glass cookies. What you don’t want is a dough that expands a lot as it bakes.
I like to use a simple sugar cookie dough. Make sure it’s really firm in the fridge so it doesn’t expand too much and ruin the design you work on!
If you don’t want to make your own dough here, I think it would be fine to start with store-bought sugar cookie dough since these cookies are more about the fun design than the actual cookie flavor.
What candy works well for stained glass?
You could use any hard candy that melts well in the oven. For flavor, I thought about using caramels which would definitely taste better but kind of be dull in color.
Ultimately, I decided to go with Jolly Rancher candy because they make a wide variety of colors and the colors are very bright, which I thought would make for cool ornaments!
Tips to making these stained glass cookies
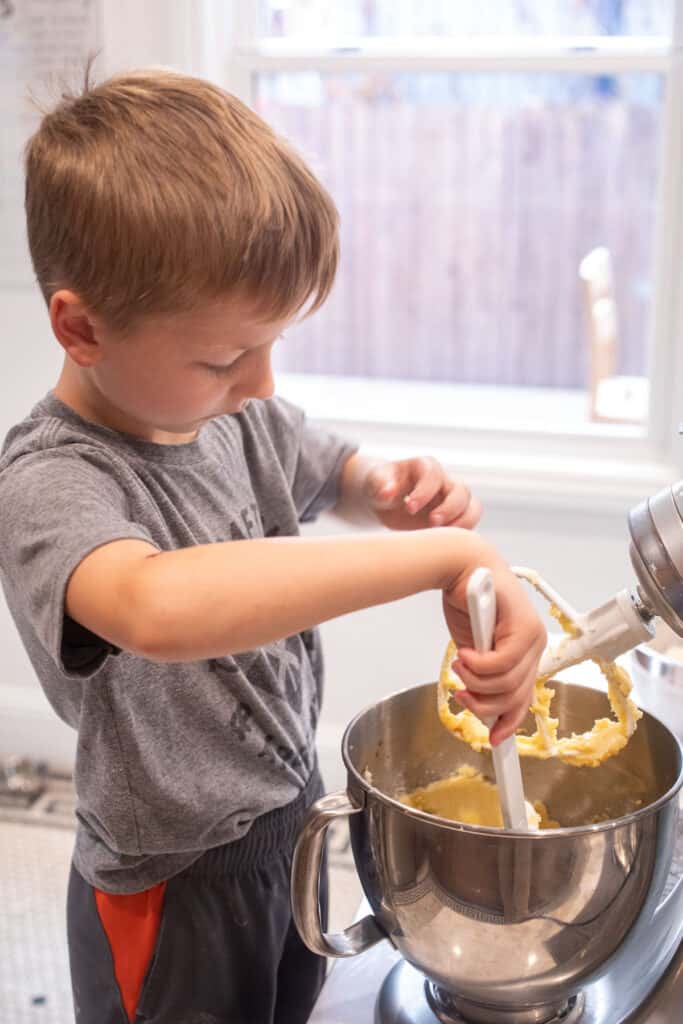
The most important tip I can give you if you want to try to make these cookies is to have helpers. I recruited both my kiddos to help me out with this one. The dough was easy enough but when it comes to getting the ornaments right, little hands help!
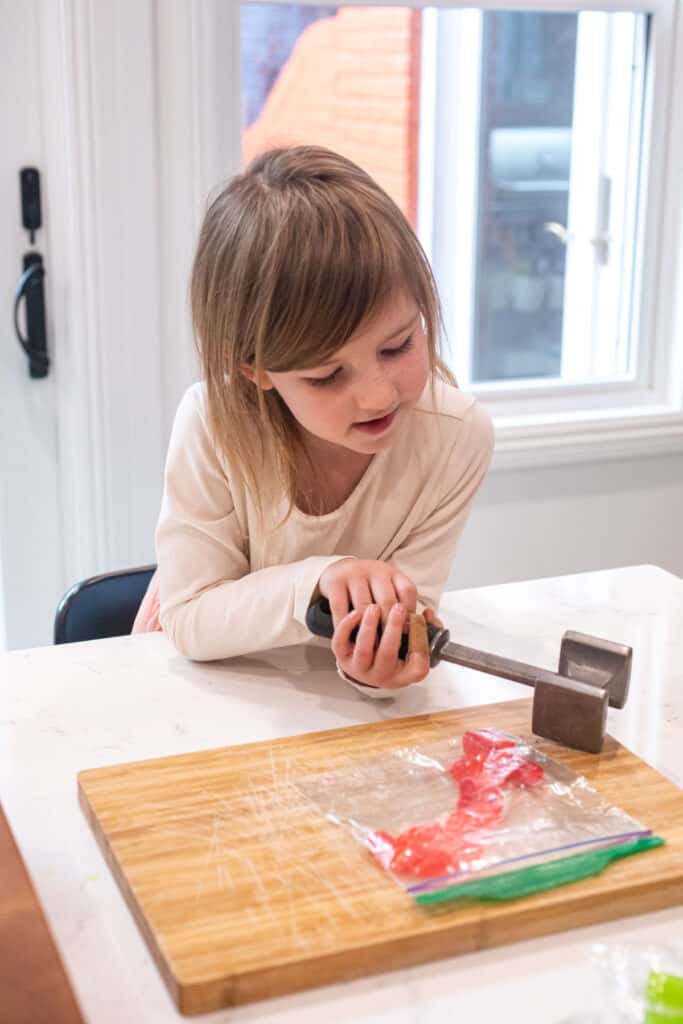
I tasked the kiddos with sorting all the Jolly Ranchers and unwrapping them. Placing them all in sandwich bags made for easy smashing.
Again, you could use any hard candy for this that melts well, but I just liked the colors of these candies.
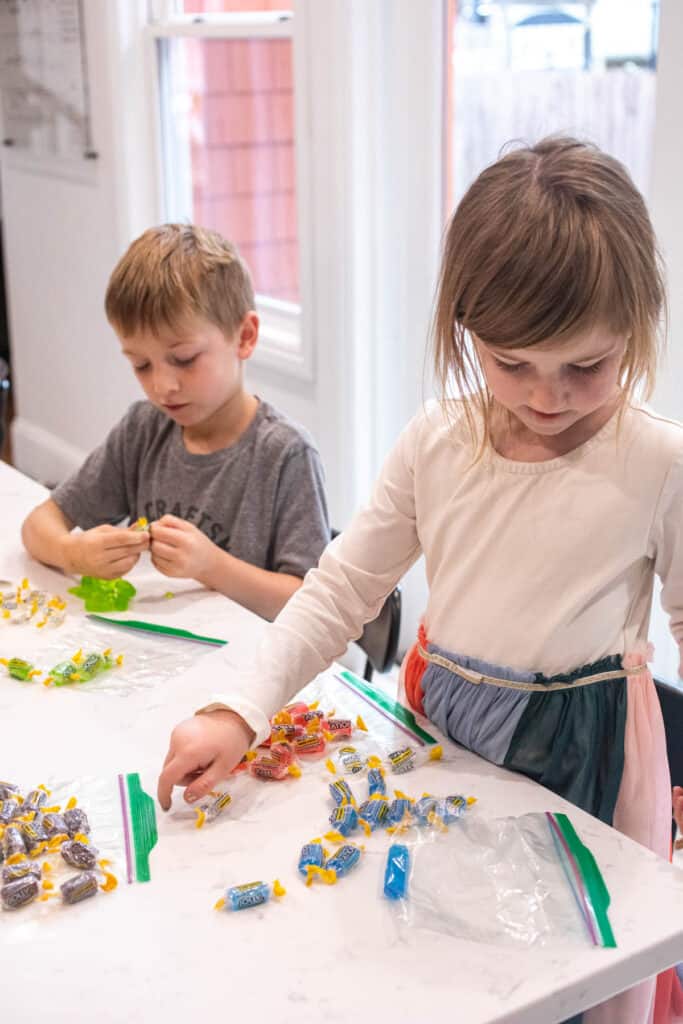
Now get to work smashing!
You will have leftover candy, but you need a large variety of different pieces of candy so smash more than you need so you have lots of options.
I had the kiddos use a kitchen mallet for smashing but a rolling pin would work just as well.
There are two tedious parts to this recipe.
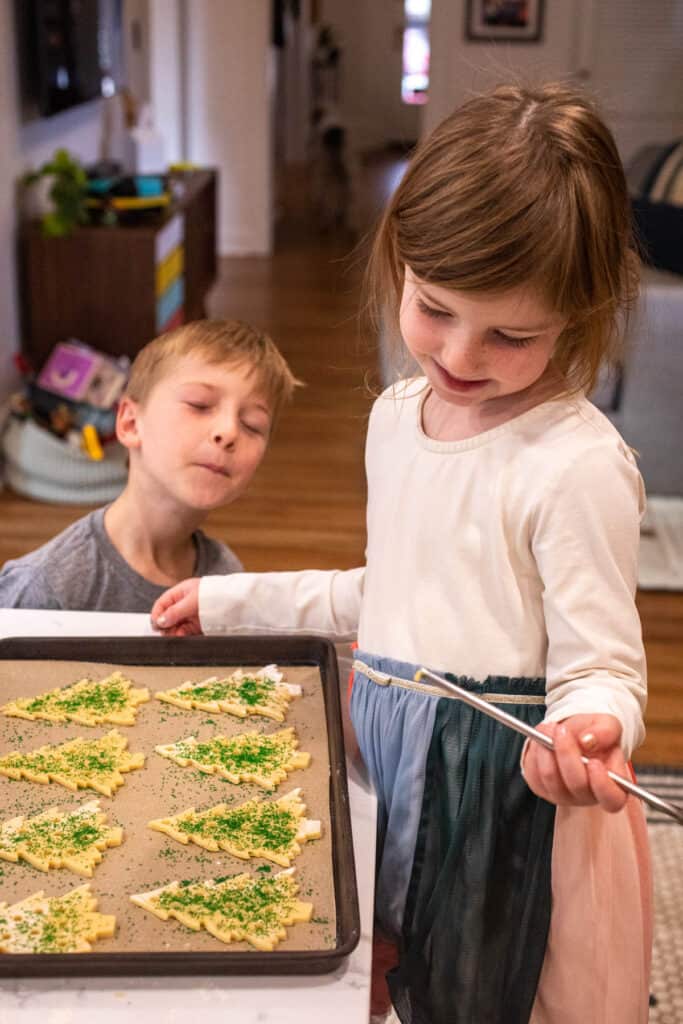
Part 1: Making the holes for the ornaments. For this I used a metal re-useable straw, but you could use any straw. It works really well. Just poke the straw into the dough once you have cut out and sprinkled your sugar cookies.
Great job for a five year old with a seven year old supervising!
For the actual ornament part, it took some experimenting. The first time I tried it we tried to put the candy before baking but it got overbaked.
So, the right way to do it is to actually bake the cookies with just holes until they are almost done. I pulled them out after 8 minutes of baking.
Then let them cool briefly and add the candy to each hole (again, little hands help). Then return to the oven just for two minutes to melt the candy so it fills the holes and makes beautiful ornaments!
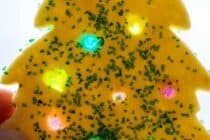
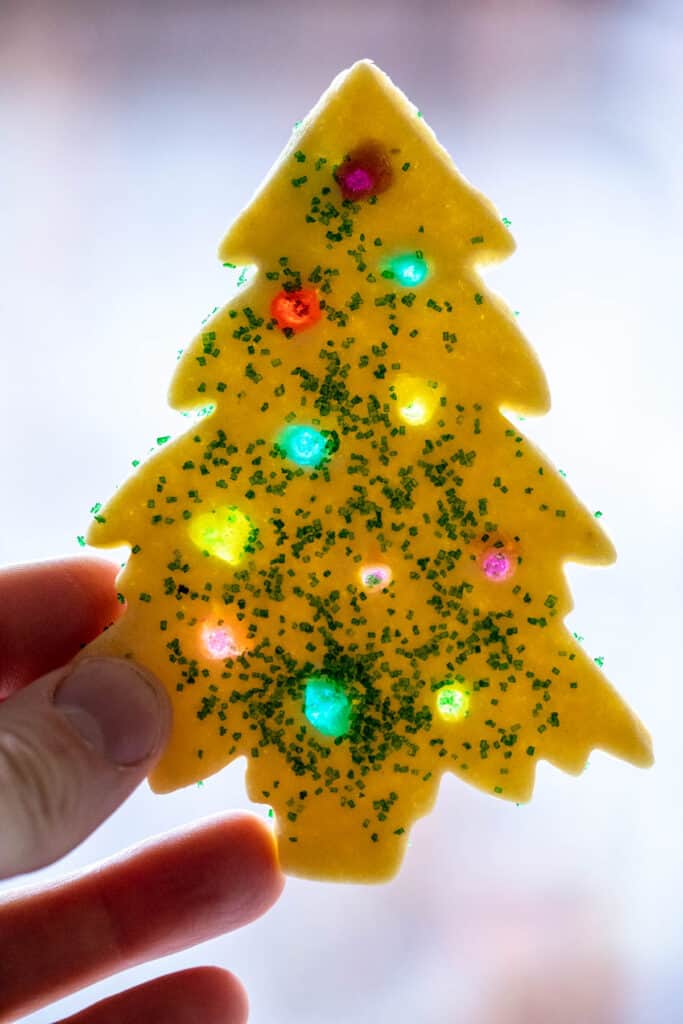
Holding a Stained Glass Christmas Tree cookie up to the light shows off the full effect!
How cool, right?!
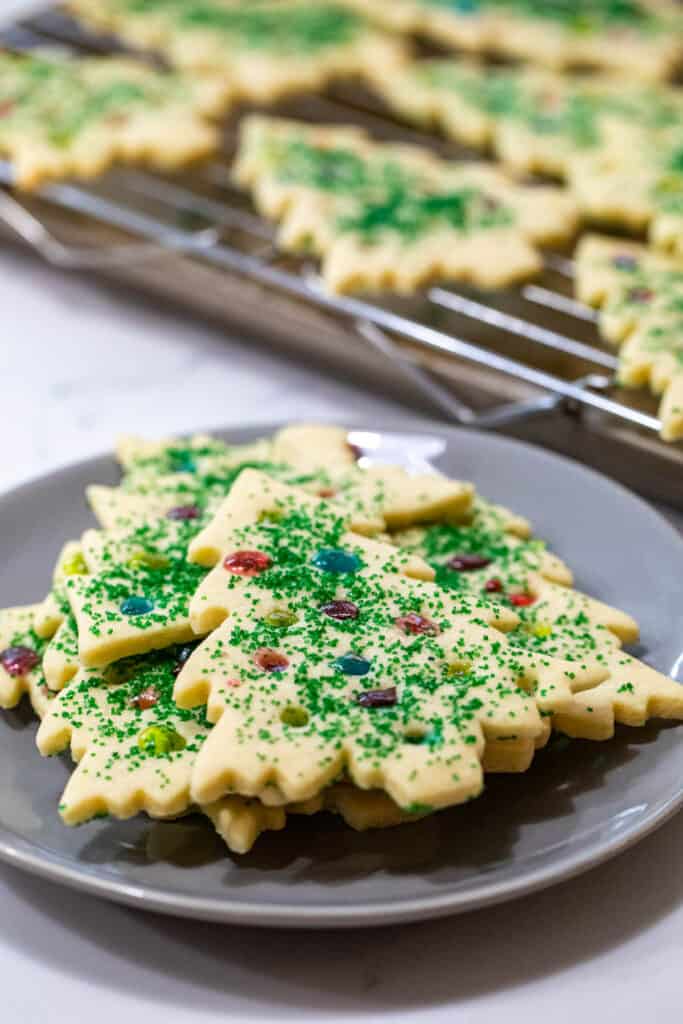
These are not the most practical cookie in the world, sure, but they are pretty fun and the kids loved spending a morning making them with me!
Stained Glass Christmas Tree Cookies
Ingredients
Basic Sugar Cookies:
- 1 cup Unsalted Butter
- 1 cup Sugar
- 1 Egg
- 1 tbsp Vanilla Extract
- 3 cups All-Purpose Flour
- ¾ tsp Baking Powder
- ¼ tsp Salt
- Green decorating sugar
- 40 assorted hard candies, for melting
Instructions
- Cream together butter and sugar in a bowl with a hand mixer or with a stand mixer using the paddle attachment. Mix until light and fluffy. Then add egg and vanilla extract.
- Whisk together dry ingredients in a small bowl and slowly add them to the creamed butter. Try not to overmix.
- When dough comes together divide it into two flat discs and wrap in plastic wrap. Chill in the fridge for at least 30 minutes but overnight is best.
- Preheat oven to 350 degrees F. Roll dough out until 1/4 inch thick. Cut out cookies and place on a baking sheet lined with parchment paper. Dust with green decorating sugar and then use a straw to poke out holes in cookies.
- Bake cookies for 8 minutes.
- To finish cookies, divide hard candies (I like jolly ranchers) by color and crush in a few bags. When cookies come out of the oven, add some crushed candy to each cookie in the holes you punched earlier.
- Return to oven for 2 minutes to melt hard candy.
- Let cookies cool on the baking sheets with parchment paper for best results and then transfer to rack to finish cooling.

