One of my cooking resolutions for the year was to start canning and pickling food. I love the idea of having a pantry full of delicious pickled foods and jams that I can hit up anytime I want.
I also happen to love pickled foods. One of my absolute favorite pickled foods is okra. Spicy okra to be exact. There’s a brand of spicy pickled okra that you can buy in the store but it’s seriously $5-$6 dollars per jar. For okra.
I can house an entire jar in one sitting so it’s a bit of a problem.
When I was at the farmers market a few weeks ago I saw a huge mound of beautiful okra and just decided to make it happen. I’m really glad I did!
Spicy Pickled Okra
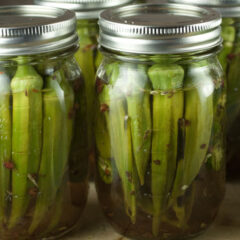
Equipment
Ingredients
- 4 pounds fresh okra
- 12 cloves garlic
- 12 Serrano peppers
- ½ Teaspoon dill seed per jar
- ½ Teaspoon Szechuan Peppercorns per jar
- ½ Teaspoon red pepper flakes per jar
- ⅙ Teaspoon pickling crisp granules per jar
Brining Liquid:
- 8 cups Water
- 8 Cups vinegar
- 1 Cup Pickling salt
- ½ Cup sugar
Instructions
- Rinse okra. Sterilize jars, lids, rings, and utensils by boiling them in water for 10 minutes. Bring brining liquid to a boil.
- To each sterilized jar, add a chopped pepper, a chopped garlic clove, and a big pinch of all the spices. Add 1/8 Teaspoon of pickle crisp to keep the veggies crispy.
- Stuff jars with okra, stem-side up. Make sure they have some room to move around, but you can fill them pretty full.
- Pour brining liquid over okra. Leave 1/4-1/2 inch of space at the top of the jar. Seal jars with lids and rings. Gently shake jars to distribute spices and brine.
- Seal the jars by boiling them in water for 10-15 minutes (15 minutes if you’re above 3000 feet).
- Remove jars and let cool completely for 24 hours. After cooling, check seal on jars by pushing down the middle part of the lid. If it pops back up, the jar isn’t sealed.
- Store in a cool, dark place for 2 weeks. You can then eat them.
- The okra will keep fine for one year.
Nutrition
Did you make this recipe?
The Okra and Spices
Okra is one of those foods that not everyone likes, but normally the people that do like it absolutely LOVE IT.
I think the people that don’t like tend to dislike the slime factor that okra can have. When it’s pickled it isn’t all that slimy. It’s just delicious.
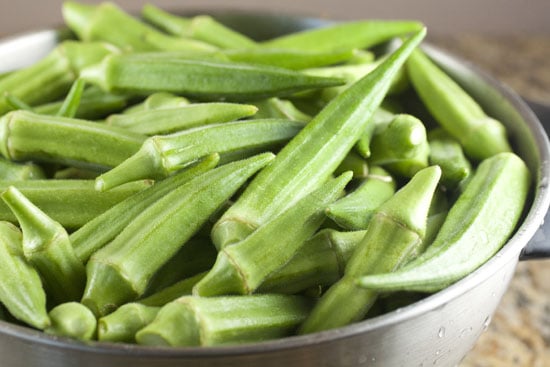
Prepping the okra is really easy. Basically just rinse it off. You can leave the stems and everything on the okra so just rinse it and you’re ready to go.
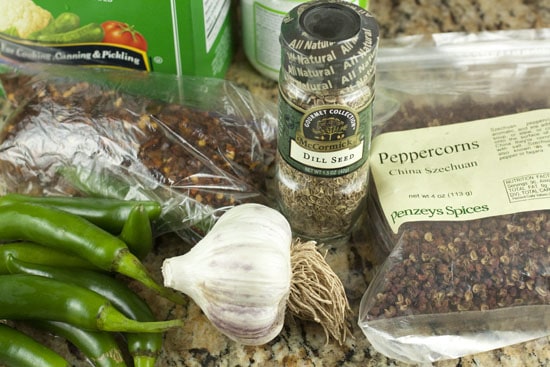
As far as spices go, I wanted to make sure they had plenty of flavor so I raided my spice drawer!
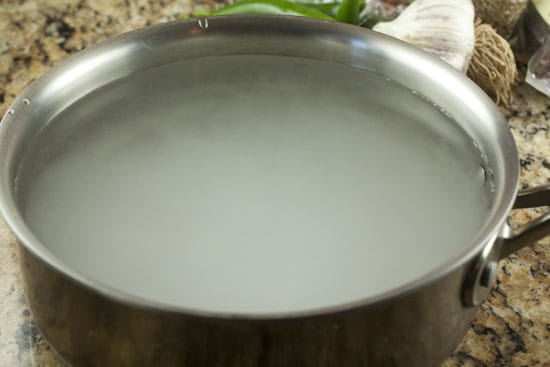
While you are prepping all the jars and everything, get your brining liquid started on the stove.
This will smell intense and alert your entire neighborhood that you are, in fact, pickling something.
Preparing the Jars
Before I get too far into this post, let me start with a general disclaimer: This is only the second time I’ve ever canned anything ever. Therefore, if you see something that you think might be wrong… it’s probably wrong.
What I do know though is that cleanliness is one of the most important things when it comes to canning. You have to make sure that your jars and utensils are completely sterilized before you add in the food. The easiest way to get this done is to get a large pot of boiling water going and boil all the jars, lids, rings, and utensils for about 10 minutes.
That’ll kill any pesky germs that are living on them.
Once they are clean you can get down to the fun part which is adding in all the spices.
For each jar, I added a whole Serrano pepper, a whole clove of garlic (roughly chopped), and big pinches of various spices. I was a bit worried that these would be too spicy, but they turned out great.
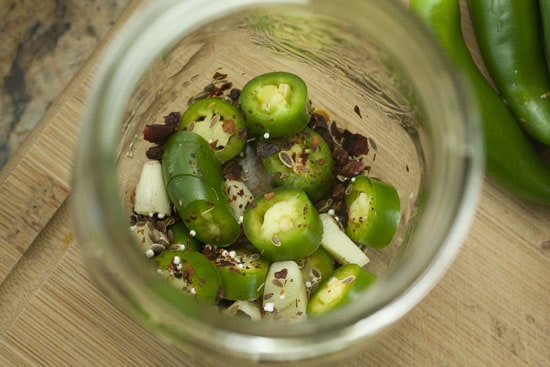
Once your spices are in the bottom of the jars, you can stuff in as much okra as you can fit!
In reality though, you don’t want to over-stuff the jars. They should be snug, but still be able to move around some so that the pickling liquid can circulate around them.
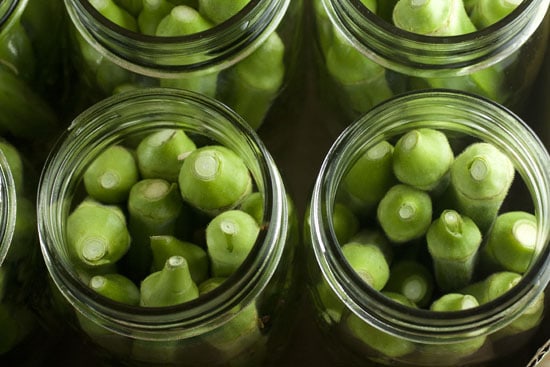
Once you have the okra and spices in each jar, pour your simmering brine into each one. You’ll need a basic canning kit to make this whole process easier and it’ll come with a perfect funnel that fits the jar heads nicely. It makes it really easy.
When you’re filling up the jars, leave about 1/4-1/2 inch of room at the top of the jars. Don’t worry about covering the okra completely because guess what: they float. So they will always slightly bob above the water line. It’s not a big deal though. They will still pickle fine.
I gave all my jars a good shake once they were sealed though just to make sure the spices were evenly distributed and the okra coated well with the liquid.
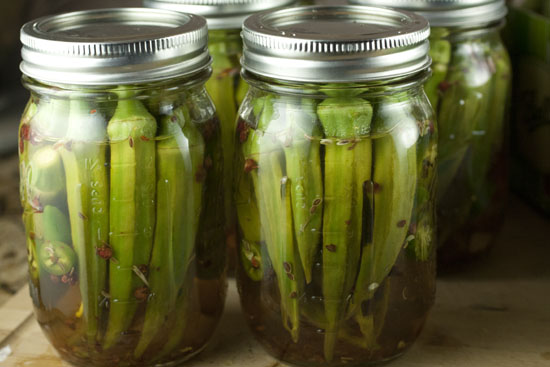
Sealing the Jars
Sealing the jars is the step that had me the most worried mainly because it involves setting sealed, completely full jars in simmering water for 15 minutes.
I had visions of okra bombs exploding all over my kitchen…
Luckily it went according to plan. Again, the canning kit is pretty essential. It includes a rack so you can set the jars slightly lifted in the pot so water can circulate around them. It also will include a nice set of tongs that will help when lifting the jars in and out of the boiling water.
One note on the cooking time. Based on what I read, if you are below 3,000 feet elevation, you only need to boil the jars for 10 minutes, but since I’m above that I had to go the full 15 minutes.
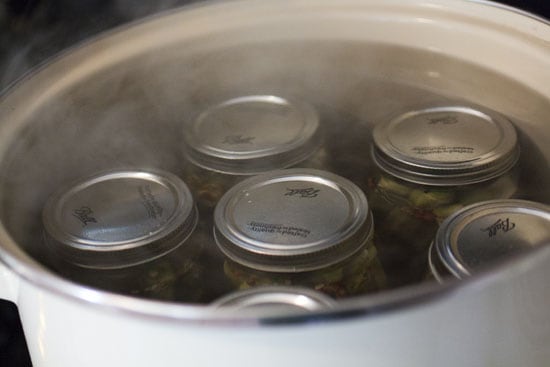
When these jars come out, they will be hot. Like… really hot.
The lids may be slightly bulged out a bit. That’s all totally normal.
Set the jars somewhere so they can cool slowly for 24 hours.
Checking the Seal
After 24 hours, your jars should be sealed air-tight. The way to test this is to press down on the center of the lid. If you can press it down and it pops back up then that jar isn’t sealed correctly. I think this is fairly rare and shouldn’t be something you should worry about. But definitely check them.
All of mine were just fine and considering it was my first try, I thought I would have at least one that wasn’t sealed.
If you do get one that isn’t sealed, you can pop it open, seal it with a new lid and ring and re-process it in boiling water to try to get a good seal. If this happens, be sure to wipe off the rim of the jar before adding the new lid. Sometimes bits of food or dirt can stop the jar from sealing correctly.
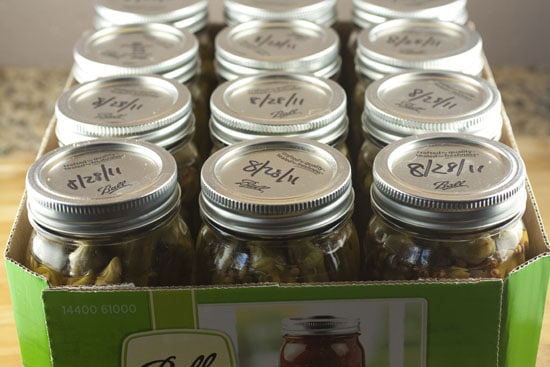
The Waiting Game
Once the jars are sealed and labeled, store them in a cool, dark place for two weeks before popping one open. That should be enough time to let the pickling liquid work its magic.
Assuming you don’t want to eat all 12 jars immediately, they will keep fine for one year.
I was itching to try these guys out. When I popped my first jar, I knew I was in business based on the smell alone. It smelled spicy and salty and, well, perfect.
The okra was slightly crispy and perfectly flavored.
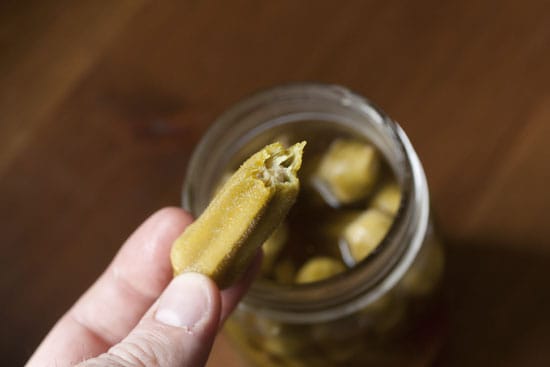
So far I think I’m batting 1.000 in the canning department.
By my estimations, I was able to make this batch of pickled okra for about 1/2 of the cost of the store variety. My next batch will be even cheaper because I’ll have some of the jars already.
Update: A few readers sent me emails saying that I should mention the dangers of botulism when canning. Botulism is a really serious bacteria that can grow in canned foods that have a low acidity or are not cooked to a high enough temperature. The only way to be sure that you are safe is to either A) test the pH level of your food before canning it or B) use a pressure cooker. For more info, check out the USDA’s guide to canning.

Morgan
Yum! That's my favorite way to eat okra…besides fried.
My recent post VeggieJambalaya
Jul
OMG- I love pickled okra too. I prefer them sliced instead of whole though. I am definitely going to try this out! Is there anything you would change about the flavor?
Tracy Tomlin Stricklin
I have a couple of friends who have lived in CO for the last 10+ years. They are both from my part of the world – the Deep South. I'll have to tell them that okra *can* be found in CO. On more than one occasion they have both bemoaned the absence of that delightful vegetable from their lives.
kitty
looks great — I'll trade you some caramels for okra! (also, ps. batting 1000 is batting 1.000)
Nick
Haha. Thanks. I have issues with decimal places…
kitty
just wanted you to give yourself a LOT more credit for these :)
Our Way to Eat
I really want to start canning. It will also be my second attempt canning ever, with the first ever being strawberry jam over a decade ago. This weekend would be the ideal time, but I'm a little overwhelmed by it. For one thing, I'm not sure where to start. Tomato sauce? Dilly Beans? Pickles? Something else?? Its kind of an investment with having to buy all the gear and a bushel of something parishable at the Farmer's Market. I am glad yours turned out so well. It is encouraging.
My recent post A Tale of Three Salads…
Shanti
Yay! Canning is awesome, as evidenced by the insane amount of food I have in the cupboards and roughly 1/2 bushel of tomatoes still needing to be prepared in various ways and canned.
Make sure you take the bands off once the jars are cool and before you store your food in the cupboards. Apparently it can make your seals get loose. I've also found that it's the only real way to check seals (I've had a jar seem fine until I took the bands off) and I've had the bands stick to the jars and make it suck when opening before I realized this issue. It will also save you money when buying replacement lids since you don't need the bands as you can reuse them, just the lids that are non-reuseable. I usually only put them back on jars when I'm giving them to people as gifts so they can open and then close the jars. I bought the plastic lids for the jars on Amazon and use those anytime I open things since I've found them to be much nicer.
Enjoy!
Sarah @ two tarts
I love pickled okra too – tried it for the first time last year while visiting north carolina! I hope there are still okra in the farmers markets around here…this looks really great
My recent post Homemade Peach Ice Cream
Anita Hargrave-Ramey
the canning kit link does not work :(
Nick
Oopsy. Try it now.
alice
i prefer to buy it from the market
Kristen
I just made a batch of this and can't wait to try them! However, I'm having trouble getting one of the jars to seal. I've tried everything. Would it be okay to leave it in the fridge for 2 weeks instead of on a shelf?
Nick
I'm not sure on that one. I wouldn't risk it honestly. That might just have to be a sacrificed one if you can't get it to seal right. Could be a defective jar maybe?
Bob
Yes, if a jar does not seal you can store it for up to 2 weeks in the fridge. Can also try to reseal it by using a new lid and re-processing.
Bob
Can Okra be pickled in slices rather than whole
garbage tucson
What’s up, after reading this remarkable piece
of writing i am also glad to share my knowledge here with friends.
Karen mills
Hi I’m ten years old and I’m helping my Grammy can some pickled okra I really love your recipe and it has inspired me to use it when I get older. :)
Nick
Thanks for the comment Karen! Glad you are cooking at such a young age and getting into canning/pickling!
shawn
I have lost my old pickled okra recipe and found your page while searching. Next time…try chipotle pepper instead of (or with serrano for extra spicy) – the smoky chipotle is a great flavor with okra!