This post is sponsored by KitchenAid® and their new KitchenAid® Artisan® Mini.
I’ve been a fan of KitchenAid® products since I first started getting serious about cooking. The thing I was most excited about getting for a wedding present was a shiny new KitchenAid® Classic™ Artisan® Mixer. I still use the same one today because they are so sturdy.
That said, the mixer is a full sized deal and takes up a decent amount of counter space. I know I have bunch of readers where counter space is at a premium and that’s why I am really happy to work with KitchenAid® to announce their new KitchenAid® Artisan® Mini Mixer. The mixer is the perfect size for a smaller kitchen, but still big enough to handle most recipes.
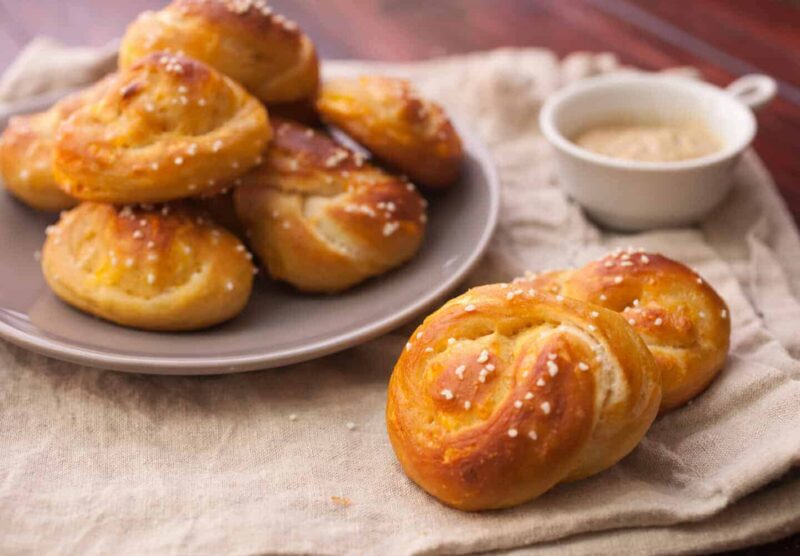
To celebrate this cool new mixer, I thought it’d be fun to make something, well, MINI! These bite-sized pretzels are stuffed full of big flavors: slow-roasted garlic and sharp cheddar cheese! I like them as a fun twist on garlic bread or as a finger food snack for game day!
Roasted Garlic Cheddar Pretzel Knots

Equipment
Ingredients
- 1 cup warm water
- 2 teaspoons dry yeast
- 1 tablespoon brown sugar
- 1 teaspoon kosher salt
- 3 cups bread flour
- 1 tablespoon unsalted butter, melted
- 1 cup grated sharp cheddar cheese
- 1 head garlic, roasted
- 8 cups water + ½ cup baking soda
- Neutral oil
- Egg wash
- Pretzel salt
Instructions
- In advance: Slice the tip off of a head of garlic and wrap it in foil. Drizzle with a small amount of olive oil and a pinch of salt. Wrap tightly and roast the garlic at 350 degrees F. for 35-40 minutes. Remove and let cool.
- Add warm water (not hotter than 110 degrees F.) to the bowl of your KitchenAid® Artisan® Mini Mixer. Stir in yeast, brown sugar, and salt. Let sit for 5 minutes until yeast is bubbling.
- Stir in melted butter and bread flour in 1 cup batches until the pretzel dough comes together. Attach the dough hook attachment and knead the dough for 6-7 minutes on medium (setting 4) speed. If dough is very sticky and sticking to the bottom, add more bread flour by the ½ cup. Final dough should be soft, but not sticky to the touch.
- Turn the mixer speed down to low and add the cheddar cheese and mashed roasted garlic. Mix to combine. Remove the dough from the mixing bowl and knead a few times with your hands to make sure ingredients are distributed evenly. Wipe bowl clean and drizzle with neutral oil. Return dough to bowl and cover loosely. Let rise for one hour.
- Preheat oven to 450 degrees F. Scoop dough out of mixing bowl and roll out on a clean surface dusted with flour. Cut dough into strips about 6-8 inches long. You should get about 20 strips out of the dough.
- To make a pretzel knot, roll a dough strip under your hands until it’s about 8-10 inches long. Then fold it in half and twist the dough a few times. Tuck the ends of the dough under itself and through the hole near the top of the dough, forming a knot. Repeat with all the dough strips.
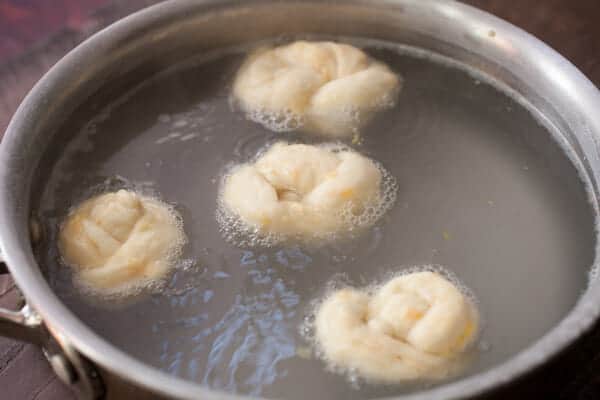
- Bring 8 cups of water to a simmer. Slowly stir in baking soda. Working in batches, boil the pretzels for about 20 seconds per side in the mixture. Remove them and let them drain on a few paper towels. Place boiled pretzels on a baking sheet lined with parchment paper.
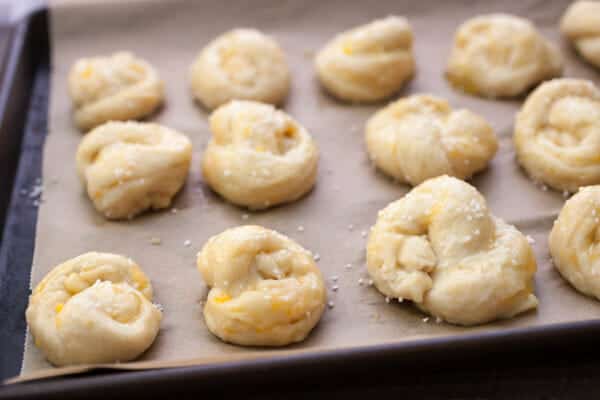
- Brush pretzels with egg wash (1 egg whisked with 1 tablespoon water) and sprinkle lightly with coarse pretzel salt.
- Bake pretzel knots at 450 degrees F. for 12-15 minutes until they are browned nicely and crunchy on top.
- Let the pretzels cool briefly before serving. They are great at room temperature also. Serve with whole grain mustard. Store any leftover pretzel knots at room temperature in an air-tight container for up to 3 days or freeze them for longer storage.
Nutrition
Did you make this recipe?
Roasted Garlic Cheddar Pretzel Knots
Let’s just take a minute to take in the beauty that is a brand new KitchenAid® Artisan® Mini Mixer.
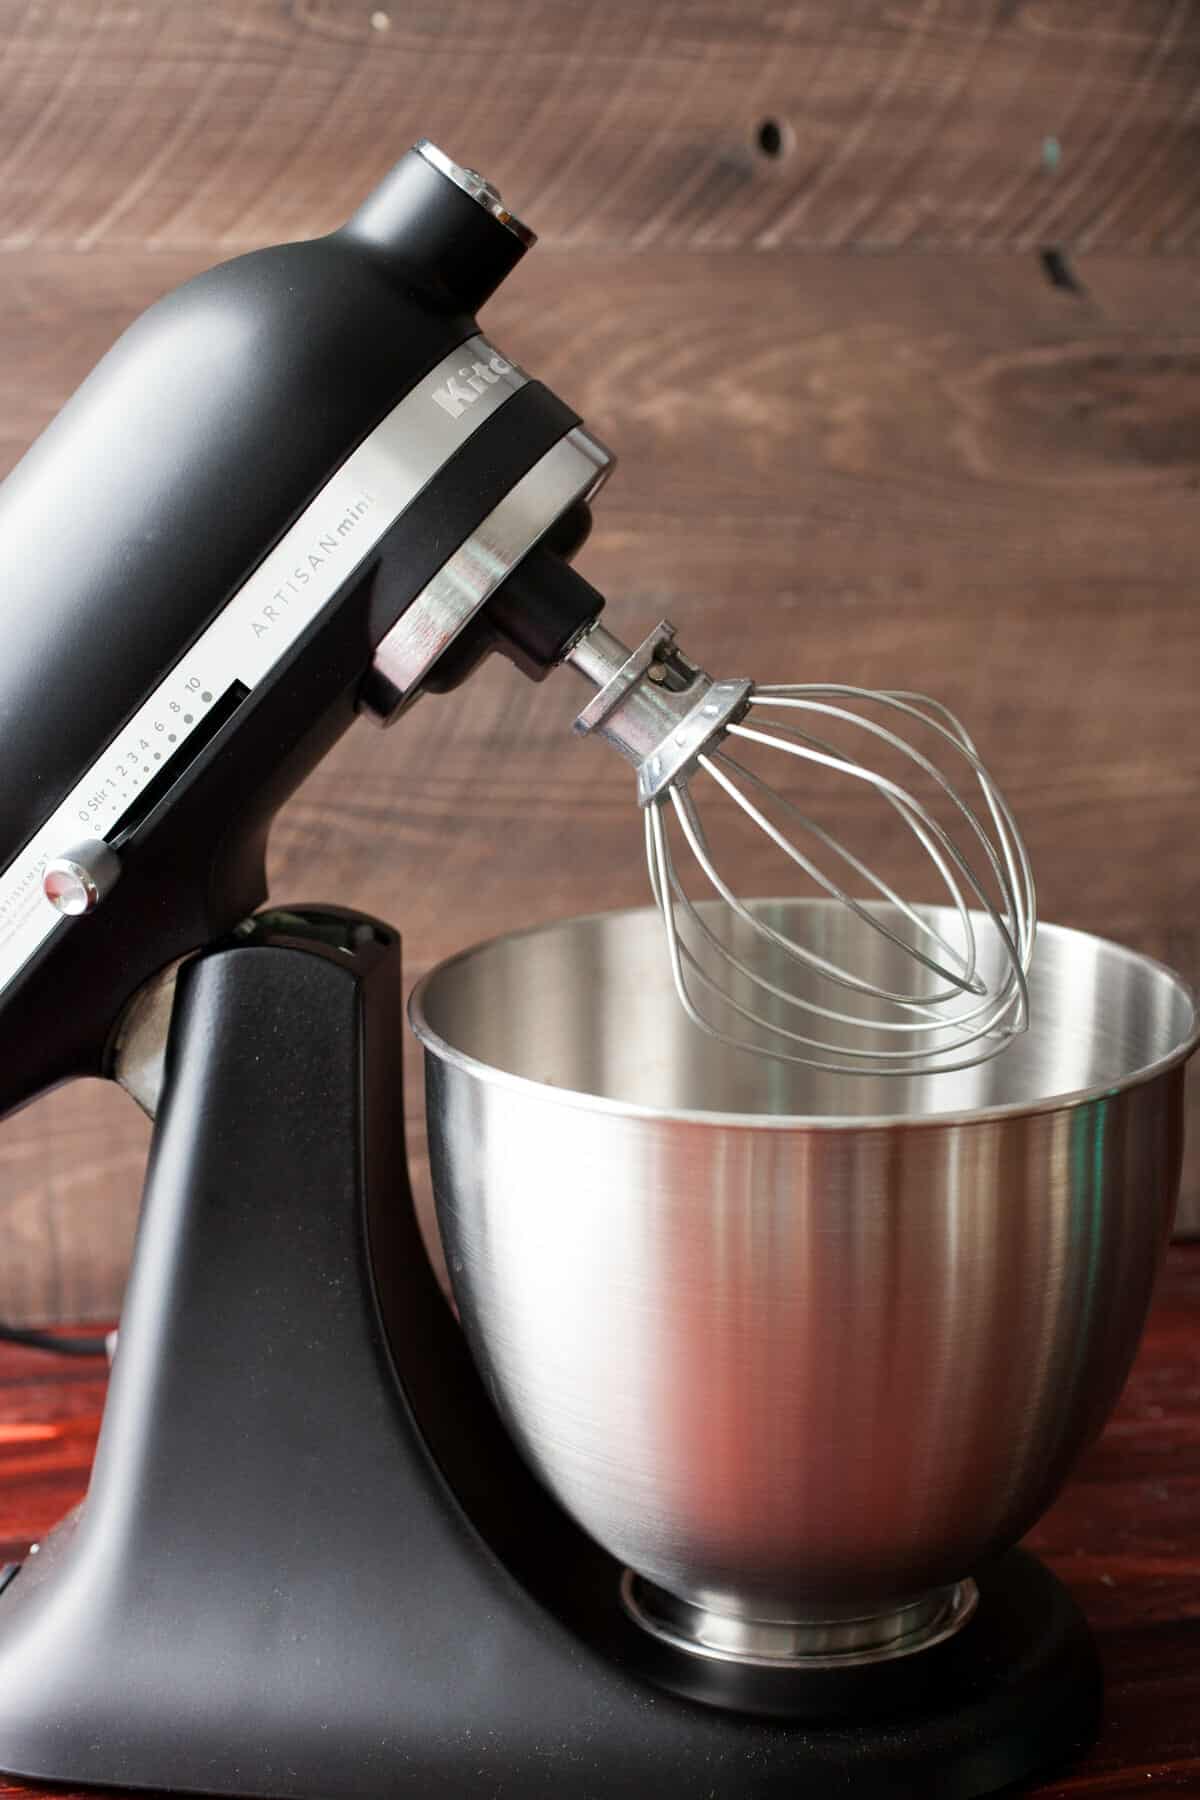
Okay. Now we can cook.
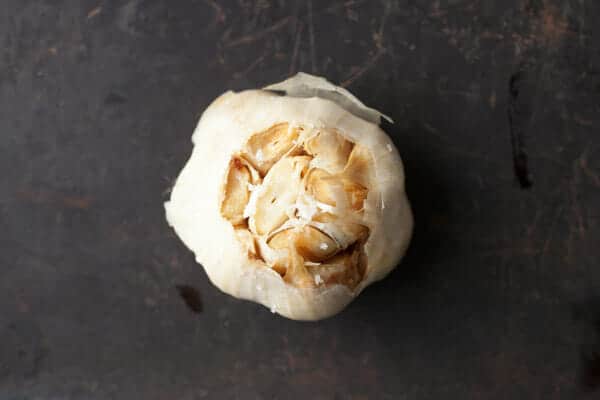
First, roasted garlic! If you aren’t roasting garlic regularly, you are doing it wrong. Just slice off a small piece to expose the cloves, wrap your garlic head in foil and drizzle it with a little olive oil and a pinch of salt. Roast it at 350 degrees F. for about 25-40 minutes.
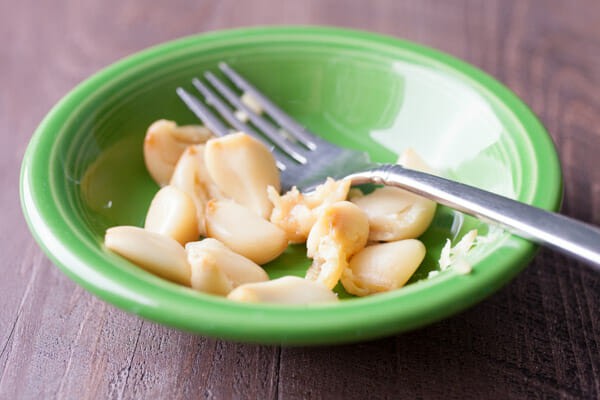
Then you can just pop the cloves out and mash them up with a fork. Mashing is important so you don’t get a huge piece in your pretzels later.
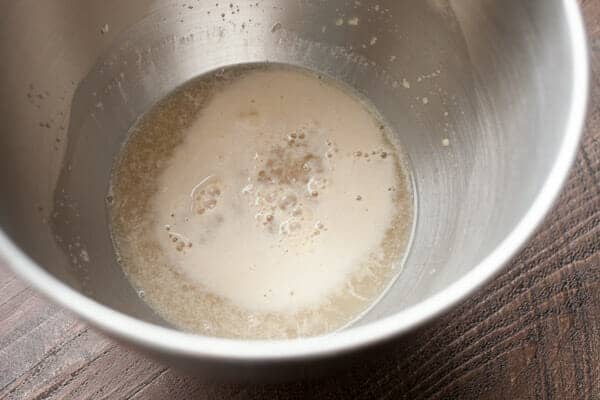
To make the pretzel dough, combine the water, yeast, salt, and sugar in your mixer bowl. Let it sit for a few minutes until it’s bubbling. If it doesn’t bubble, you need new yeast!
Then add the melted butter and slowly add the flour in one cup batches until it forms a soft, slightly sticky dough. If they dough is really sticky (like sticking to the bowl) add more flour.
Mix it with the dough hook attachment for about 5-6 minutes and then turn the speed down to low and mix in the garlic and cheddar.
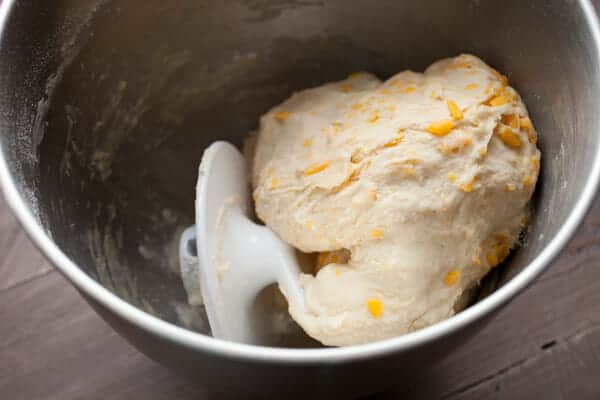
Let the dough rise for about an hour in a clean bowl with a drizzle of neutral oil. It should almost double in size.
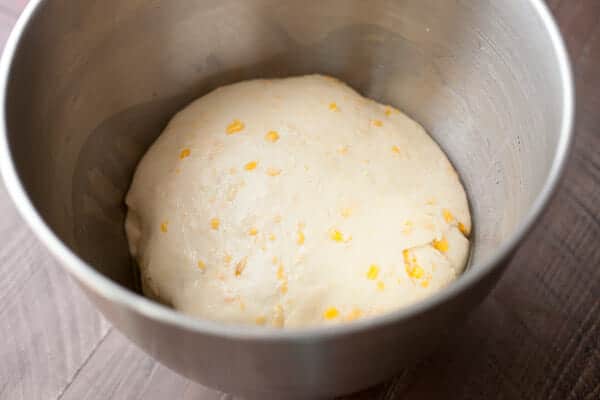
After the dough rises, punch it down and roll it out on a flat surface. Cut the dough into thin strips. You should get about 20 strips. Working with one strip at a time, roll it out more until it’s 8-10 inches long.
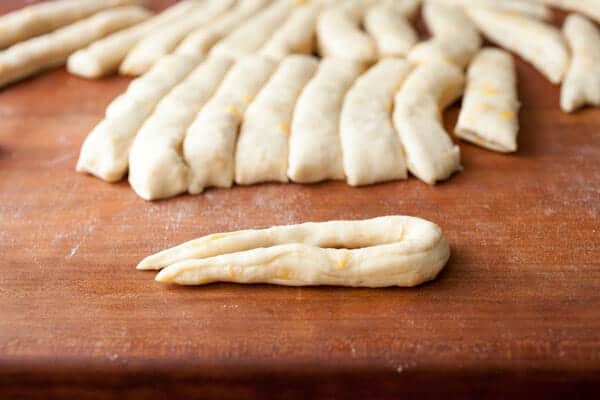
Then twist the dough a few times and fold the ends underneath to form a knot. Done deal!
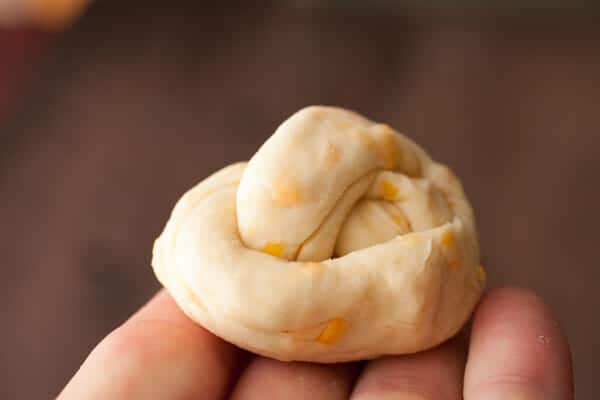
Repeat with all your dough strips.
To give the pretzels that classic color and crunch you need to boil them in water with baking soda. Traditionally, pretzel makers use lye, but baking soda works well and is easier to get.
Bring the water to a light simmer and let the pretzel knots boil for about 30 seconds per side.
When the knots come out of the water, move them to a baking sheet lined with parchment paper, brush them with some egg wash, and sprinkle them with pretzel salt!
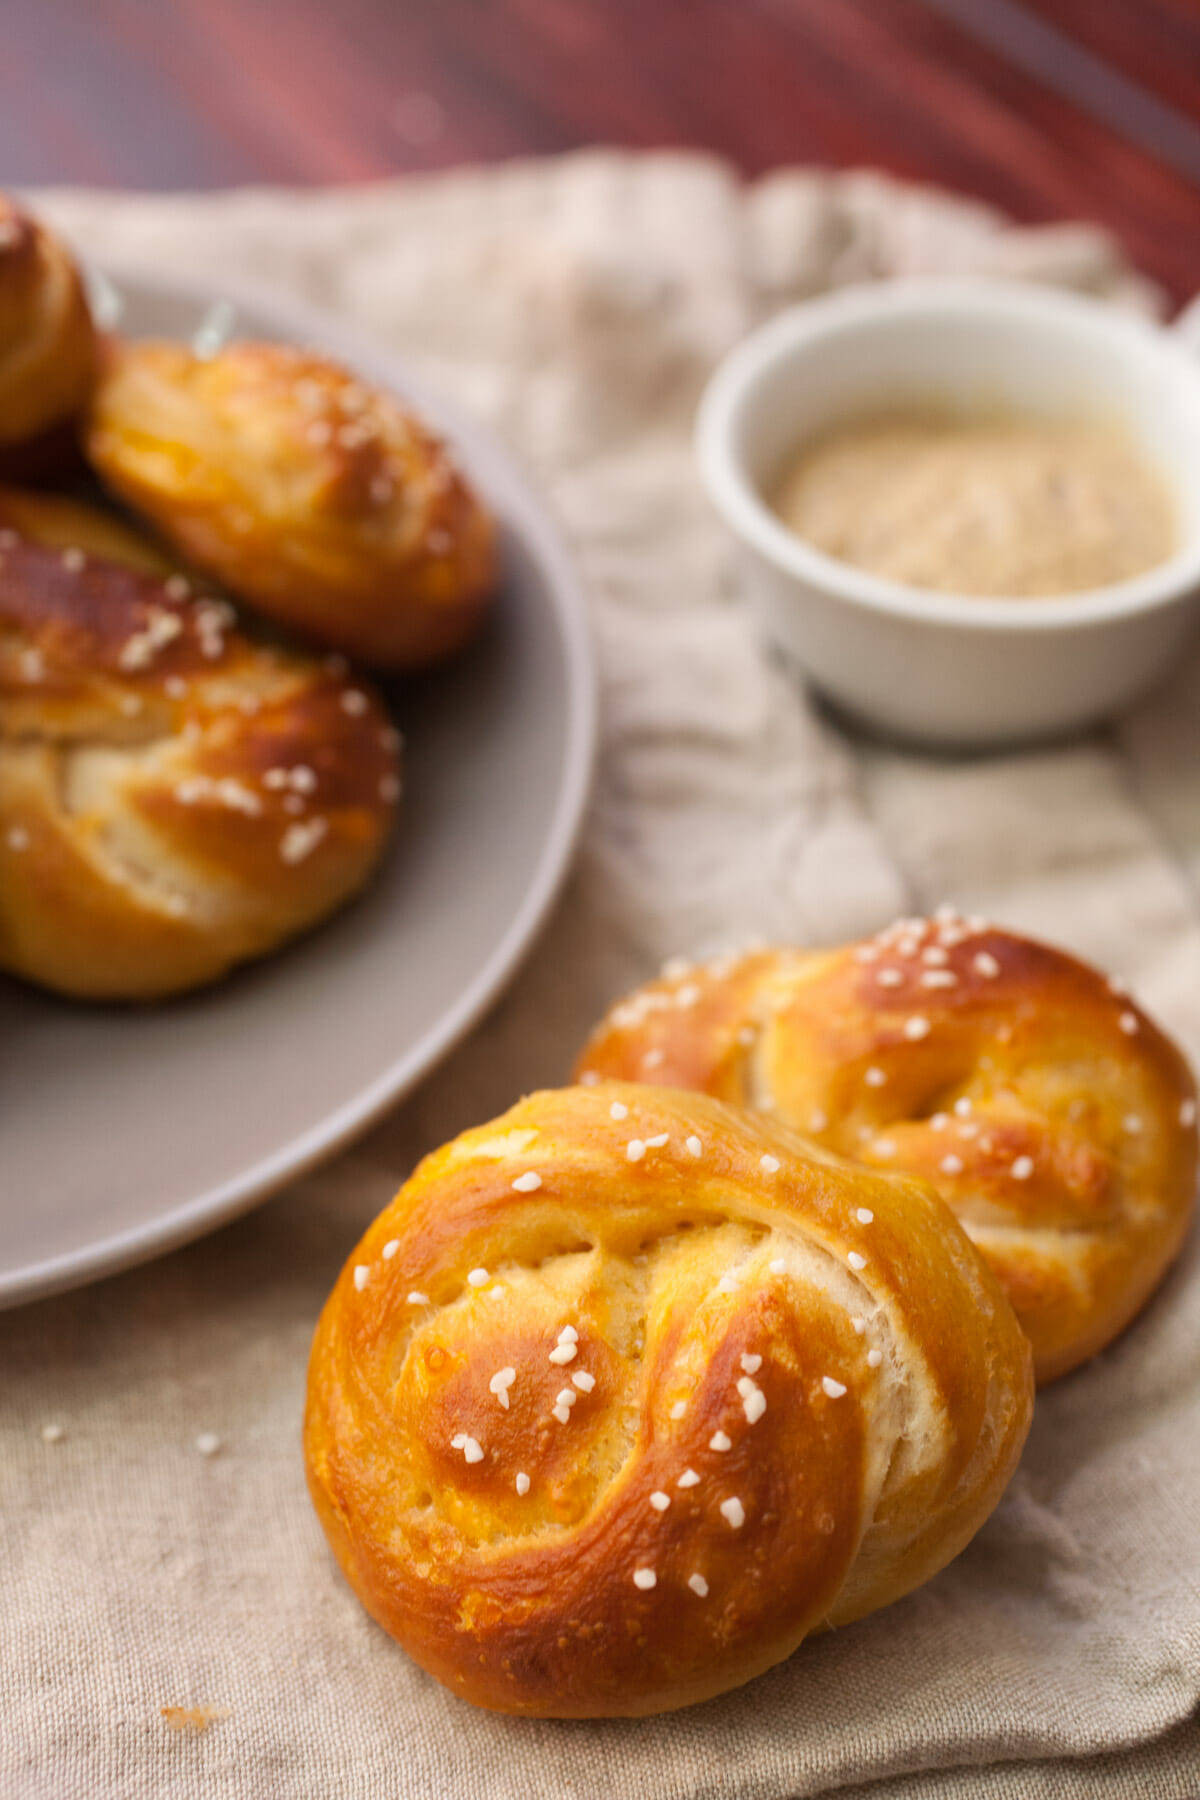
Bake these beauties at 450 degrees F. for 12-15 minutes until they are really golden brown on top. Ideally, the crust will be a bit crunchy and the interior nice and soft.
Can you say pretzel perfection?!

These roasted garlic cheddar pretzel knots are great as a game day snack, but also work great as a fun alternative to garlic bread!

Alaina
OMG – so pretty! Will have to try these with my 45 year old Kitchen Aid mixer (those things really do last!!!). Thanks for the recipe!
Nick
Thanks Alaina! :)
Felicity
I don’t own a mixer, but these look amazingly delicious!!! You probably know this already but I was once given an awesome tip for removing roasted garlic. Instead of squeezing the head like toothpaste, use a toothpick, skewer or fork tine to get each clove out whole. No more waste! :-)
Darleme
Creamy Italian soup is on the menu for tomorrow. These will definitely be served also.
These look fabulous!
christina rottinger
what dip would you suggest for a crowd with these?
Nick
I like them with a quick honey mustard sauce! I usually do 2 parts mustard to 1 part honey. Easy and delicious!
Mona
Could these be made in advance for a party?
Nick
Hey Mona, they keep fine for a few days, but then lose their luster. ha! Good luck!
Mona
I would only be making it a day in advance, thank you!