Betsy and I used to have intense debates over whether or not it’s possible for me to produce really awesome queso (cheese dip) without using the super-processed cheese that rhymes with Smellveeta. While the queso recipe on the back of the Rotel can is a favorite of mine I figured there was queso before their was processed cheese, so there must be a way!
I think I finally found that way!
When Betsy and I go out for Tex-Mex, it’s a guarantee that we will get the largest queso they serve as a appetizer. Many years ago, we went to Austin, TX (home of Tex-Mex) and went out to eat at this joint called Magnolias. They had this awesome version of queso called “Mag mud.” It was a silky smooth cheese dip plus avocados, fresh salsa and black beans. The idea is that you mix everything together to form a “mud” and then devour it.
This is my “macheesmo” take on the mud.
Macheesmo Mud

Ingredients
Basic Pico de Gallo
- 4 medium tomatoes, quartered, de-seeded, and diced
- 1 medium red onion, diced
- 1-2 jalapenos, diced
- 2 cloves of garlic, diced
- 2 limes, juice only
- 2-4 Tablespoons of cilantro, diced (optional)
- Salt to taste
Queso Dip:
- 2 Tablespoons Butter
- 2 Tablespoons all-purpose flour
- 2 Cups heavy cream, You could use Half and Half or whole milk if you want to be all… healthy.
- 8 ounces Monterey Jack Cheese, shredded
- 8 ounces cheddar, shredded
- 1 5-ounce can diced green chiles, optional
- 1 Avocados, opt.
- Black Beans, opt.
- Salt to taste
Instructions
- Make the pico de gallo by chopping and adding ingredients together in a bowl. Leave out the tomato seeds from the mix!
- Melt butter in saucepan and get it bubbling over medium heat.
- Whisk in flour and make sure it is mixed well with the butter.
- Keep whisking it for a few minutes and it will eventually start to turn a light brown color.
- Turn the heat down to low and slowly add about a quarter cup of cream at a time and whisk furiously while you’re adding it.
- Add two kinds of cheeses a few handfuls at a time and combine them well.
- Quickly heat up a can of drained beans with a few Tablespoons of butter.
- Pour the queso in a big bowl and pile in the toppings!
Nutrition
Did you make this recipe?
I immediately proclaimed that there was NO WAY this place used processed cheese for their queso. I had absolutely no evidence to support this and, in fact, they may be the #1 purchaser of Velveeta in the country. I really have no idea. The point is that the dip was awesome and it reinvigorated my quest to master the non-processed queso dip.
Embarrassment
Have you ever been so set on something that you try 4 or 5 different failed methods only to later realize that the simplest method is, of course, the best? That happened to me with this.
I tried a few different methods and tricks and gimmicks to get normal cheese to that creamy smooth silky texture that I know and love. Of course, the easiest answer was to just make a really thick béchamel sauce. Blinded by obsession, I didn’t think about this as an answer until I researched it (via the Google).
Back up the train
Ok, but before you get to the queso dip, you need to make the pico de gallo for this dish. That’s because the pico will actually improve the longer it sits… not the case with the queso.
Making the Pico
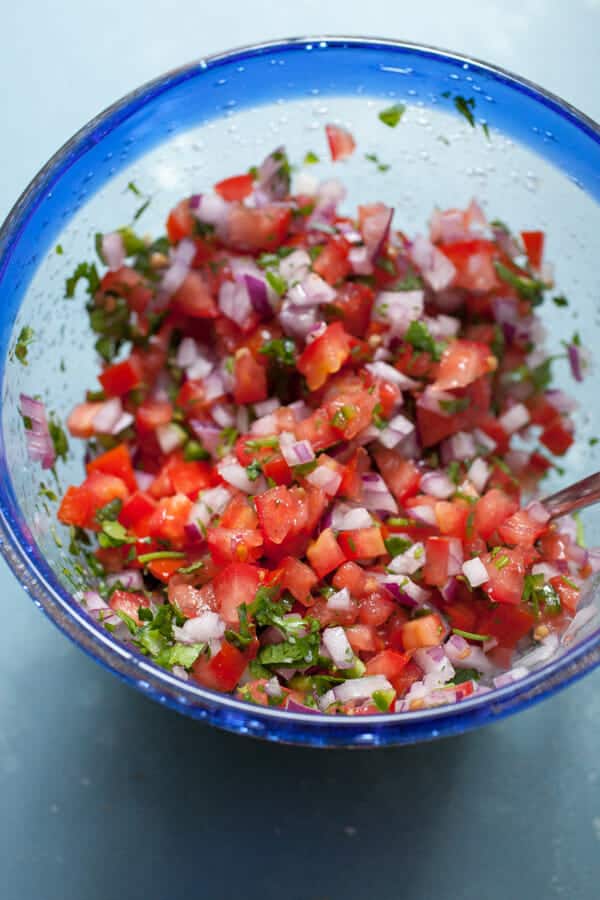
This is a really basic fresh salsa. Feel free to add other things to it to fit your fancy. Basically just dice up all the ingredients.
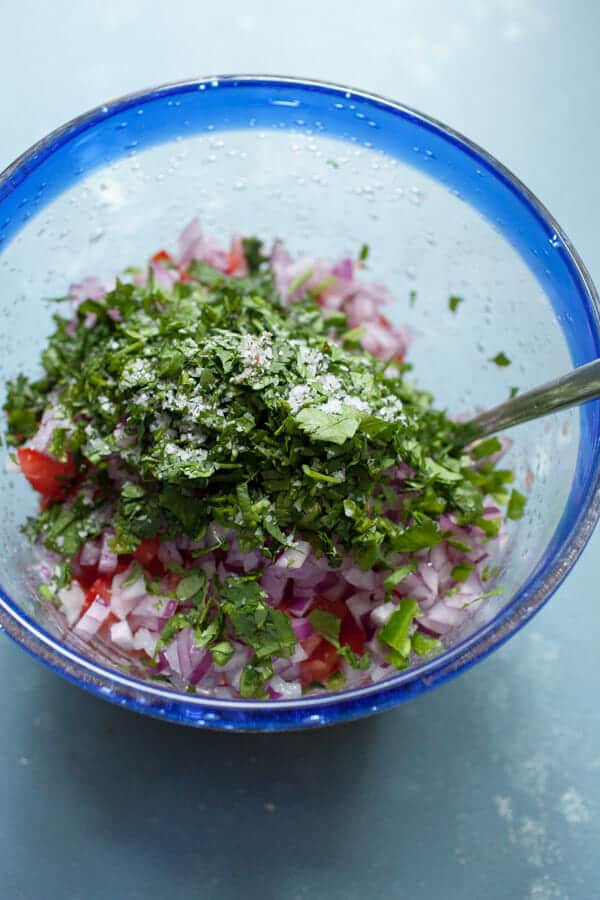
For the tomatoes, I like to wash out most of the seeds for this purpose. Then just dice them up. No need to peel them even.
This will be some good chopping practice, but you’ll end up with a really solid pico de gallo.
The Queso
There are lots of advantages, in my opinion, to learning how to make queso this way if you’re a fan of queso. For one, you can customize it with different cheeses and spices once you get the method down. Secondly, once the queso is made, it’s a lot sturdier than the processed variety which always forms that gross film and gets solid pretty fast.
This dip is sturdy and will maintain its dip viscosity (SCIENCE!) even at basically room temperature.
If I were just making this queso and not planning on topping with other things, I would maybe add some cayenne or hot sauce, some tomato, and maybe even a dash of Worcestershire.
Making the Queso
Ok. All you really need to make fantastic queso is a medium saucepan, a whisk, and a roux. A roux is just a mixture of flour and fat (normally equal parts) that will thicken up our liquid. The important part about a roux is you need to cook it before you add any liquid to it to cook out the flour taste and grainy texture.
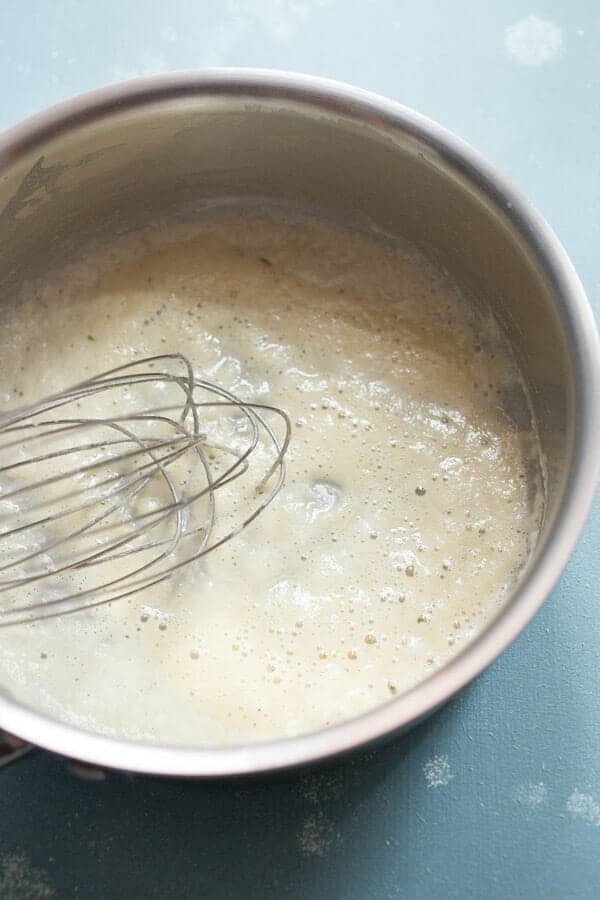
Remember, a little roux goes a long way.
To start, melt your butter in your sauce and and get it bubbling over medium heat. Then whisk in your flour and make sure it is mixed well with your butter. Keep whisking it for a few minutes and it will eventually start to turn a light brown color.
Now you could let this continue to cook and form a really dark roux (which has a very nutty flavor), but we want a lighter product for this sauce. Just whisk it until your roux is a light tan color.
Important step. The most important step is to slowly add your cream to this roux. If you add it all at once, you’ll form little flour dumplings and you’ll never ever be able to un-dumpling them. Slowly add about a quarter cup of cream at a time and whisk furiously while your adding it.
Once you add about half your cream, you should have a very thick creamy sauce and then you can pour in your last cup of cream without worry. Keep whisking though! Turn your heat down to low at this point or your cream will scorch.
You should have a pretty thick sauce at that point, but if not, just let it cook for a few minutes and it will continue to thicken.
Now that you have your base, add your two kinds of cheeses a few handfuls at a time and combine them well. They should melt right into your mixture.
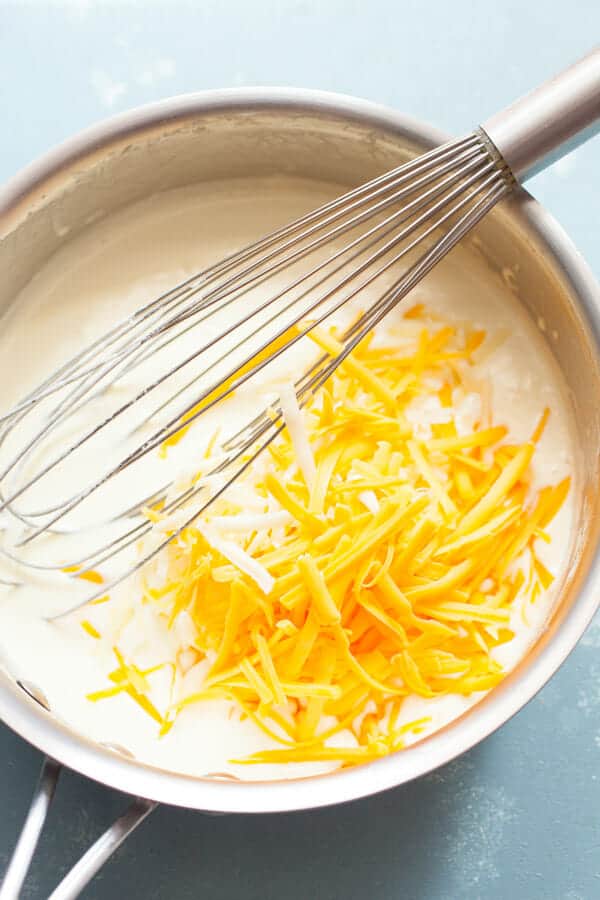
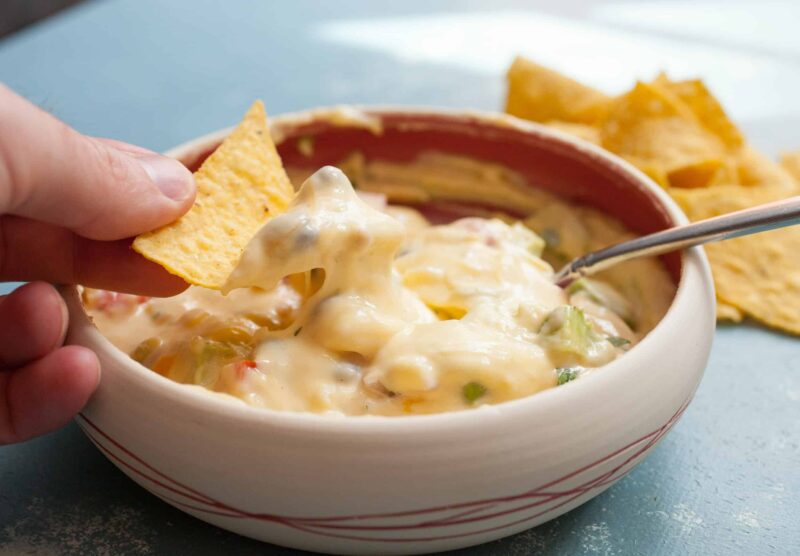
You should end up with a beautiful, silky sauce. I added some green chiles in also!
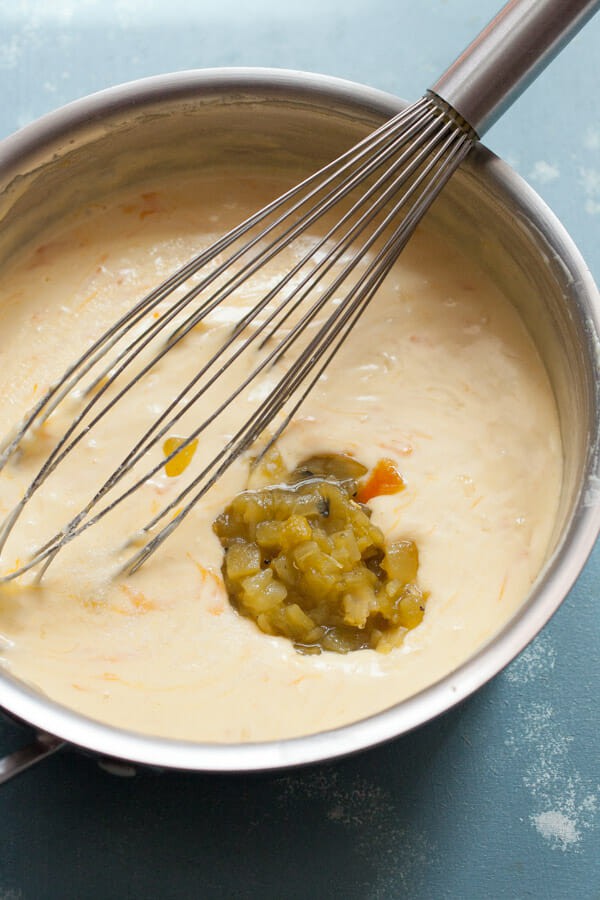
This was the REAL stuff.
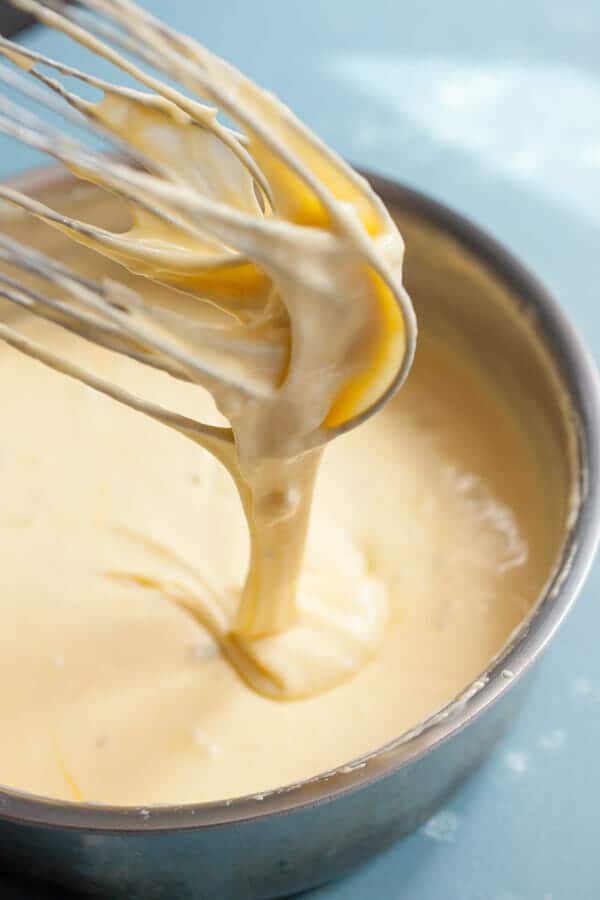
Toppings?!
I wanted to make some black beans for my Macheesmo Mud to mimic the version I had in Austin. I just quickly heated up a can of drained beans with a few Tablespoons of butter to take the place of the lard that is usually used with refried beans.
When they were warm, they were ready and delicious.
Next just pour your queso in a big bowl and pile in your toppings! If you need help with the avocado, check out my avocado instructional.
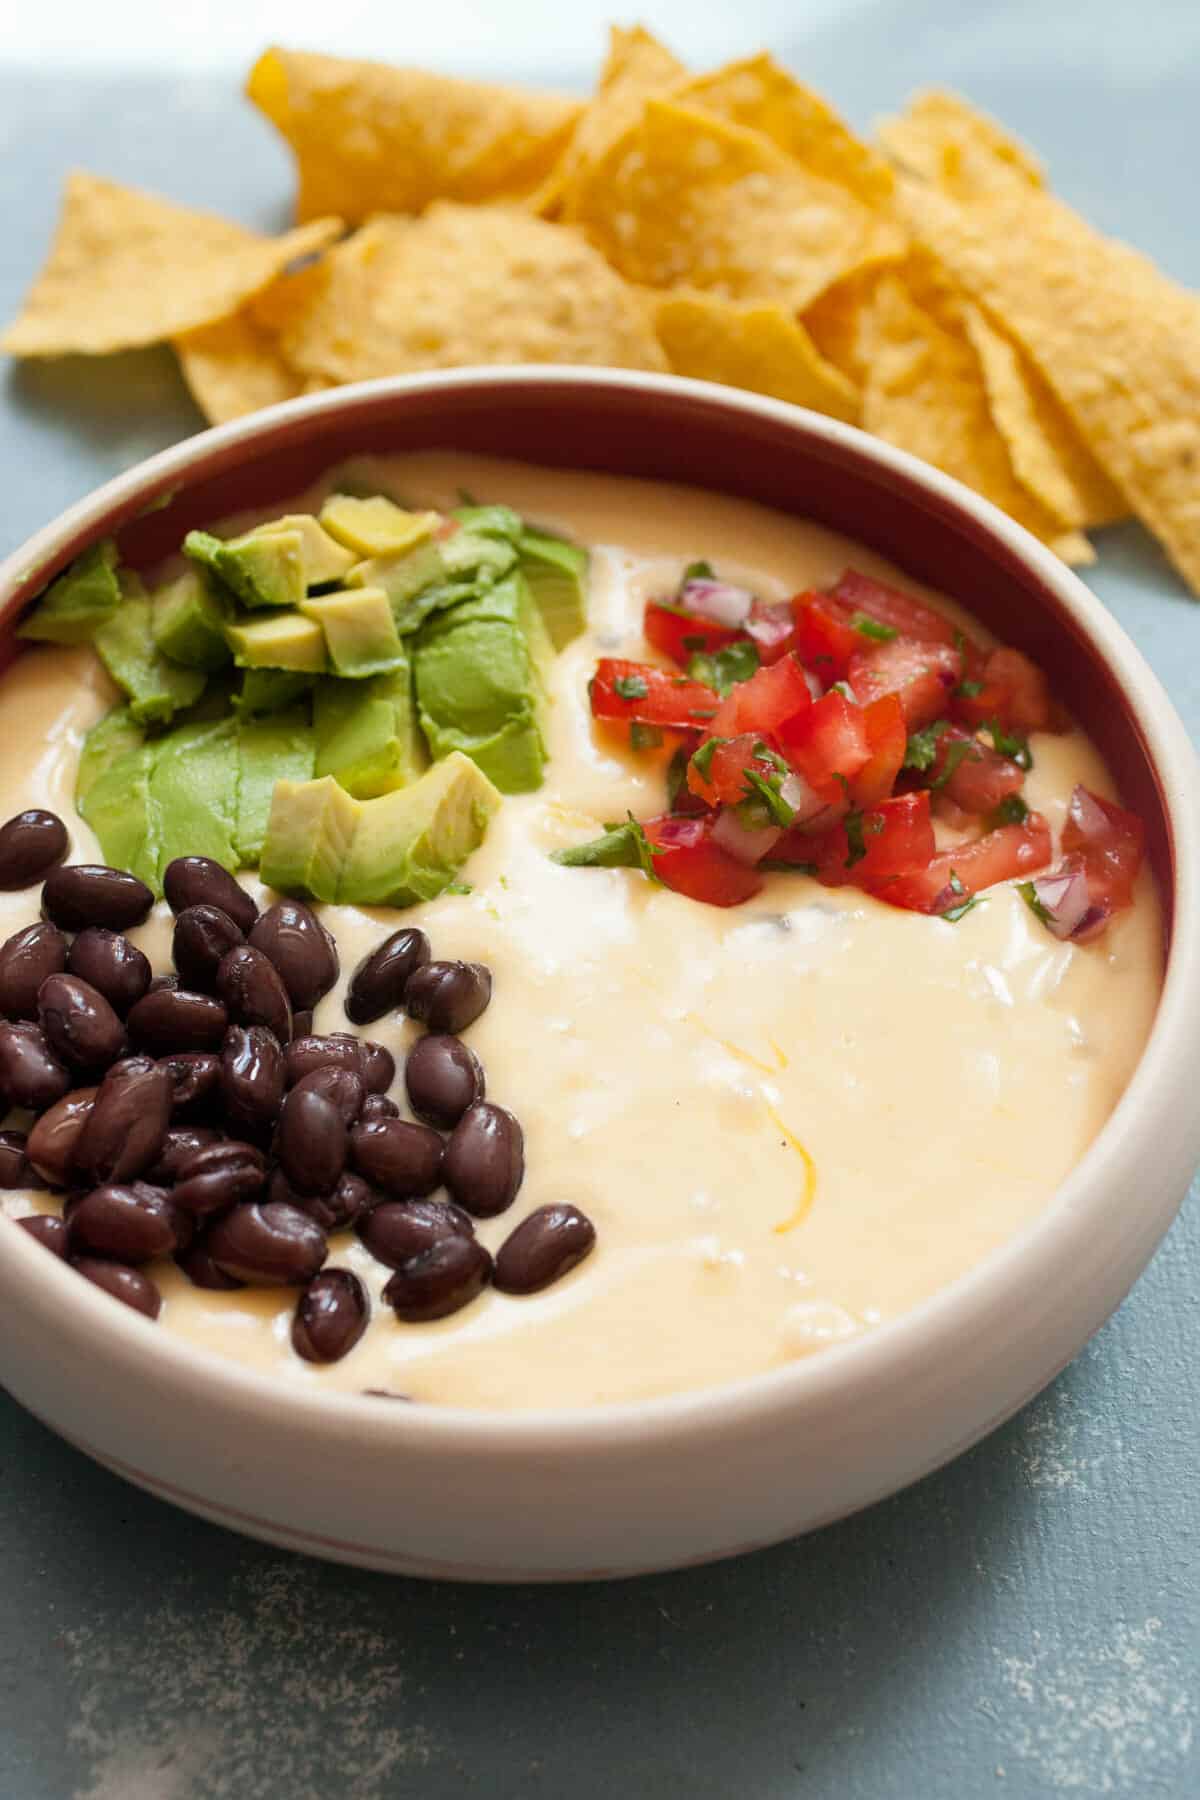
Of course, you’ll want to just mix it all together eventually.
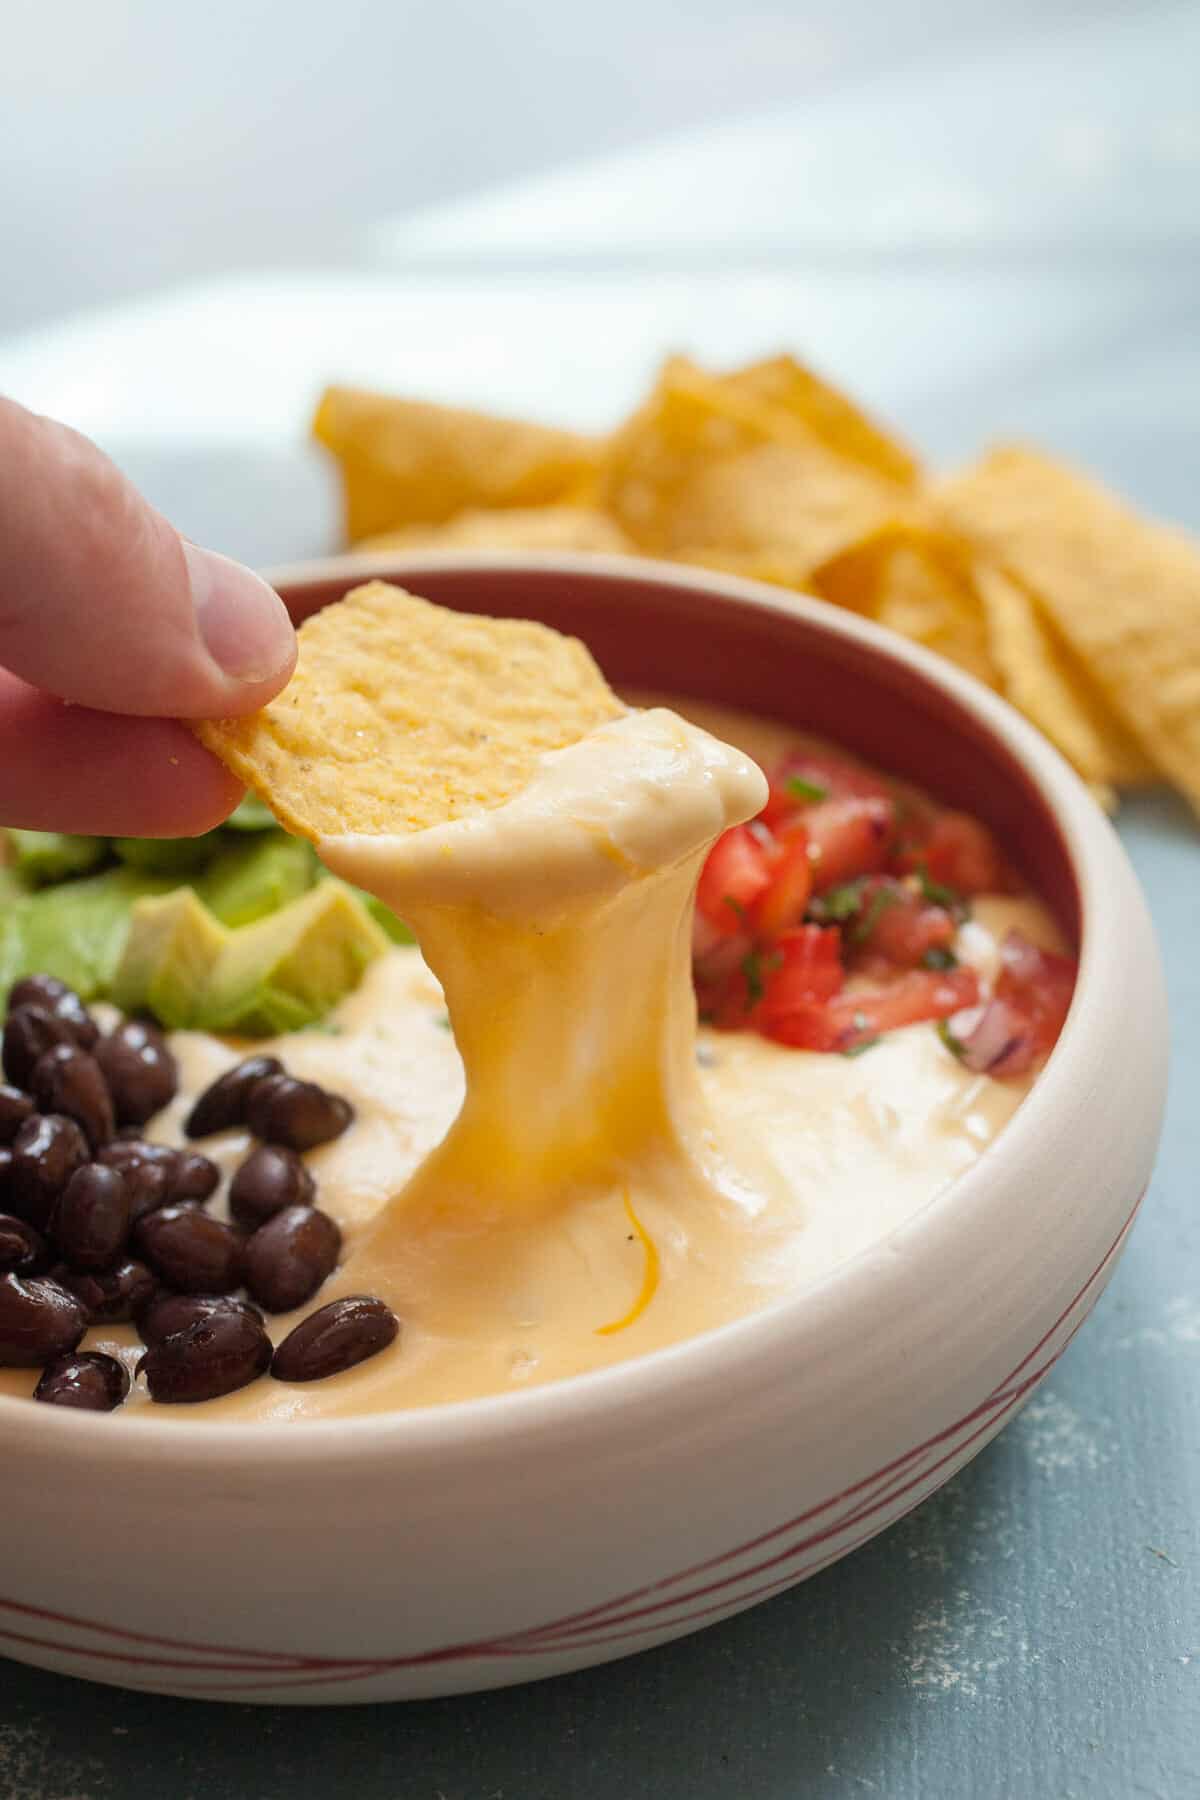
But the point is that I think I finally won the debate and created an awesome queso without relying on the microwave and mysterious substances that come in cardboard containers and foil wrap.
PS. I still do love Velveeta. Don’t tell Betsy though.

Kristine
Yes! Thank you for this! This is the recipe I have been looking for. I am making this today!!
Carrie
Looks awesome! I've been hunting around lately for a cheese dip to go with soft pretzels that I'm making for a party. I might have to give this a shot.
Nick
Umm.. Soft pretzels. Definitely. I didn't even think about that. It would be perfect for that.
Check out Homemade Pretzels…
Thrifty DC Cook
I love Velveeta too. I love it more now with Jimmy Dean Sausage. You must try this sometime. It so good. http://thepioneerwoman.com/cooking/2007/06/chile_… I'm going to try to mix this and Pioneer Woman's recipe together.
dawn
You know I would be that bad guest that would scoop up each section of the food in that dips. All in 3 bites. Yep.
Culinary Trainee
Another way to extend this perhaps –
Cook up some noodles (elbows for example) pour in the sauce (completed Mud) and the noodles into a casserole dish. Crumble some of the dipping chips on top. Bake in the oven for a bit, Voila – TexMex Mac&Queso.
nvalley
For the record, when I make queso with half and half + milk, it never comes out the consistency I want. It usually ends up just a little grainy. I recommend the full on milkfat explosion that is heavy whipping!
gansie @endless simm
your omission of the word velveeta reminded me what a wuss judd apatow is in never using the word abortion in knocked up.
regardless, this is totally on my to do list
Laura G
i just don't know how to thank you.
Jason Sandeman
I have never had this dish Nick. I think I am gonna pull this out for Taco night coming up. Should be a hit. What beans are good? I have black turtle, will those work? As for lard, can I use a piece of salt pork as well?
Nick
Next time you're in town (Austin) make sure to try Kerbey Lane's Kerbey Queso- Queso with Guacamole in it! It's fantastic.
I love the addition of black beans, good stuff! One favorite of mine is to roast a bunch of peppers on the grill (jalapenos, seranos, and hatch usually) and throw them in along with the raw ones- amps up the heat and gives it a nice smokey, roasted flavor.
Kaydee
FYI….. You might also really enjoy picky-palate.com….yummy recipes that you could possibly adapt. :)
Yasmin
You may think you've won the debate… but Betsy is a lawyer in training – I think she may still find a way to undermine your argument. Can't trust those lawyer types, nothing is safe…
Chris
While there is something un-naturally satisfying about rotel/velveeta in a dorm room/game day kind of way, your Mud looks amazing.
SippitySup
This is certainly a big bowl of pretty. But I gotta warn you first chance I get to let Betsy know about you and Velveeta I am going to turn you in. After all this Velveeta chick can't be as hot as Betsy! Consider it a favor that I stop this thing before you do real damage… GREG
Natalie
thanks for this man, i've been looking for a good queso recipe for awhile.
ps- i will have my own blog fairly soon…i'll e-mail you the link when i've got it up and running, so you can return the favor and blow it up with obnoxious comments! LOL.
also- MOAR TIPSY.
Jen
I’m making “Mud” for the big game today!!! Thanks for the recipe it sounds awesome!
Brianne
This would be another great one for the recipe contest!! Use Cacique Queso Quesadilla instead of Jack and Crema Mexicana instead of heavy cream and you should get tons of votes! http://www.caciqueusa.com/goautentico/landing
Annette
This was bad, it had good taste, then you realized it was chalky. This was the dip to serve at my step daughters birthday and we just left it in the kichen because we could not serve it. We will try again with half the flour.
Nick
Hey Annette, sorry it didn’t work out for you! What kind of cheese did you use? It’s really not that much flour… just a few tablespoons. Assuming you cooked the butter/flour, it shouldn’t be chalky at all.
Sorry it didn’t work out for you!
Cheri Hartman
I always make my queso with a roux and extra sharp cheddar, sometimes with a bit of gouda thrown in. Instead of Ro-Tel, I use the Muir Glen diced tomatoes with diced green chiles. Sometimes, I do a mag-like mud with black beans in there. I haven’t been to Magnolia Cafe in a long time. I think it is overdue.
Ruth
Hi there, I used your recipe for the queso portion last night and it came out amazing! When I was making the roux it started separating and getting weird but I didn’t have enough heavy cream to start over so I pressed forward and the roux soon enough turned into this beautiful creamy mousse-like consistency. Thanks for sharing!
Nick
Hey Ruth,
Really glad you kept going! That can happen sometimes with roux but you can usually smooth it out. Glad you liked it!
Laura S
I realize this recipe is over two years old, but I think it’s important to point out that if you use pre-shredded cheese you will most likely end up with a grainy texture and it will not come out nearly as well as it will if you shred your own. If you have a food processor with the shredding disc it makes shredding cheese super fast….and super fun to watch! (Maybe that’s just me.)
Nick
Good point Laura! Whatever they use to coat the preshredded stuff does tend to make sauces like this grainy. It’s always worth shredding it yourself for recipes like this. Thanks for the reminder!
greyfavorite
YES to homemade cheese sauces! There is a reason that the roux is used in four of the five mother sauces of classical French cooking. In my early cooking years, when I first attempted roux (and then bechamel and then cheese sauce) I definitely had some bad batches. I might have cried once. :) But once I mastered the roux it was soooo worth it. Need a delicious casserole? Mac-and-cheese? Queso dip? All can be yours cheaply, nutritiously and deliciously!
Dana Postiglione
As a home sick south Texan, I greatly appreciate your enchiladas gravy but now I really need your guidance on pork tamales. I’m struggling with seasoning the masa! I can’t tell you how impossible tamales are outside of south Texas! If possible, can you also give guidance on how to create moist tamales. My favorite were slim, moist and well seasoned. The little cafe in Beeville, Texas was called M.S. Trevino and Ms Trevino had the best of everything but I adored her cheese & onion enchiladas and her tamales! No one knows her recipe but a recent thread on the Beeville In The 50s, 60s, & 70s website was filled with tons of people sharing their memories of MS Trevinos amazing Mexican food. I am hoping you can hit another home run like you did with your enchilada gravy. In the meantime, I’m going to try your queso; like you, I’ve lamented the processed cheese dilemma. I’ve tried a roux but the grainy turned me off. I’m convinced the cream will make the difference!
Many thanks,
Dana Nance Postiglione