This post was updated on June 5, 2021 to include video tutorial and new descriptions.
Most of the time, jam is used to make fruit bars, but this time of year you can find delicious fresh strawberries and using them to bake these strawberry bars with oatmeal crumb is SO much better.
This is a pretty flexible recipe. The crumb mixture is almost like a pie crust but is easier to work with thanks to an egg added to the mix. It goes on the bottom of your bars and sprinkled on top!
Normally, strawberry bars like these would use strawberry jam, but I wanted to use fresh strawberries. My only concern here is that they wouldn’t set up correctly. Letting them drain a bit and stir in some corn starch and that solved the problem!
Let’s dive in and make these delicious fresh strawberry bars! They are a great weekend baking project!
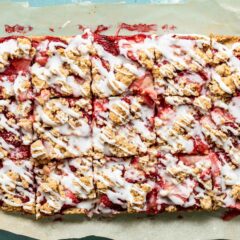
Fresh Strawberry Dessert Bars
Equipment
Ingredients
- 1 cup all-purpose flour
- 1 cup rolled oats
- ½ teaspoon baking powder
- ¼ teaspoon salt
- ½ cup butter, chopped
- 1 large egg
- ½ cup brown sugar
- ¼ teaspoon cinnamon
- ¼ teaspoon ground ginger
Strawberry Filling:
- 1 pound fresh strawberries, sliced
- ¼ cup sugar
- 1 tablespoon cornstarch
- 1 teaspoon lemon zest
Quick glaze:
- 1 cup powdered sugar
- 1-2 tablespoons heavy cream
Instructions
- Preheat oven to 350˚F. Line a 8×8 baking dish (or similar size) with parchment paper. In a small bowl, mix together sliced strawberries, sugar, cornstarch, and lemon zest.
- In a medium bowl, stir together flour, oats, baking powder, and salt. Add chopped butter and use a pastry cutter or fork to cut the butter into the flour and oats mixture until it resembles a coarse meal – the butter should be in pea-sized pieces.
- In a small bowl, whisk together egg, brown sugar, cinnamon, and ginger. Add that to the flour and oat mixture and stir to combine until the crust comes together. It shouldn’t quite stick together in a ball.
- Take about 2/3-3/4 of the crumb mixture and press it into your prepared baking pan. Try to get it in an even layer but it doesn’t have to be perfect.
- Drain strawberry slices and add them to the crust in a single layer. Add reserved crumb mixture to the top of the strawberries. It won’t cover the strawberries entirely and that’s okay.
- Bake fresh strawberry bars for about 40 minutes at 350˚F.
- Remove bars and let cool. When bars are around room temperature (they don’t have to be competely cool), remove the parchment paper from the pan, lifting out the bars. Slice the bars into 16 squares.
- Whisk together glaze mixture (it should be pretty thick) and drizzle over the bars.
- Bars are best if they cool to room temperature before serving so the filling sets up.
- Store the bars in the fridge and they will keep fine for 4-5 days.
Video
Nutrition
Did you make this recipe?
Making the Strawberry Filling
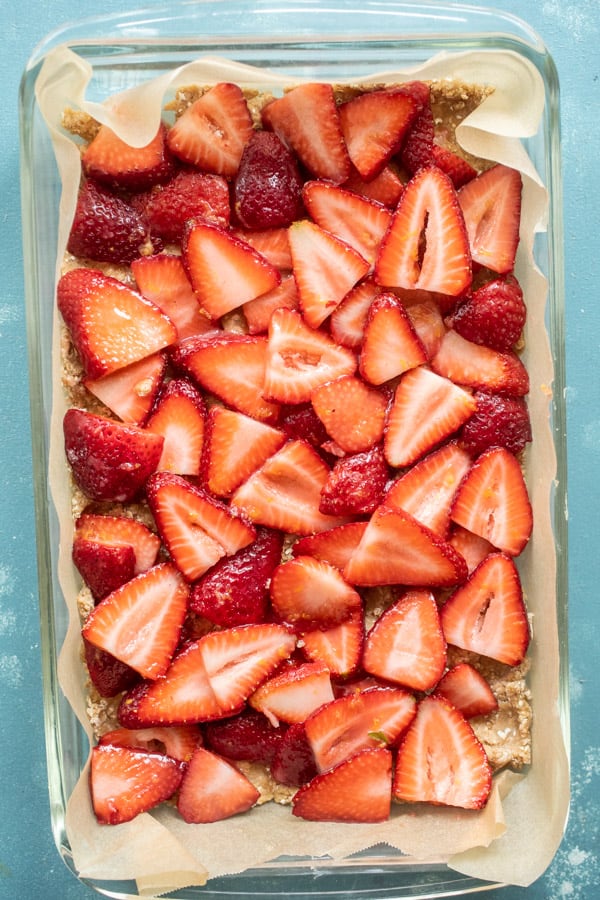
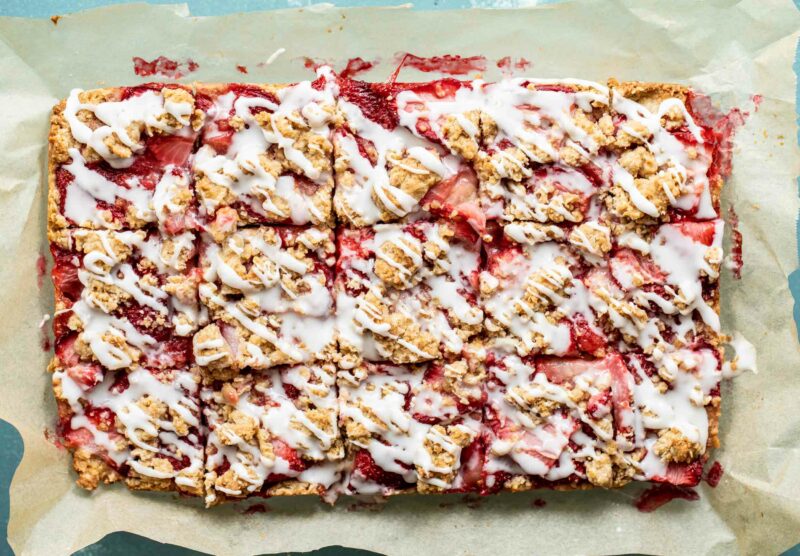
I like to slice my strawberries for this recipe so they are almost shingles in the final bars. Just looks cool!
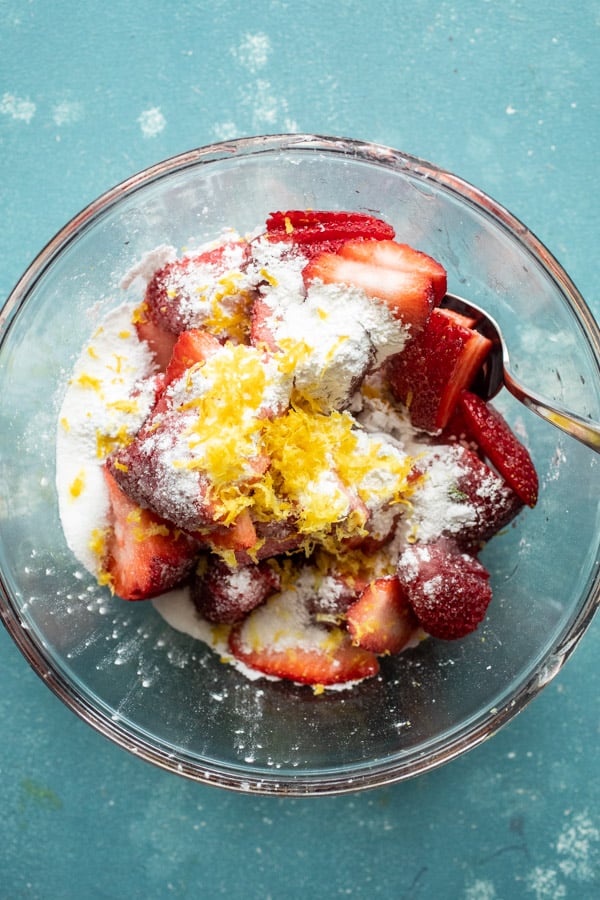
Clean and slice the strawberries and stir them together with the sugar, cornstarch, and lemon zest. Let that sit for a few minutes and then drain any liquid out of the strawberries.
Making the Crust for Strawberry Bars
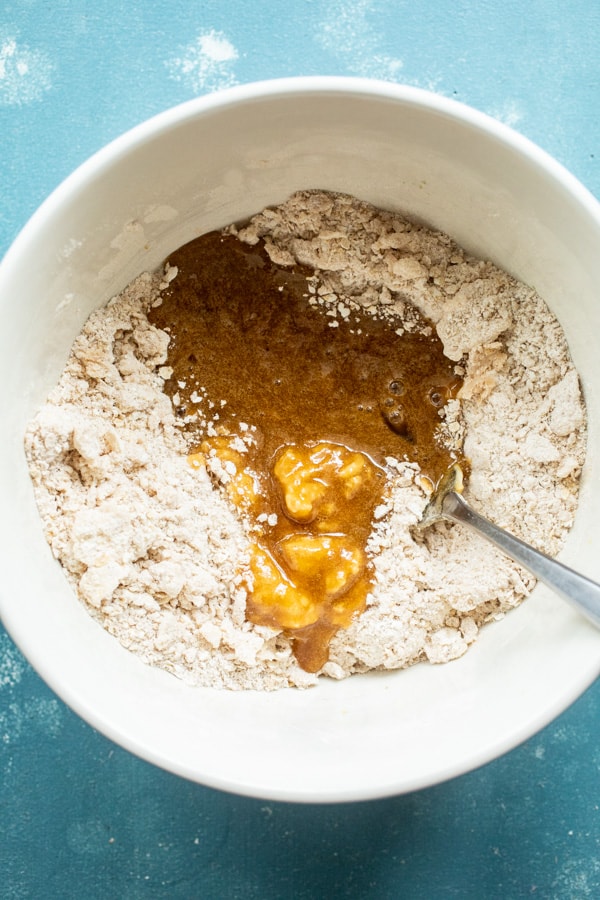
Stir together the flour, oats, baking powder, and salt. Then, just like you would with pie crust, cut in the cold butter until it’s in a coarse meal. I use a pastry cutter for this or sometimes my clean fingers.
Then mix in the egg (whisk the egg with sugar and spices first). This will make the crumb mixture easier to work with.
Prepping the Strawberry Bars
This recipe makes enough for an 8×8 dessert bar. I use a smaller rectangle pan, but it works out to the same volume as an 8×8 pan so use something similar to that. If you are using a 9×13 pan, you would want to double the recipe to make sure you have enough.
Line your baking dish with parchment paper (otherwise it’ll be a beast to get the bars out). Then press in about 3/4 of the crumb mixture into the bottom of the pan. Ideally it would be in an even layer, but doesn’t have to be perfect!
Then add your layer of strawberries. It okay if they overlap some but a single layer is best.
Crumble the reserved crumb mixture on top of the strawberries. It won’t completely cover the strawberries and that’s just fine!
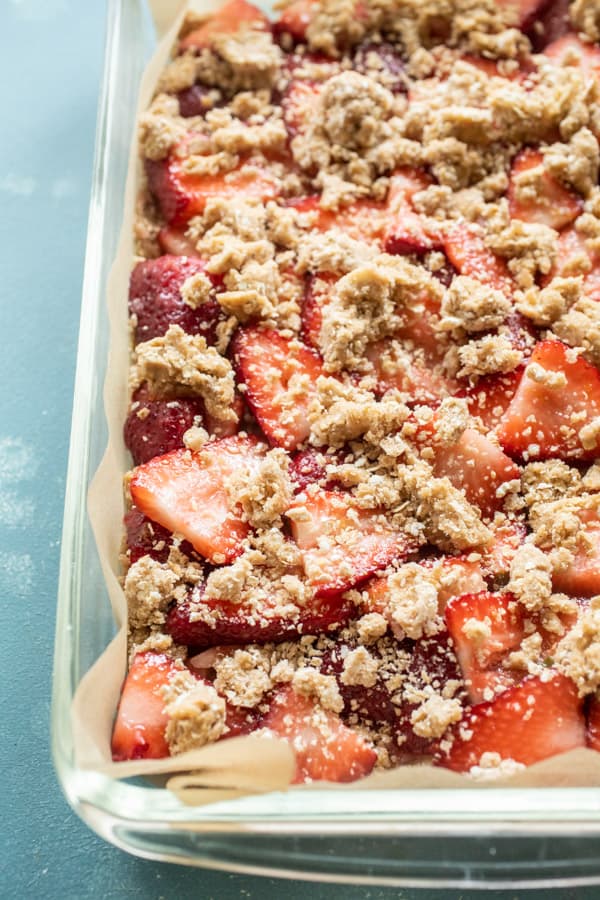
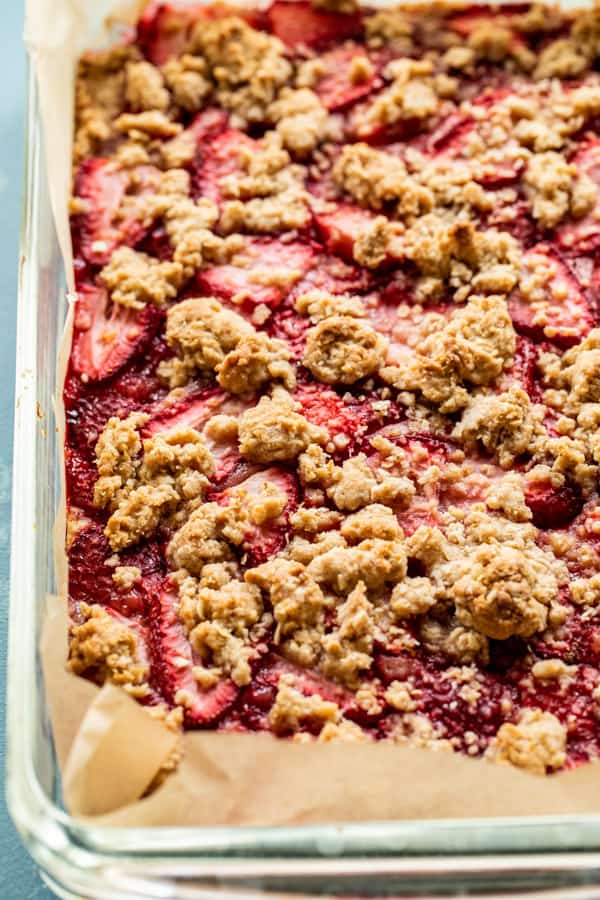
Bake the strawberry dessert bars at 350˚F for about 40 minutes. The topping should be golden brown.
These will be easiest to work with if you let the bars cool at least to room temperature before trying to slice them.
Finishing the Strawberry Bars
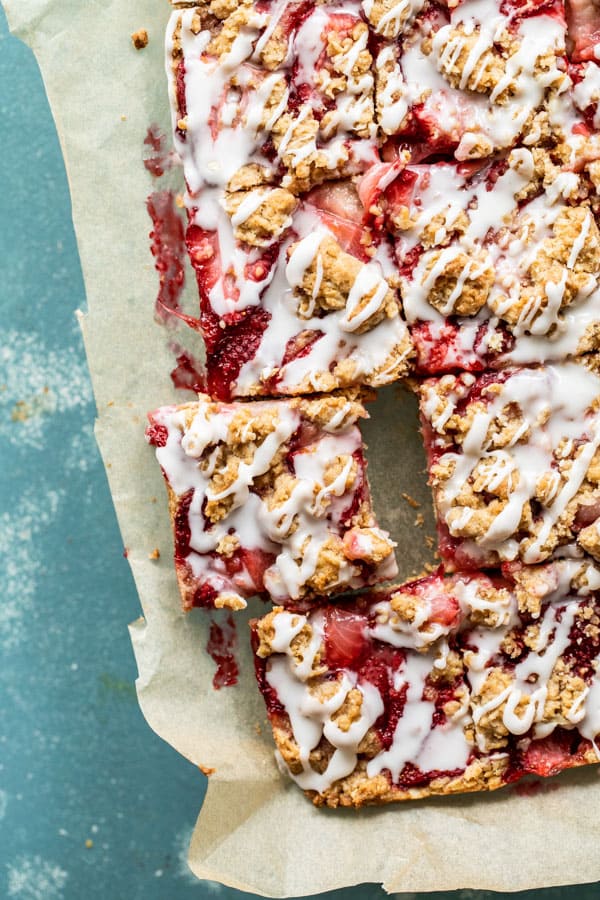
When the bars are cooled down to around room temperature then use the parchment paper to lift the bars out of the baking dish. Then slice them and drizzle on the glaze. I like to mix the glaze with cream so it’s a bit thicker than some glazes.
Storing the Bars
These strawberry dessert bars are best stored in the fridge to keep the filling set nicely. They really hold together nicely though and make for a delicious sweet snack.
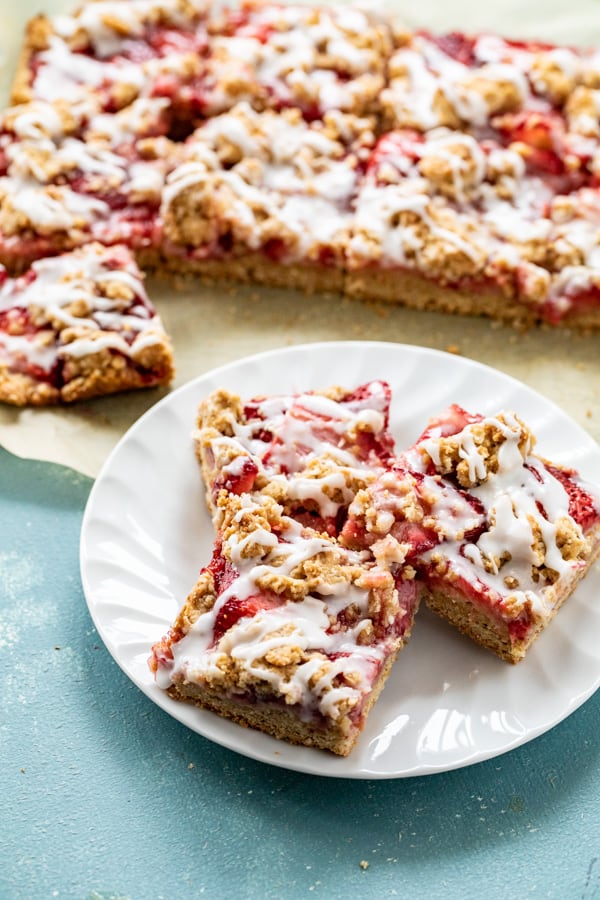
I found these to be a really easy baking project and would be great to get some kid help with cooking! My kids loved these bars and we had them for treats for a few days!
If you try these strawberry dessert bars, leave a comment and let me know what you think!
- Want a different flavor profile? Try these S’More Energy Balls!
Here are a few other great Strawberry recipes!
- Bacon Strawberry Breakfast Sandwiches
- Roasted Strawberry BBQ Sauce
- Strawberry Rhubarb Oatmeal Bowls
- Strawberry Lemon Blondies from The View from Great Island


A Evans
Love this recipe. the dessert bars look amazing, going to make these this week
Jane
Made these for Mother’s Day brunch. Delicious and quite easy. Thanks for the recipe.
Pam
Well I guess I know what I’m making tomorrow! This looks amazing and I just bought strawberries yesterday. Do you think milk would be okay instead of heavy cream?
Nick
Yep! No problems there. Good luck!
Kate
I made these and they were delicious! One small note: your instructions mention adding both baking soda and baking powder, but the ingredients list only baking powder. I used just baking powder and I think they turned out okay, but wonder if they would have been fluffier with both?
Nick
Hey Kate! UGH. I checked my notes and I actually didn’t use baking soda. I think I must’ve just been on auto-pilot when writing the directions. Anyway, I corrected the recipe. That said, I think you could add a small amount of baking soda (1/4 teaspoon maybe) if you wanted to give htem a little more fluff. :) Good luck and thanks for the proofing help. :)
Denise Lynn
these look amazing & perfect for berry season like they will pack well for picnics etc ~~also i would like to enter the free give away for the Yeti cup as that also sounds perfect for not only driving to Your Picnic but while on it as well
Billie
This has come at a perfect time for me!! i have 4 lbs of beautiful strawberries and I just found a use for some of them!! Thank you!