I have an almost decade long search on this blog to make really good homemade french fries. I’ve done a homemade trial comparing a bunch of different store-bought and homemade options and more recently I tried Chef Bloomfield’s delicious fry method.
A few months ago I read about a crazy method that a Bon Appetit Best New Restaurant, Al’s Place, uses to make their fries. Essentially they ferment them for a few days in a really salty brine. The finished fries are obviously crispy (like any fry) but word on the street is that they had a really interesting, complex, and addictive taste.
I had to try it to see if it was really worth the work!
A big note: I’ve never been to Al’s Place. I have no doubt that it’s delicious, but I’m not sure that mine turned out like theirs do. I’m sure their version is better because they make them everyday!
Anyway, without further ado, my fermented french fry experiment!
Fermented French Fries

Equipment
Ingredients
- 3 pounds Russet potatoes, scrubbed and sliced
- 5 tablespoons kosher salt
- 8 cups water
- 4-5 Napa cabbage leaves
- 2 qt. oil, for frying
Instructions
- Scrub potatoes well and cut into matchsticks.
- In a large bowl stir together warm water and salt until dissolved. Add potatoes and cabbage leaves. Cover with plastic wrap and store in a cool place for 4-6 days (not the fridge, but a basement or pantry works well).
- When ready to fry fries, drain fries and heat oil to 325 °F. Fry potatoes in batches for five minutes until fries are cooked through, but they won’t get crispy during this fry stage. Remove fries and let drain on a large baking sheet lined with paper towels.
- When all fries are fried, turn heat up to 375 °F. Re-fry fries, in batches, for 2-3 minutes until fries are very crispy.
- Drain fries and serve with ketchup or other dips. They shouldn’t need any extra seasoning.
Notes
Nutrition
Did you make this recipe?
Making the Brine
This is sort of like a pickle and I think they called them pickled fries at Al’s Place, but for some reason I kept called them fermented fries. I think because I like the alliteration!
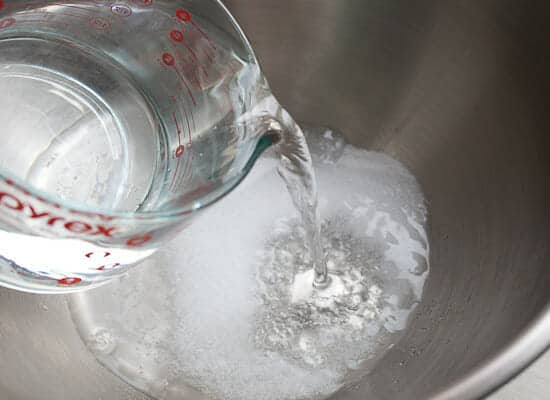
Anyway, it starts with a really salty brine. It’s no typo. Five tablespoons of kosher salt for 8 cups of water. Depending on your bowl size and stuff you might need to make more of the brine the make sure your fries are submerged.
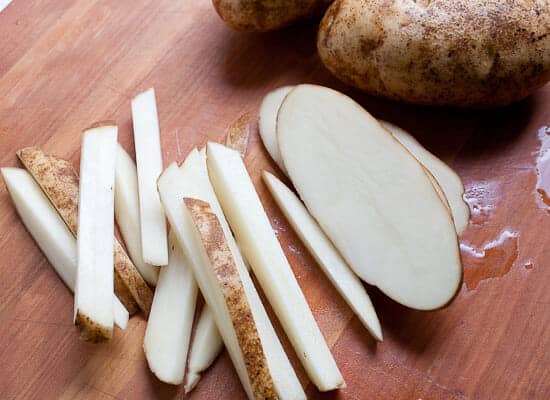
For the potatoes, I just used russet potatoes and scrubbed them really well. I like to leave the skin on these days. Just chop the potatoes into planks and then matchsticks.
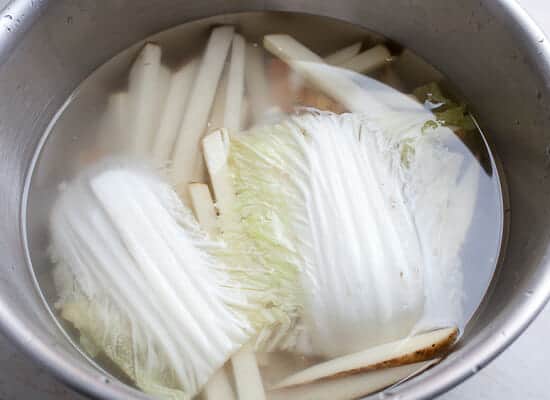
Submerge the fries in the brine and toss in a few Napa Cabbage leaves.
Here’s the story on the Napa cabbage leaves: I made one version without them and one version with them. I think they add a tiny bit of complexity to the brine, BUT the main advantage (in my opinion) is that they help keep the fries submerged in the brine! Otherwise they will want to float to the top.
Waiting is the Hardest Part
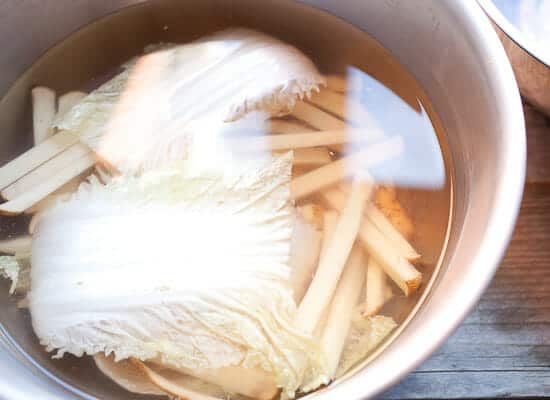
Once your fries (and cabbage) are in the brine, cover them with plastic wrap and store them in a cool dry place like a pantry for… wait for it… at least FOUR DAYS. I did five days on mine and they were great.
I wouldn’t go longer than 6-7 days or they might get too funky.
The water is a weird color after a few days. It’s all good. Because the brine is so salty, you don’t really have to worry about bad bacteria or anything.
Frying the Fermented French Fries
When the potatoes are fermented, drain them and let them dry a bit on a paper towel. I didn’t bother rinsing mine off or anything.
If you’ve gone through the trouble of doing all of this and waiting days for french fries, take the extra time to cook them correctly. That means double frying them.
If you have a deep fryer with a temperature control, this is really easy. Just set the temp to a lower 325 degrees F. Then fry the potatoes for about 5 minutes. That will cook them through and give them a little color, but they won’t be really crispy during this step.
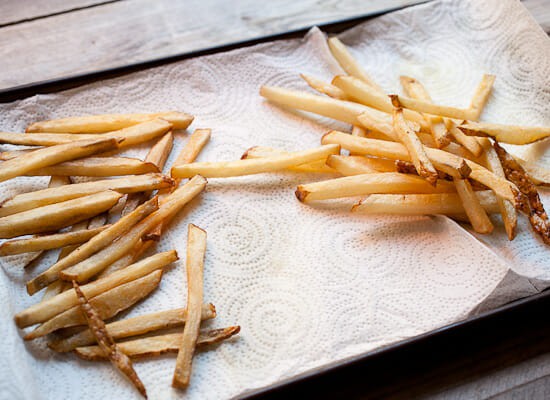
Here are my fries after the first fry. I kept them separate to try to tell the difference between cabbage and no cabbage.
The Second Fry
When all your fries are cooked in the lower temp, crank the heat up to 375 degrees F. If you don’t have a deep fryer, this can be a little difficult. You have to use a deep fry thermometer to monitor the temperature of your oil and just control the heat via stovetop. Before I had a fryer, I did this with a thermometer and it’s totally possible but definitely annoying.
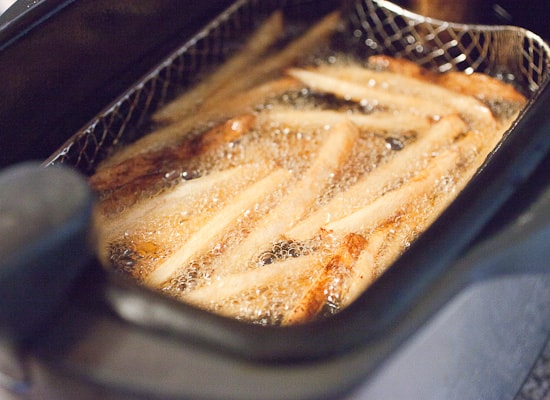
The second, hotter fry goes faster. They will just need 2 minutes per batch to get beautifully crispy.
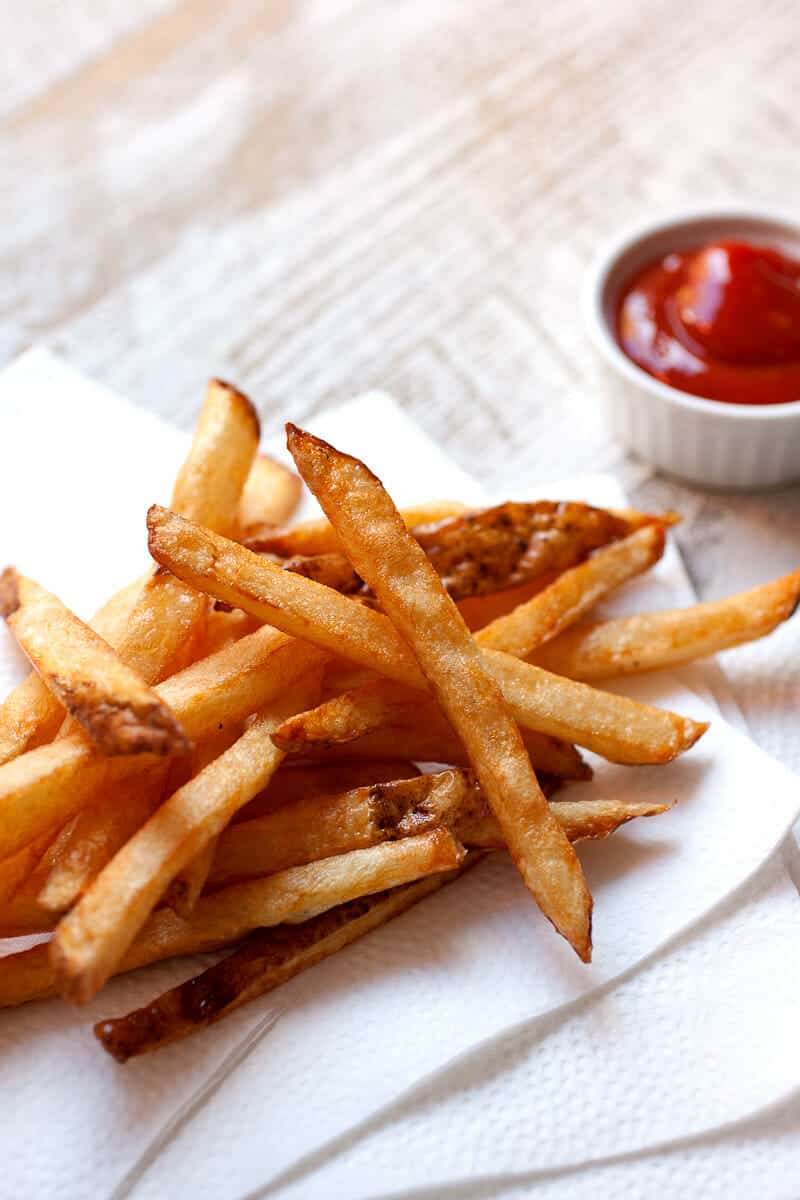
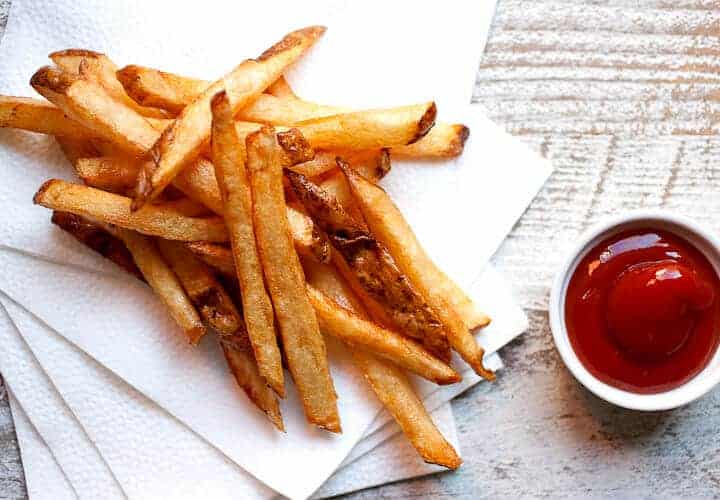
Drain the fries and serve them while hot with whatever condiments you want. Ketchup is good. Homemade mayo would be great.
Because these are in a brine for days, they really don’t need extra salt or anything. They are great right out of the fryer!
I didn’t notice a huge difference in flavor between the cabbage version and the non-cabbage version. The non-cabbage version had some fries that were badly oxidized though because they would float above the brine. That’s why I think a primary purpose of the cabbage leaves is to keep everything submerged! Just my theory!
The Four Day Question
Is it worth it to do this? Tough call… They are definitely really good and not that much extra work. It’s just a matter of planning. I can see how they are great for a restaurant environment because you can just prep fries everyday and cycle through earlier ones. For the home cook though, it’s probably a special occasion thing.
If you’re making fries regularly, I actually think mastering the double fry is a more important step to perfect fry land. Get that down and you can do no wrong. The fermenting step is cool and adds an interesting twist to the fries. Personally, I love fermented stuff so I thought these were great. If I can plan enough, I’ll definitely be making them again!
What do you think? Have you had fermented fries? Worth the work?!


splintersnstitches
Sounds interesting! I don’t like pickles (or much of anything sour, really), but I’m tempted to try these anyway. I’d probably skip the cabbage, no point in wasting a whole head for a couple of leaves, so I’d just hold them down with a plate or something. I’m definitely going to try the double fry method though–I’m always disappointed by homemade fries!
Josh
The cabbage also inoculates the brine with lactobacillus, which is the bacteria needed for salt water fermentation. Lactobacillus is everywhere, so you can still get by without the cabbage, but it does help to get things fermenting more quickly
Lily | Kale & Caramel
Um. OBSESSED!! So into the idea of fermenting pre-fry potatoes. I’m dying to know the science behind the fermentation, and how that affects their texture/frying/etc. Yum.
Nick
Yea… I’m not sure the exact science behind it. I’m not sure that it changed the texture of the final fries (maybe a tiny bit), but it definitely had a different flavor.
Sonja Corterier
I was thinking lately about maybe ding this to get crisps /chips
Heather @ The Spicy Apron
OK, wow! That was one of the craziest fry preps I’ve ever seen! I readily admit that fries are my weakness…. I’ll have to give these a shot. Thanks for the post!
Gordon M. Johanson
NICK, we don’t fry, assume you can bake (as we do now)?
gordon
Nick
I think you could Gordon. If you’re baking them I would rinse them and dry them REALLY well. Then toss them with a little olive oil and lay them out flat and bake like you normally would. Should be good!
Jason Sandeman
Hey Nick, Right On! I was just thinking about this new fangled craze of french fries too! I am sure that they taste awesome.
I am not 100% sure of the source of this, but that cabbage leaf can be explained away by the origin of these fries. Legend has it around my cooking circles is that these fries were born from the want to utilize the brine left over from fermenting cabbage (sauerkraut.) Again, I’m not sure about that, but there may be a grain of truth in there somewhere, because not a lot of home kitchens would have left over sauerkraut brine to worry about. LOL.
Nick
Interesting Jason! That’s definitely a new one for me, but sounds like there might be something to it!
bradley
Cabbage is covered in naturally occurring yeast which in turn is what helps ferment the fries.
Toby
Finally, a man that takes his fries seriously. I knew I did the right thing when I subscribed to your blog. Love the post. Love the fries.
Tee Sims
I should be sleeping, but I’m up binge reading your blog. Love! I really enjoy lacto-fermentation for things like salsa, beet kvass, water kefir, and kraut. Never heard of fermenting potatoes for French fries, but I’m intrigued–imagine they’d be like malt vinegar fries. FYI, the cabbage leaves are to keep the potatoes or whatever you’re fermenting submerged and to avoid exposure to air and unwanted bacteria. Otherwise, you run the risk of contamination.
Michael
Hey Nick, a bit of nitpicking here– wouldn’t these really be brined fries, and not fermented? Fermentation would refer to the addition of yeasts, wild or otherwise, to the solution. The saltwater brine actually prevents fermentation, to my knowledge.
Michael Walter
Fermented cabbage (sauerkraut) is made the same way as these “fries”. There are many old sourdough or wild yeast bread recipes which harvest the wild yeast present on potatoes. The fermentation does not require the addition of anything, but is most likely controlled by the salt in the brine, and may employ the natural yeast & sugar in cabbage leaves to further assist the type of fermentation desired.
Joel
The theory behind this is that the cabbage imparts lacto bacilli bacteria to the brine solution and is essential for fermentation. Please read any fermentation article about sauerkraut to understand this better. As far as Russets and Napa cabbage go.. I feel the results would be improved upon by using kennebeck potatoes and regular green cabbage instead. Also… any salts that have an anti caking agent in them will inhibit fermentation. The best is to use any pure sea salts.
Grace | eat, write + explore
Like french fries needed to be MORE addictive? Oh, goodbye waistline. These look amazing.
Emily
Wow this sounds so interesting! Why didn’t I think of this. I ferment everything! The only thing I would add is my fermented ketchup with a side of Bubbies Pickles! All that mild fermented flavor for a snack or a side dish is right up my alley.
Lena
I must have done something wrong. It started smelling really bad after sitting for two days. I just drained and rinsed the potatoes. Are they still safe to cook?
Nick
Hey Lena! I can’t safely advise you on that… I’m not sure what “really bad” is… they should have a tiny funk to them… they are fermented after all, but if it’s beyond that, I would definitely just toss them… not worth the risk!
Lena
It smelled like garbage. Maybe it wasn’t cool enough (it’s 76 in our house), or maybe I didn’t mix the salt well? I have to throw them, but I don’t want anyone getting sick either.
Nick
Hmm.. yea… garbage isn’t good. It should have a little smell to it, like kimchi, but not that bad. I’d toss it and if you want to try again, lower the temp a bit and make sure to keep everything submerged in the water… good luck!
Linda
Potatoes are a rich source of resistant starch if they are steamed and once cooked immediately placed in the fridge or freezer to cool and allow the crystalline structure to return to its original state. Once cooled, the potatoes can be used in the normal way. Salad. Warmed and mashed. Oven roasted or fried in oil for chips/fries. Resistant starch then feeds the residents of the microbiome that look after so much of our health. Potatoes cooked just once are simple starch that cause so much trouble as food allergies and weight gain. Twice cooked chips have always produced great chips, but it is debatable whether they are cooled immediately after the first cook to maintain the crystalline integrity needed for the bowel benefit.
I am interested to understand what this brine method does to the starch structure. Does the soaking do the same as the first cook, or does the brine soak retain the crystalline structure as if it was cooked and cooled? This is fascinating to contemplate.
Ché
Hi there. Beautiful write up! Just a quick note for you: This type of fermentation is called lacto-fermentation. The cabbage is to inoculate the brine with lactobacillus (bacteria). If your brine didn’t get cloudy over the 4 days, then the fermentation probably didn’t work and you have have just had salt-water-brined french fries. I am fermenting some potatoes at the moment for french fries, and I used a good bit of brine from a recent ferment of some cauliflower to be sure the medium for the potatoes would be properly populated with lactobacillus. Hope I resolved some mystery for you.
Arika
I looked up “ fermenting potatoes” because I love potatoes, but nightshades have lectins, which are very bad for digestion, bloating, and cause heartburn. Since I’ve been fermenting almost everything I eat, or sprouting grains and beans, my heartburn has totally disappeared!!! I don’t wake up with acid reflux, and I sleep! Except when my cat wakes me up flying around my bed!
I’ve found that this helps me eat French fries, and no side effects from lectins. It’s so much healthier for me.
The problem I have, is they are very crunchy. As if they’re part raw, but I can tell they aren’t.
Karen
Just wandering if you can freeze these after first fry
Nick
Hey Karen, I think you probably could as long as you froze them on a baking sheet until they were solid and then transferred them to a bag so they were still separate. Never tried it though!
Arika Grace-Kelly
It looks like you’re doing it in stainless steel. That doesn’t work well my fries are hard, no matter how long I cook them. So this time, I’m using glass. I hope they turn out better!! You didn’t say anything about what to ferment in. I didn’t know about ss and fermenting the first time.
Arika Grace-Kelly
Oops. That doesn’t work well, my fries are hard
Taf
It’s not fermenting, but brining. And all that does it extract some water from the potato. This allows them to fry faster.
Nick
This is much longer than a normal brine. Trust me they get a bit funky, but in a good way!
Mike
Great recipe. There is a few things important you stated that should be pointed out.
1] The cabbage helps to start the lacto bacteria growing as peeling the potato fries removes the skin which would hold the fermenting bacteria.
2] There is a bad chemical that is formed when cereal and vegetable stuffs are fried. It is called Acrylamide. It has to do with the reaction of the heat and of the sugars in the vegetable or cereal.
https://www.dawn.com/news/53139/deadly-cancer-causing-chemical-found-in-fried-foods
It is not really a main concern but it is there.
3] The lacto bacteria feed on sugars and starches and therefore reduce that content in the finished french fry surface in contact with heated oil. The sugars in the inside of a fried food is not effected by the heat it seems or boiling either.
https://www.researchgate.net/publication/299814417_Reduction_of_Acrylamide_Formation_in_Potato_Chips_Fermented_by_Bacillus_sp
This report shows that even a short stay in the lacto culture does a job on the chemical. Keeping in mind that the article mentions “culture” so I am assuming they a live ans strong culture like maybe a finished pickle brine or kraut instead of a new brine.
Bottom line is fermenting does give the fries a nice taste and now possibly an additional health benefit :)