I wanted to bake some bread this week and I was happy that ciabatta won last week’s poll, mainly just because I’ve never made it before! While it may have been a good idea to just try a normal loaf for my first time, I thought I’d go ahead and go out on a limb and spice up my first ciabatta loaf by adding in some caramelized onions and herbs.
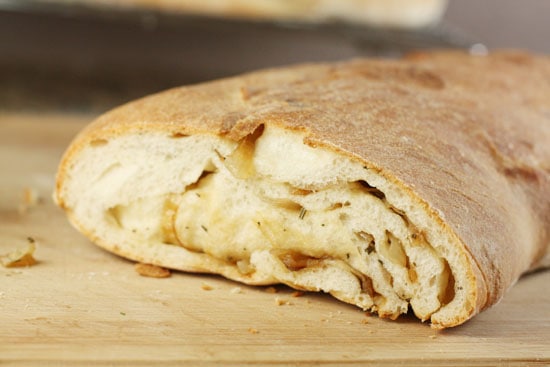
In general, it turned out great! Usually ciabatta has a nice crispy crust and really big holes in the crumb that can catch lots of olive oil. My crust was really nice but I didn’t quite get the big crumb I was looking for. Even with that though, it was very good bread.
Caramelized Onion Ciabatta
Equipment
- 1 Scraper
Ingredients
Poolish (starter):
- 2½ Cups (11.25 ounces) bread flour
- 1 ½ Cups water, room temp
- ¼ Teaspoon yeast
Bread:
- Poolish starter from above
- 3 Cups (13.5 ounces) bread flour
- 1 ¾ Teaspoons salt
- 1 ½ Teaspoons instant yeast
- 6 Tablespoons to ¾ Cup water, lukewarm (I actually used 1 Cup)
Onion filling:
- 2 onions, sliced
- ¼ Cup olive oil
- 2 Tablespoons sugar
- 2 Tablespoons balsamic vinegar
- 3 Tablespoons fresh rosemary, minced
Instructions
- For the filling (which is optional), add oil to a large skillet over medium high heat. Add onions and cook until they start to brown, about 10-15 minutes. Then stir in sugar until dissolved and add a splash of balsamic vinegar. Finally stir in herbs and cook for another minute or two. Let cool completely before adding to dough. You can make the filling a day in advance.
- For the poolish starter, add ingredients to a large bowl and stir to combine. Let sit at room temperature for 3-4 hours to rise, then store in the fridge overnight.
- Remove starter from fridge one hour before making dough.
- Add flour, yeast, and salt to large bowl or a mixing bowl. Stir to combine, then add poolish and about 1/4 Cup water. Mix on low with a dough hook attachment or with a large spoon until dough comes together in a ball.
- You might need to add more water as you mix. The dough should be really soft and sticky, but not slimy. If you’re using a mixer, it should stick to the bottom, but not the sides. If you’re mixing with your hands, dip a hand in water and use it to vigorously mix the dough until it reaches the right texture, probably 5-7 minutes.
- Scrape dough onto a clean surface that’s been heavily coated with flour. Stretch dough out into a large rectangle. It should stretch really easily.
- Add 1/2 of the onion filling to dough. Fold the dough into a book fold, folding left side to the center and right side over the left side. Rub the dough with a bit of olive oil, cover it, and let it rest for 30 minutes.
- Stretch the dough out into another rectangle. It should easily stretch. Add the last 1/2 of the filling and do the same fold again. Rub with oil, cover, and let rise for 90 minutes. It might not double in size, but it will swell.
- Cut dough in half with a serrated knife or a pastry cutter. Seal the edges so the filling doesn’t come out and shape each half into a long rectangle. My loaves were about 6 by 12 inches in size.
- Set the loaves in a couche, which is just a floured towel that’s been bunched up so the loaves can’t touch each other.
- Preheat oven to 500 degrees with baking stone in it for 25-30 minutes.
- Flour a peel or the back of a baking sheet. Add a loaf of dough to the peel and slide it onto the hot stone.
- Using a spray mist bottle, spray the sides of the oven with water creating steam. Repeat this process every minute or so 3-4 times. Then turn the oven down to 450 degrees and cook the bread for about 20 minutes until it’s a deep golden brown.
- Remove loaf and cool on a rack for an hour before slicing.
Notes
Nutrition
Did you make this recipe?
Making the Filling
The filling for this bread is optional, but it adds a ton of flavor. I think that my crumb maybe suffered a bit because of the filling, but I won’t know that for sure until I try it without the filling.
In any event, you can’t go wrong with caramelized onions so don’t be afraid to give it a shot.
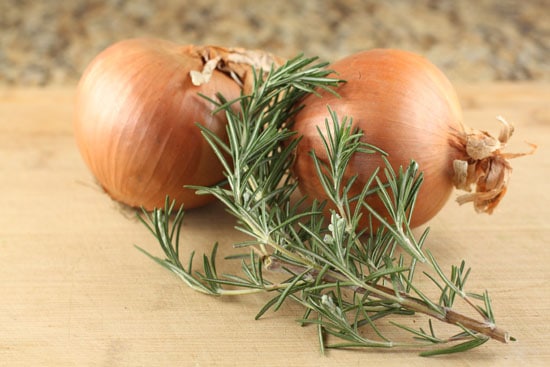
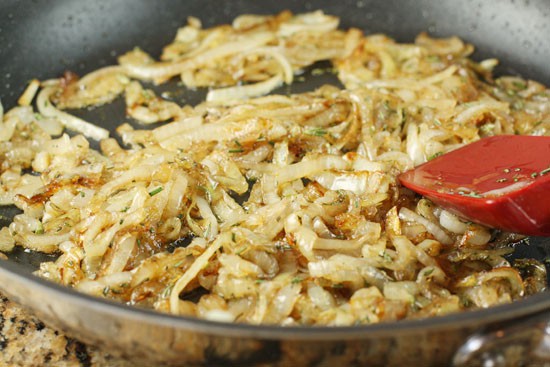
Add your olive oil to a large skillet over medium high heat and add your sliced onions. Cook for about 10-15 minutes, stirring occasionally until the onions are starting to get nice and brown. Then add in the sugar and stir until it’s dissolved.
Add a splash of balsamic vinegar and the chopped rosemary and cook for another minute or two. It should smell really good.
Let this mixture cool before adding it into the dough. You could make it a day in advance if you want.
The Poolish
This recipe uses a starter of sorts which adds some great flavor to the finished product. It also adds on a day to your prep time which is kind of annoying, but not terrible if you can plan ahead.
Basically, just combine your poolish ingredients in a large bowl. As always, I highly recommend measuring ingredients by weight so you can make sure to get good results.
The poolish should be very wet. Once everything is nice and combined, cover it and let it rise at room temperature for 3-4 hours until it swells up, then store it in the fridge overnight.
This was my poolish after a night in the fridge.
Making the Dough
Remove your poolish from the fridge about an hour before you want to make your dough. You want to make sure it comes to room temperature before working with it.
You can use a stand mixer or your hands to mix the dough. To start, add the flour, salt, and yeast to a large bowl and stir it well to combine. Then add in all your poolish along with 1/4 Cup of water.
Mix this on low or stir it with a large spoon until the dough comes together in a ball.
The thing to remember about ciabatta dough is that it should be really wet. You actually want the dough to be sticky. Don’t be afraid to add more water until you get to a sticky dough phase.
If you’re using a stand mixer, use the dough hook on low-medium to mix the dough. If you’re using your hands, dip your hand in water and work it vigorously until the dough comes together. Either way, it should take 5-7 minutes to get the dough in the right shape.
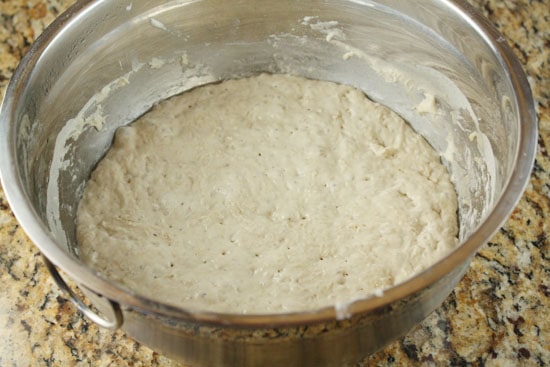
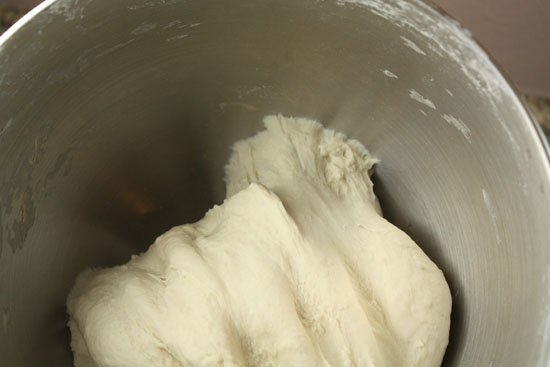
This was my dough after I mixed it. To get the right feel for the dough, I actually added about a cup of water which is way more than the recipe called for. I think I needed the extra water because I messed up a bit measuring my flour.
Anyway, my dough was a nice soft texture though and was sticky without being slimy.
Shaping the Dough
Once your dough is ready, sprinkle a good amount of flour on a clean surface into a large square (maybe 12×12 inches). Scoop the dough out into the flour and start working it into a large rectangle.
Once you get it into a rectangle, sprinkle on a bit of olive oil and add half of your onion mixture to the bread. Spread it out evenly.
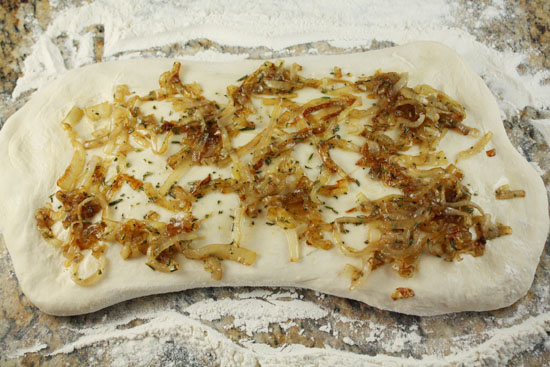
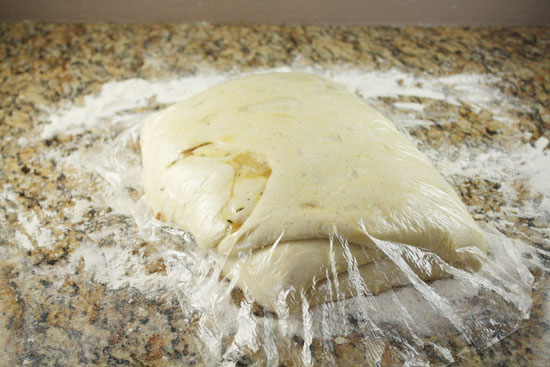
Next, fold the dough over into thirds (called a book fold). So take the left edge and fold it into the center, then take the right edge and fold it over the left edge.
Rub the dough with some olive oil to keep it moist, cover it with plastic and let it rest for 30 minutes.
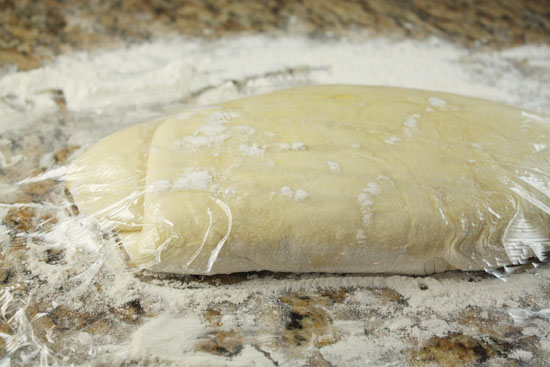
Letting your dough sit for 30 minutes or so will help it relax.
Then stretch it out into a rough rectangle again. It doesn’t have to be perfect. The dough is so soft that you shouldn’t need a rolling pin or anything. Just use your hands to gentle pull it out.
Add the rest of your onion mixture evenly over the bread!
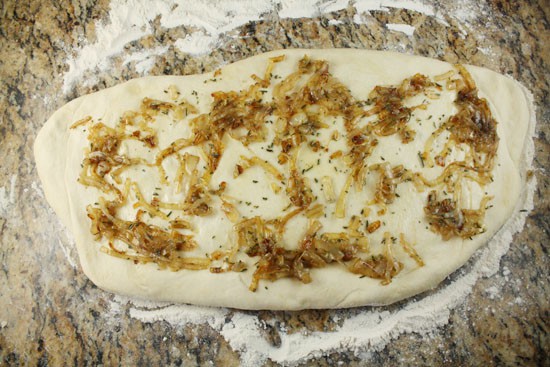
Then do the same book fold again: left to center and right over left. So basically what we’re doing here is creating lots of different air pockets and also layers of fillings.
NOTE: If you don’t want to use the fillings, still do the stretching and folding. Don’t skip that step just because you don’t have a filling to add.
Once your dough is folded over for a second time, rub it with a bit of oil again, cover it, and let it rise for about 90 minutes. It might not double in size, but it should swell noticeably.
Making the loaves
Use a pastry cutter or serrated knife to slice your dough in half. Pinch together the edges so the filling doesn’t come out and stretch out each half to make a loaf of ciabatta. You could make the dough in a lot of different shapes, but I like a long flat shape.
Mine were about 6 inches wide by 12-14 inches long.
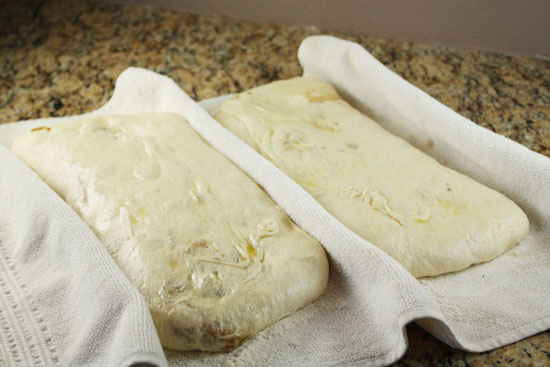
To get these ready for baking, get a clean towel and sprinkle it really well with flour. Add the loaves to the towel and bunch it up in the middle so the loaves can’t touch (called a couche).
Cover these with another towel and let sit for about 45 minutes while you prepare your oven.
Prepping the Oven
When I’m cooking loaves of bread, I always prep my oven in the same way. The goal is to create a really moist, hot environment which will create a great crust for the loaf. Of course, it’s impossible to recreate the really high heats of a professional bakery, but we can get close.
Pre-heat your oven to 500 degrees with the baking stone in it. If you aren’t using a stone, still pre-heat the oven. Let it heat for 25-30 minutes to make sure it’s nice and hot.
Then transfer a loaf of bread to a peel that’s been sprinkled with some flour or cornmeal. If you don’t have a peel you can also use the back of a sheet pan!
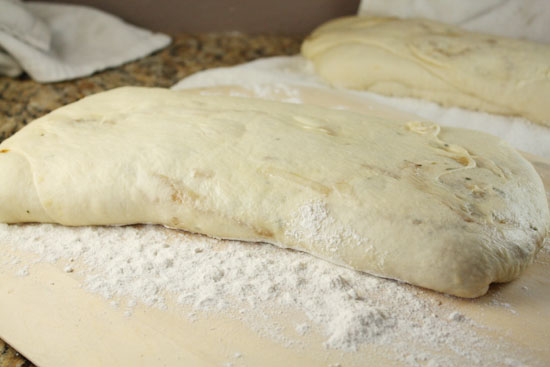
Slide the bread onto the stone. Right after the bread goes in, take a spray bottle filled with water, open the oven door and quickly spray all the oven walls. Lots of steam will be created which is what we want.
Repeat this spraying process every 30 seconds 3 or 4 times. Then turn the oven down to 450 degrees and bake the loaf until it’s golden brown. I baked mine for about 20 minutes. It’s pretty hard to burn these guys though. They are sturdy. So don’t worry about leaving them in for a minute or two longer.
Cool It Down
When you pull your loaf out, let it cool on a rack for an hour before slicing into it.
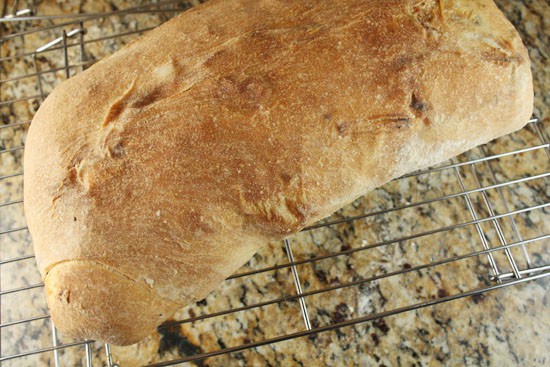
One of my loaves turned out perfectly and one was a tiny bit undercooked in spots. I think maybe the liquid from the filling made the bread soft in a few spots.
The dough wasn’t raw, but it wasn’t as firm as I would’ve liked. Definitely edible though!
Baking bread from scratch like this may seem like an insurmountable thing. I definitely thought it was when I first started doing it, but if you take your time and do your best, you’ll almost certainly end up with something that’s as good as you can buy in the store and it’ll cost a fraction of the price.
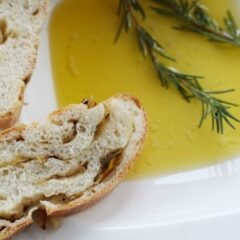
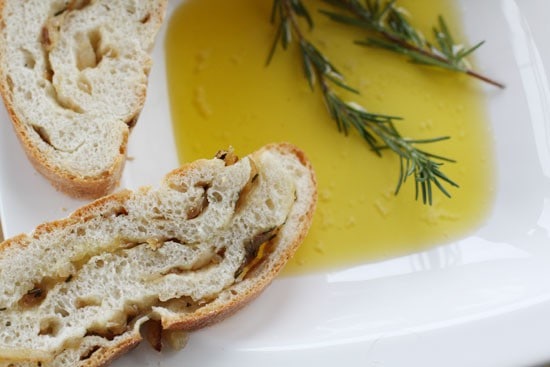
This bread was so good dipped in some olive oil. It was out of this world good.
Anybody a ciabatta lover? Leave a comment!

Ethan
Looks great, I love the caramelized onion addition. For all of his reverance, I've never had luck with any of Peter Reinhart's recipes, and I've never seen anyone have success with his BBA ciabatta recipe. I even did a side by side comparison of his formula with a higher hydration "quick" formula and much preferred the latter.
continuingmyed
Yum! It is interesting to compare methods for making ciabatta. I took a bread baking class last week and we first mixed all of the dry ingredients together, then added water and olive oil to that mix, then combined. I will have try the onion filling, that looks fantastic!
ap_fel
I really love the Caramelized Onion idea! I love Ciabatta too! That is a lot of work :) Maybe I will try it when I feel a little more confident in the kitchen.
My recent post Homemade Hummus Its healthy but I tried to make it healthier ♥
savvykitchen
I have a very unhealthy obsession with caramelized onions. This seems like it's worth the extra work!
My recent post Sunny Breakfast Cups
PLTJ
I think your poolish needs yeast instead of salt.
Nick
RIght right. Fixed. THanks :)
Lisa
Wow! I have been on the bread kick the last few days, and now I want to make this one!! Looks great!
My recent post Bread
Tania
wow Nick this looks great, cannot wait to try it!
Anthony
That looks awesome. I like bread with caramelized onions in it! Great, gotta try this one!
Tania
Nick, just wanted to let you know I made these over the weekend, without the onions though – AWESOME!!!! I am so happy with myself, because I am always afraid of working with yeast. At one stage I thought this is just a sticky mess, but then it just came together like you said it would ;-) I will definitely try the onion version some time.
My recent post Sewing