I am normally one to grill pork chops like this, but I’ve been grill-less for the last few months and so I’ve turned to my broiler to make these easy pork chops! Turns out I maybe should’ve been making Broiled Pork Chops all along! Fast, juicy, and good with so many side dishes!
There are a few tricks to making broiled pork chops so let’s dive in and get started!
What Cut of Pork Chops Broil Best?
When you are buying your pork chops, try to find a chop that isn’t super-thick or thin. I like about a 1/2-inch bone-in pork chop for broiling. That will cook through without burning.
You can use boneless, but just be careful as they can dry out quickly if you overcook them.
The Spice Mix for Pork Chops
You can use your favorite meat dry rub for these, but just keep in mind that due to the direct heat from the broiler, some spice mixes will burn. I’d avoid anything with a lot of sugar in it or anything with delicate herbs.
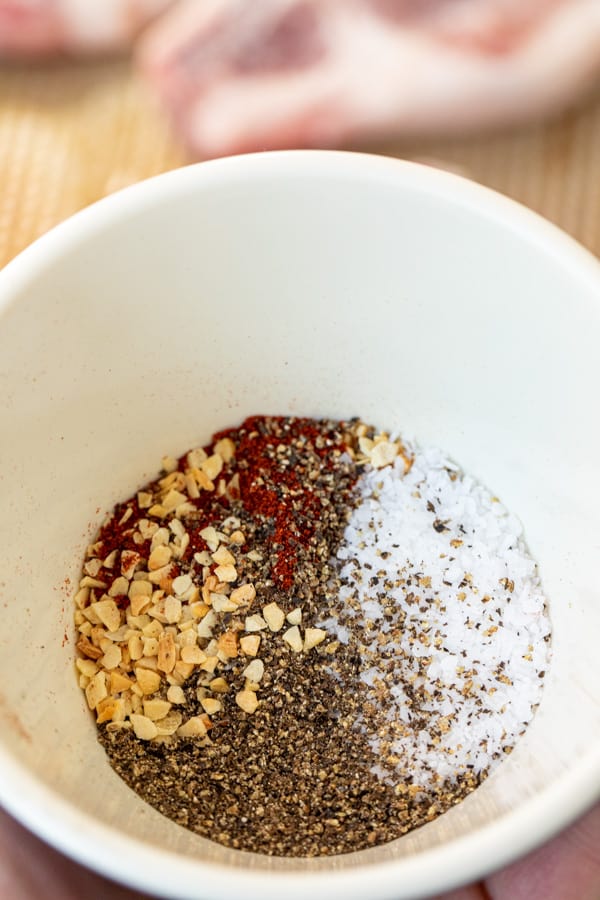
I mixed up a simple spice mix that worked really well that was just salt, pepper, granulated garlic, and sweet paprika. You could also use smoked paprika if you wanted a smoky element.
How to Prepare the Pork Chops for Broiling
Ideally, remove your pork chops from the fridge 20-30 minutes before you are cooking them. This will take the chill off of the pork chops and they will cook more evenly. Given that we are cooking them for a short period of time, this really helps.
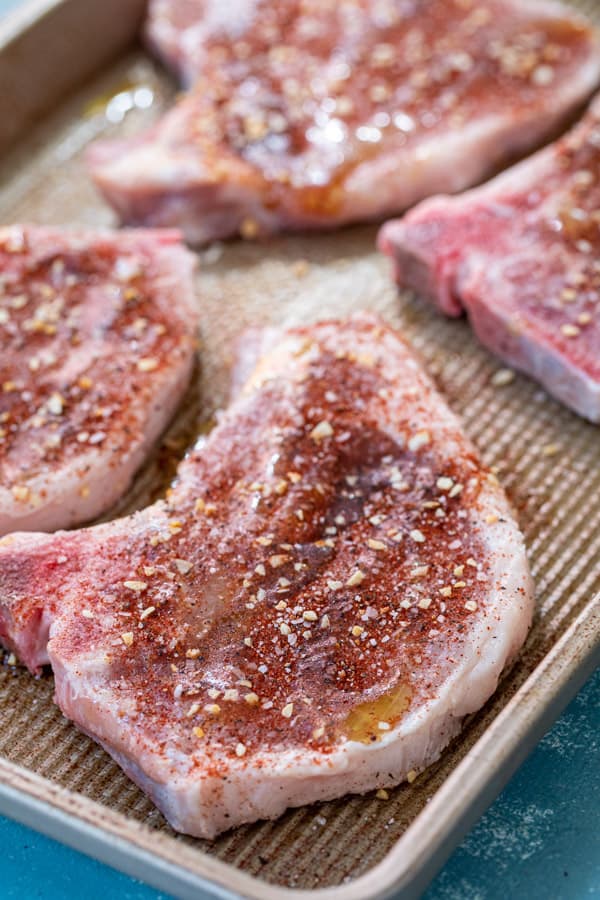
I also like to rub my pork chops with the dry rub during this resting period so the flavors can permeate a bit.
How to Broil the Pork Chops
Before you start broiling them, I recommend turning on any fan you have in your kitchen as well as possibly opening a window. Broiling can create some smoke from the intense heat and it’s best if you can avoid setting off your fire detector!
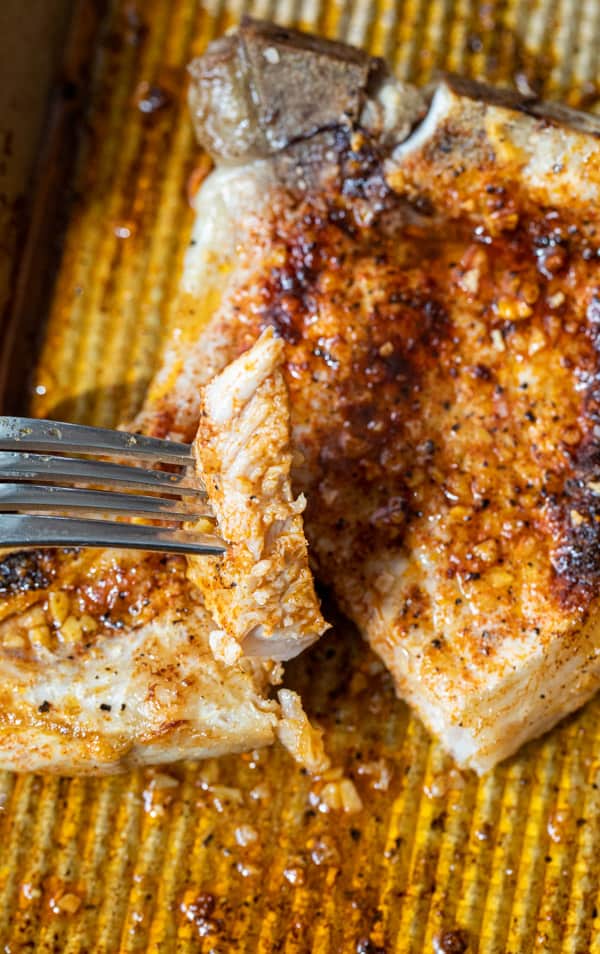
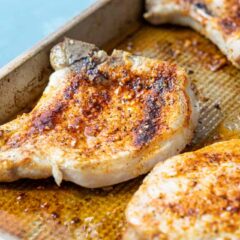
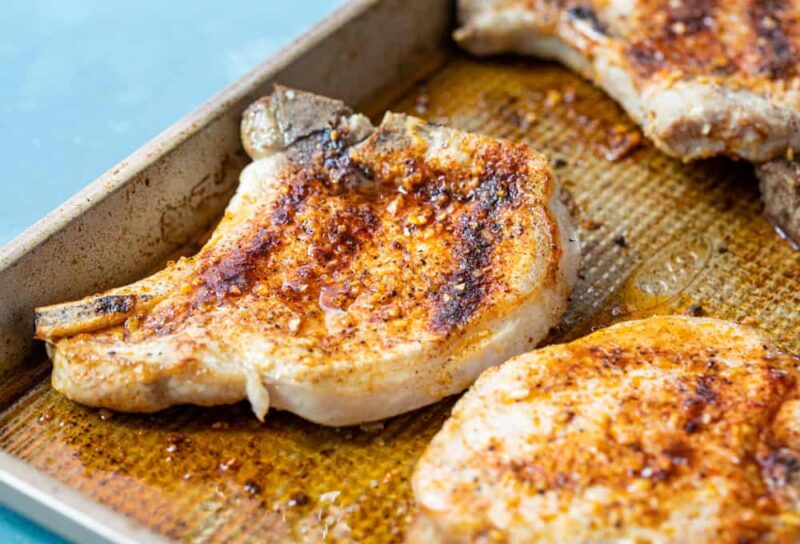
Under the broiler the pork chops go! Be sure to preheat it so it is rip-roaring hot and cook them for 4-5 minutes on the first side. Then flip them and cook for another 3-4 minutes.
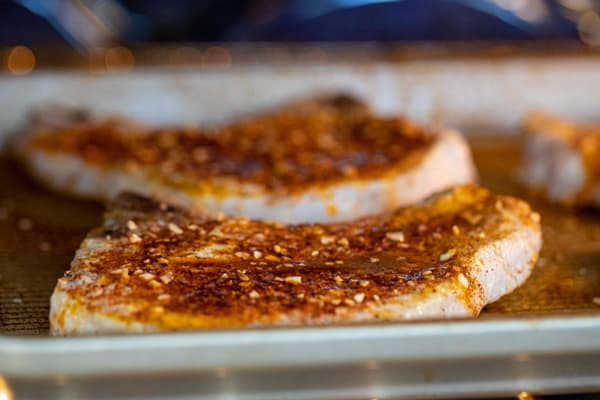
You can always (and should) test your pork chops to make sure they are done. They should reach an internal temperature of 140˚F in the thickest part of the chop.
After they come out of the broiler, I like to sprinkle them with a little extra spice mix.
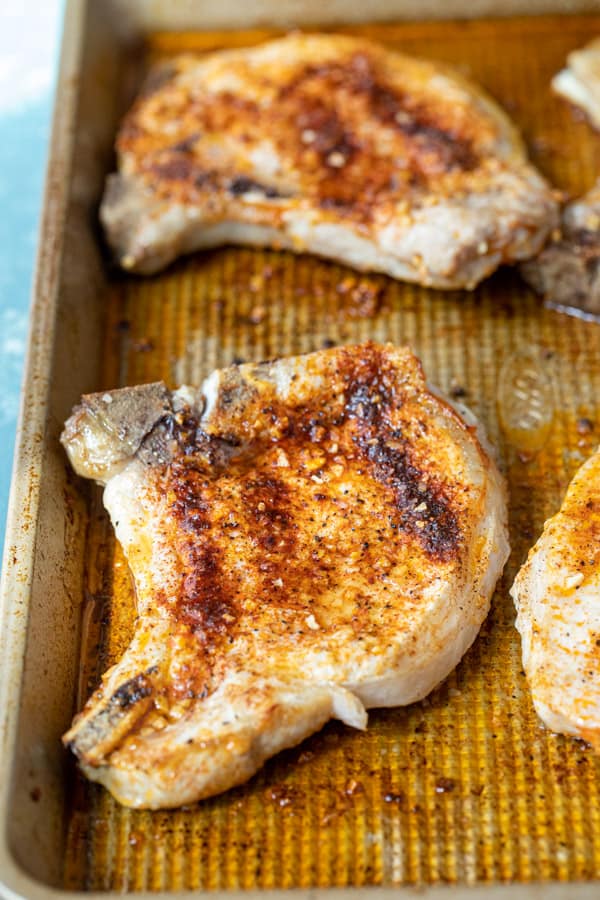
These broiled pork chops are beautifully juicy and a perfect way to serve them if you don’t have access to a grill. Frankly, even though I have a grill, I’ll still be making them this way occasionally!
Tenderloin over chops? Try these Cumin Lime Pork Tenderloins!
What to Serve with Broiled Pork Chops
The short answer is pretty much anything! Usually, starch like mashed potatoes, rice, or a smaller pasta would work well. Couscous is a favorite at my house right now.
For veggies, something steamed like broccoli goes great or you can keep it fresh with a large salad.
Easy Broiled Pork Chops
Equipment
Ingredients
- 4 ½-inch bone-in pork chops
- 1 teaspoon kosher salt
- 1 teaspoon black pepper
- 1 teaspoon granulated garlic
- 1 teaspoon sweet paprika
- 2 tablespoons olive oil
Instructions
- Optional: Remove pork chops 20 minutes before cooking to take the chill off them. This will allow them to cook more evenly.
- Preheat broiler to high heat. Turn on a fan if you have one over the stove and open a window to allow for some air circulation.
- Rub pork chops with spice mix and drizzle with olive oil. You should use almost all of the spice mix but save some for sprinkling on them after cooking.
- Lay out pork chops on a baking sheet that is broiler safe.
- Broil pork chops for 4-5 minutes, then flip, and then broil for another 3-4 minutes.
- Test pork chops to ensure they reached at least 140˚F in the thickest part. They will almost certainly be done unless you have thicker pork chops.
- Sprinkle pork chops with a little extra spice mix and serve while warm.

Kathi Porter
How close to the broiler flame should the chops be?
Nick
Hey Kathi! I checked in my oven and if I put the tray the clearance is 4-5 inches from the burners. If you get too much closer than that any fat from the pork chops will just fly up and burn I think. That said, it’s oven dependent for sure so you might have to watch it a bit and adjust up or down based on how they are cooking. Good luck!
Kathi Porter
Hi Nick – thanks so much!