This Peanut Butter Pie really isn’t fair to all the hard working bakers out there.
It requires almost no oven time, is pretty simple to make, and is one of the best things I’ve ever eaten.
And I don’t even like sweet stuff.
It was pretty essential for me to post some chilled items this week because last week I unwittingly posted all hot stuff in the middle of a huge heat wave.
A smart blogger I am not.
I’m really glad that a chilled dessert won the poll last week though because I’m not sure what I would’ve made if “Ice Ice Baby” had won.
Black Bottom Peanut Butter Pie
Equipment
Ingredients
Crust:
- 3 cups graham crackers, crushed
- 8 tablespoons unsalted butter, melted
- 1 tablespoon sugar
- 1 pinch of salt
Chocolate Layer:
- 8 ounces semi-sweet chocolate chips
- ⅔ cups cream
- 2 tablespoons corn syrup
- 1 teaspoon vanilla
Peanut Butter Mixture:
- 6 ounces peanut butter chips
- ⅔ cups cream
- 2 tablespoons creamy peanut butter
- 1 teaspoon vanilla
Whipped Cream:
- 1 cup cream
- 2 tablespoon sugar
Instructions
- Grind about 10 graham cracker sheets in a mini food processor (in a few batches) until they are finely ground. Stir in with other crust ingredients.
- Press crust into a tart pan with removable bottom. Any pan will work okay, but it might be a bit hard getting the pie out.
- Bake pie crust at 350 Fahrenheit for 15 minutes. Let cool.
- Combine chocolate ingredients in a microwave safe bowl and microwave for about three minutes on medium power until the mixture is just melted. Stir it after each minute.
- Pour chocolate layer into crust and spread it evenly. Freeze crust for 15 minutes.
- Combine peanut butter filling ingredients into a microwave safe dish and melt on medium power, stirring frequently.
- In a large bowl, whip together cream and sugar until it is stiff, but not quite holding peaks – a step before whipped cream. Then whisk in the melted peanut butter mixture.
- Pour into pan.
- Chill for at least two hours, but overnight is best. Drizzle with melted chocolate and peanut butter for decoration.
- Serve chilled!
Nutrition
Did you make this recipe?
Peanut Butter Pie
The Crust
The crust for this Peanut Butter Pie is just my standard graham cracker crust recipe. Nothing fancy here… these days you can even buy pretty decent graham cracker crusts at the store, but then they come in those annoying flimsy aluminum pie pans that I always break in half.
If you have a food processor of some sort, just pulse up around 10 sheets of graham crackers and mix it with melted butter and a pinch of sugar and salt. Then press it into your pan of choice.
I used a tart pan with a removable bottom just to make it easier to cut later, but you can use any pan really.
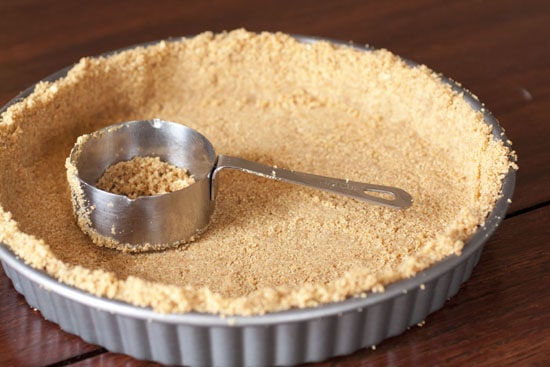
I use a measuring cup to pack the crust in around the edges so everything is nice and tight.
Then bake the crust at 350 degrees for about 15 minutes.
That is the only oven time you need for this entire recipe. Turn it off and forget about it!
The Chocolate Layer
The “black bottom” layer of this pie is a really rich chocolate layer that is thick and delicious.
You can make it in your microwave. Just combine all the ingredients and nuke it on medium power for about three minutes.
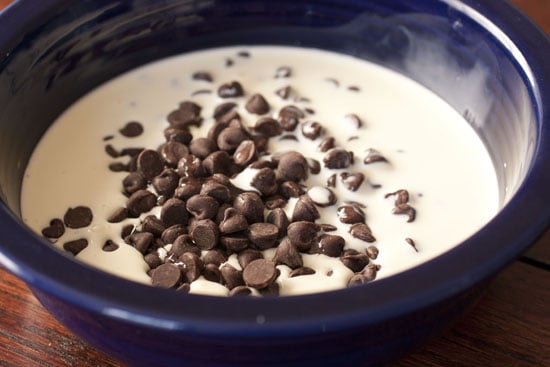
I recommend checking on the bowl every 30 seconds or so and giving the chocolate a stir just to make sure it isn’t scorching.
Once it is all melted and smooth, just pour it into the crust!
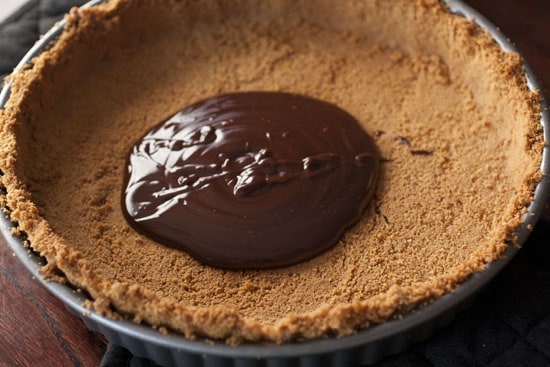
Spread it out and you should have a nice thick layer of chocolate in the pie pan.
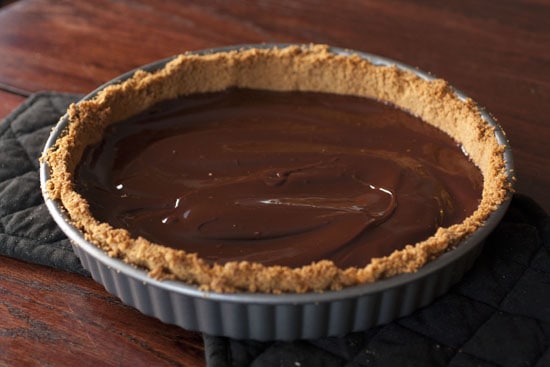
Stick the pie in the freezer at this point for about fifteen minutes so it firms up nicely.
While it is freezing you can make the peanut butter filling.
The Filling
Again, the filling isn’t exactly rocket science. The microwave gets the job done a second time.
Just combine the filling ingredients, melt them on medium power, and stir every thirty seconds.
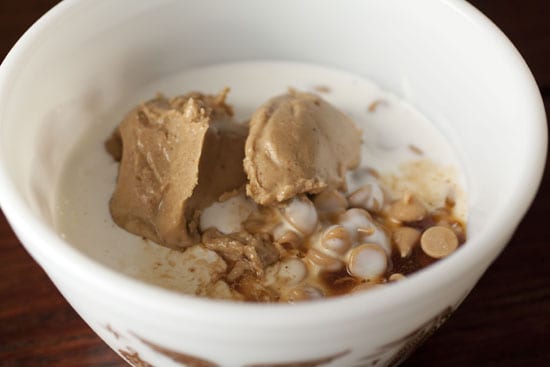
This mixture should be a lot thicker and look almost like caramel sauce when it’s done.
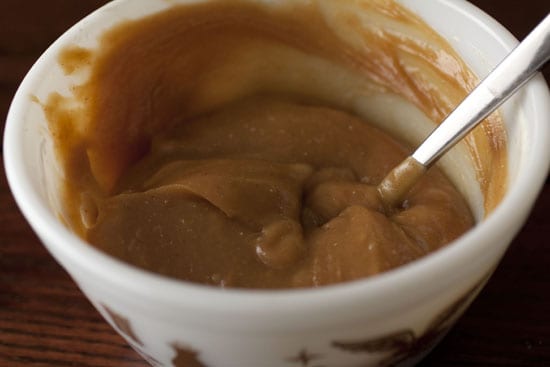
You would NOT want to pour that into your pie.
We want to lighten it up first.
Add your extra cream and a pinch of sugar to a large bowl and whisk it until it is thick, but not quite holding a peak. This process will be easier if you stick your bowl and cream into the fridge for about 10 minutes before beating it.
This is about the texture you’re looking for — it should hold a soft peak for just a few seconds.
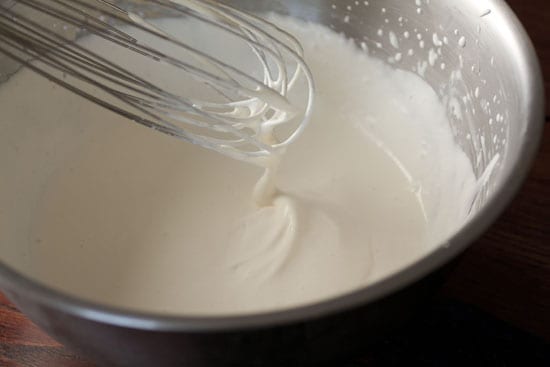
Add your thick peanut butter mixture to the cream and whisk it together until you have a single, smooth filling.
I recommend eating a spoonful of this as a reward at this point because it is really good.
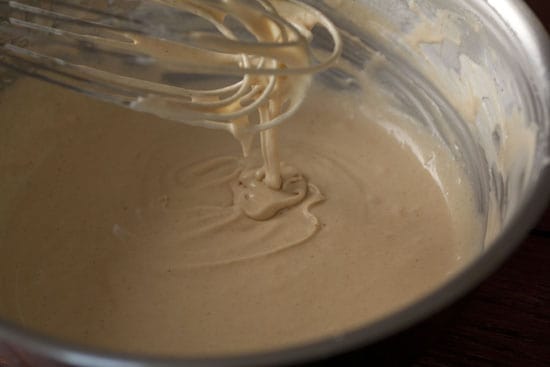
Then just pour it into your pie crust!
Done deal!
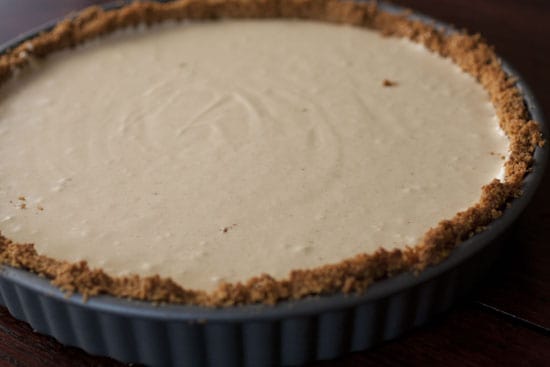
Obviously, the filling is very soft at this point, so let the pie chill in your fridge for at least two hours before cutting into it.
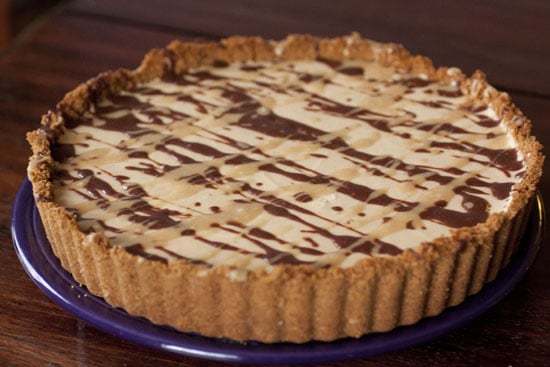
Just for decoration, I melted a bit more chocolate and peanut butter with a drizzle of milk and then used that to make some artsy design on top.
Totally unnecessary, but looks cool!
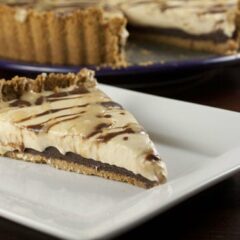
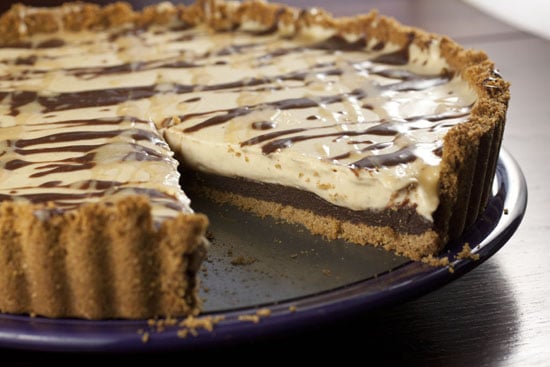
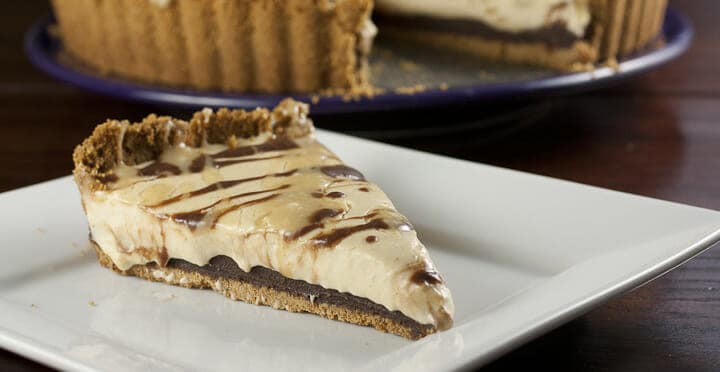
When you cut into it you can see the awesome layers.
The chocolate layer isn’t quite solid, but is really thick and decadent while the peanut butter layer is light and fluffy.
I sent this Peanut Butter Pie into Betsy’s office and got individual emails from people saying how good it was.
That means it must be a keeper recipe!

Jessen
I love the fact that there’s barley any added sugar!! Peanut butter is sweet enough on it’s own. My family is like you with the sweet’s thing. . . They don’t like tooo Sweet and Prefer salty to sweet anyday.
Great Recipe! Hope you had a great 4th of July.
Jessica
Chocolate + PB + Baking without baking?
Yup.
Maggie @ A Bitchin’ Kitchen
I really don’t think there is anything better than peanut butter + chocolate. This looks amazing!
Theresa
Yummy! I know what I am making for a treat this weekend!
Timothy Hopper
Do I need to store this in the fridge if I’m not going to use it immediately?
Nick
Hey Tim, yes. Definitely. It’s a chilled dessert so you should store it in the fridge or it might break down. It has lots of cream in it.
Clara
Is it possible to use Nutella instead of Peanut Butter?
JB
Hey Man– long-time-bookmarker, first-time poster…
This sounds awesome, I want to make it for my wife’s birthday. Do you have recommendations for making the filling layers without a microwave? I’m usually pretty reckless, but dessert recipes make me nervous with all their melting and combining and peaking and lack of hot sauce.
Do you think making it in a pan would require extra liquid/less solids? Adding ingredients at different times? I just don’t want the fillings to be all glumpy.
I will try my hand regardless but any advice you can give translating this to a stovetop would be much appreciated!
P.S. Just had your crunchy tempeh tacos tonight for the 6th or 12th time, that is a winner. Thanks for putting all your ideas out there!
Nick
Hey JB. I don’t think you would want to melt it directly in a pan just because it might scorch, but you could definitely do it in a double boiler which is pretty easy. Just get a pan of water simmering and place a metal bowl or other pan above the pan with boiling water. That’ll provide a gentle heat to the top bowl and will melt the fillings without scorching them.
It’s actually probably a better way to do it than even the microwave.
Good luck!
JB
Great, thanks!
octi
Hi, I can’t get peanut butter chips anywhere(Norway…). How can the PB layer be modified? Any ideas?
Nick
Heya, that one is tough actually. The chips have a bunch of other stuff in them besides PB… mainly sugar. If you wanted to give it a shot, I think you could use all peanut butter for that layer and add in about 1/2 cup of sugar. No guarantees though! Let me know if you try it and have good results.
octi
Will do :) I made this last Saturday substituting PB layer with whipped cream and fresh raspberries – it was delicious!