I have had some really epic smoke-outs while making Macheesmo recipes. We have a pretty old stove and the vent on it isn’t the best in the world so this results in the occasional smoky kitchen if I’m baking certain items. We’ve gotten pretty used to it, but sometimes a recipe comes along that’s too much to handle in the smoke department.
This recipe had no such warning though.
I’ve actually made a lot of fried chicken over the years but I haven’t posted any to Macheesmo for some reason. I usually follow Alton Brown’s fried chicken recipe which I find to be pretty fail-proof. When Fried Chicken won the poll though I knew I wanted to try the version in the latest Cook’s Illustrated which calls for half frying and half baking the chicken.
The idea is to minimize the amount of oil you have to deal with. The chicken was really great, but there was a hidden problem…
Baked Fried Chicken
Equipment
Ingredients
- 1 whole chicken, cut into eight parts or 3-4 pounds of your preferred chicken pieces.
- 2 Cups + ¼ Cup buttermilk, the 1/4 cup is for the flour mixture
- 3 Cups all-purpose flour
- 3 Teaspoons baking powder
- 1 ½ Tablespoons black pepper, split between flour and buttermilk
- 2 Teaspoons garlic powder, split
- 2 Teaspoons paprika, split
- ½ Teaspoons cayenne, split
- 1 ½ Cups vegetable oil
- Big pinches of salt, in both buttermilk and flour
Instructions
- Add 2 Cups of buttermilk to a large bowl or a big plastic container along with half of all your spices (salt, pepper, paprika, cayenne, garlic powder, dash of hot sauce). Whisk together and add your chicken pieces. Cover and refrigerate overnight or at least for an hour.
- Once you are ready to fry, add the same spices to flour and mix together. Then stir in 1/4 Cup buttermilk to give the flour a gritty texture.
- Working one piece at a time, take the thicken from the buttermilk mixture and dredge in the flour mixture. Set the chicken on a clean plate until your ready to fry.
- Preheat the oven to 400 degrees and add your vegetable oil to a large cast iron skillet or high-sided skillet. Heat the pan over high heat and when the oil is very hot (375 degrees), add the chicken, skin side down. You’ll probably have to work in batches.
- Cook the chicken for about 5 minutes on the skin side and then 4 minutes on the second side. Remove the chicken to a wire rack on a sheet pan which is how you will bake it.
- Bake the chicken for about 20 minutes at 400 degrees to finish the cooking. Be sure check the chicken to make sure it’s done. I recommend using a meat thermometer for this.
- WARNING: This recipe produces a lot of smoke. Be sure to have your oven vent on high and maybe even open a window or two.
Notes
Nutrition
Did you make this recipe?
The Buttermilk
There are a few hard and solid rules that always come up in cooking. In my opinion, one of them is that fried chicken has to be soaked in buttermilk. It makes it so moist and delicious. In my opinion it’s not even worth making if you can’t soak it in buttermilk before frying it.
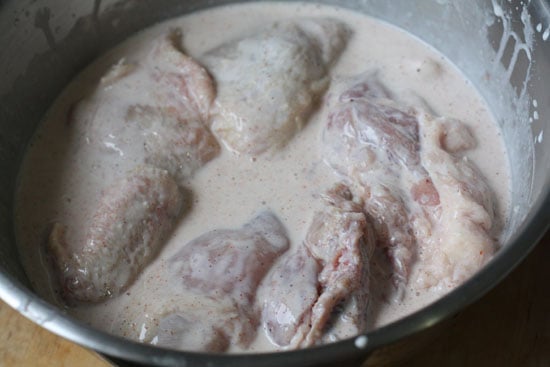
This recipe goes a step further (which I love) by mixing some spices in with the buttermilk. I added 2 Cups of buttermilk to a large bowl and then added salt, paprika, garlic powder, a dash of hot sauce, some cayenne pepper, and a few grinds of fresh pepper.
Whisk it all together and then add your chicken pieces. Cover and refrigerate at least for an hour but overnight is best.
The Flour Mixture
Basically the rule with fried chicken (besides the buttermilk rule) is to almost over-season everything. Don’t be scared! Some of the seasoning will fall off and some will mellow out as it cooks. Seasoning both the buttermilk and the flour coating make for particularly delicious finished bird.
So add basically the same seasonings as you added to the buttermilk to your flour mixture.
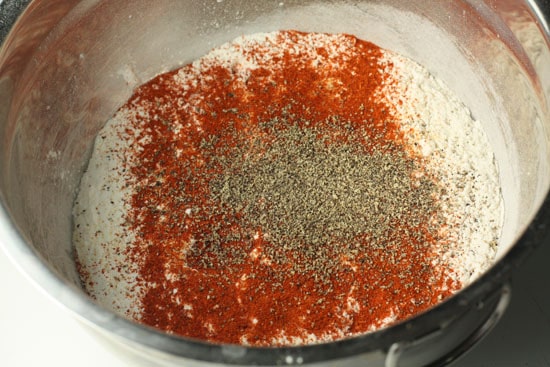
Stir this all together and then add a small amount (maybe 1/4 Cup) of buttermilk to the flour mixture. This will create tiny balls of flour when stirred in which gives the flour a good texture.
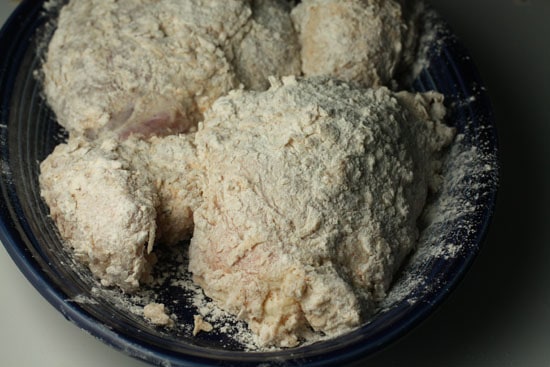
Take your chicken out of the buttermilk bath one piece at a time and dredge it in the flour. It doesn’t need to be an even coating at all though. An uneven coating around the pieces actually makes for a good texture.
Then set the pieces on a plate while you get your oil ready. Setting them on a plate gives the flour some time to stick to the chicken before frying.
The First Fry
Before you start cooking the chicken, you need to do a few things. First is pre-heat your oven to 400 degrees. Second is add the oil to a large cast iron pan or large straight sided skillet. I like the cast iron.
You can see that it’s not a huge amount of oil at all.
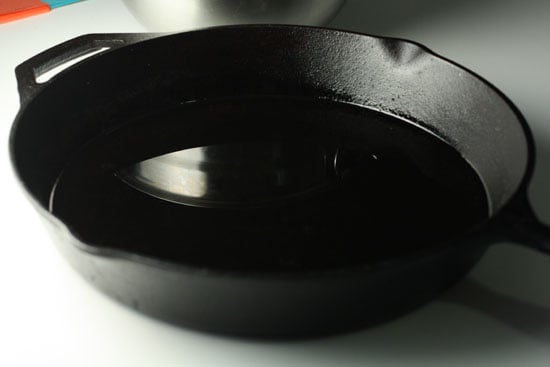
Put your pan of oil on the stove over high heat. This should be heated to about 375 degrees (which is 50 degrees hotter than a normal fried chicken cooking temperature). The idea is that we cook it really hot in a little oil and it creates a really browned crust to seal in the flavor/moisture. Then we finish the cooking in a hot oven.
It works great. Except for the massive amounts of smoke that billowed from my oven.
I started by heating my oil, and when it was hot, I added as much chicken as I could comfortably fit (I had to do two batches), skin-side down to the oil. I let it cook for about five minutes and then gave it a flip.
Perfect!
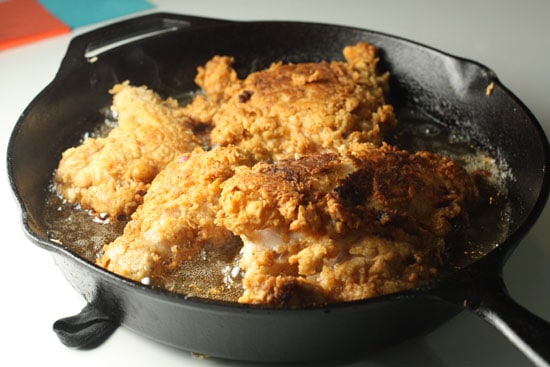
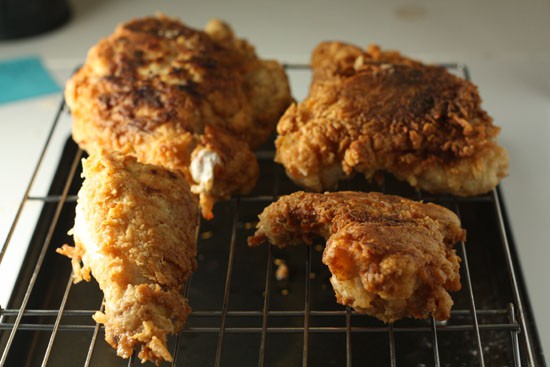
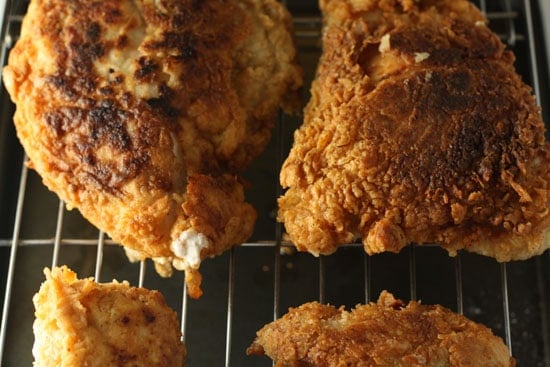
Another 3 or 4 minutes on side two and then I moved the pieces to a wire rack on which they would finish baking in the oven.
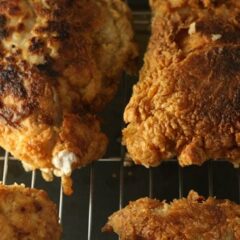
This was my set-up and looked basically identical to the Cook’s Illustrated model.
Here’s the Rub
You need to bake the chicken now for probably 20 minutes (depending on the size of your pieces) at 400 degrees for them to finish cooking. As with all poultry, I recommend using a meat thermometer to see when they are done. You’re shooting for around 160 degrees in the center of the chicken.
Because the chicken is slightly elevated on a wire rack, it cooks perfectly evenly and the crust remains very crispy and delicious because the oil drips away from the bird.
BUT… because the oil drips away from the bird onto a very hot sheet pan (along with any tiny chicken bits or juices), it almost immediately burns sending huge plumes of smoke out of the oven.
I noticed that this was going to happen about 7-8 minutes into the baking and at that point there was nothing I could really do except open all the windows and let it happen. I made sure that it wasn’t going to start an actual fire and then just got ready for the SMOKEFEST.
Needless to say, Betsy and Tipsy were very displeased by the smoke situation. They hung out by an open window and judged me.
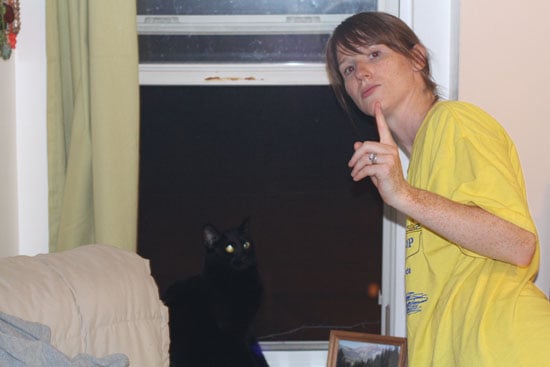
After 20 minutes, our apartment was literally filled with smoke despite setting up fans next to open windows and all that stuff.
Luckily, the chicken did actually turn out to be delicious. Crunchy on the outside, moist on the inside, and perfectly seasoned.
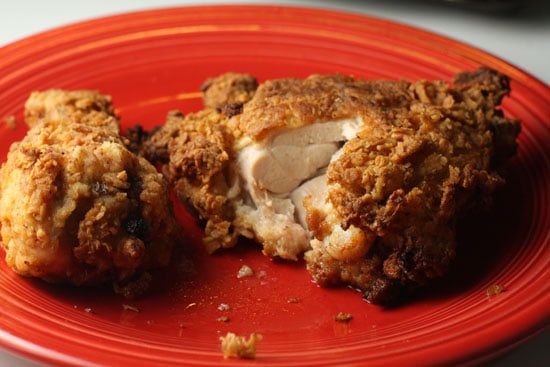
This really did produce excellent chicken, but so does a standard fried chicken recipe. The only difference is that for a standard recipe like Alton’s you have oil to clean up and in this one you have smoke to clean up and some charred black sheet pans to scrub.
If you have a very awesome vent above your stove, then the smoke situation wouldn’t be a problem, but it was definitely a problem for me.
Take your pick I guess. Both produce fantastic chicken, but I think next time I might revert to the more oil method.
Anyone else tried this technique? Thoughts?

Tania
Hey Nick, I'm thinking maybe some paper towel/ brown paper bag (will it catch fire?) or a silicon sheet in the dripping pan?
Jeanne Adams
Hi Nick,
Can I fry the chicken on Saturday, refrigerate and then bake on Sunday?
Waiting to hear about solution to the smoke! "Bake" it in the barbecue?
Thanks,
Jeanne
Nick
I think that would work out okay actually. Good luck!
Julia
When you have the chicken on the baking rack and the rack is on a sheet pan, that is the problem. You need to change the sheet pan for a shallow baking pan that can handle some liquid. The liquid will prevent the oil that comes of the chicken from burning on the sheet pan which causes the smoke. Substitute a shallow baking pan and add some liquid to the baking pan (liquid can be water, wine , chicken broth or what ever you like). Try it the next time you make oven fried chicken and see what a difference it makes in the smoke problem.
Jim
I'd be afaid that the resulting steam would mess up the brittle crust…
Brian
My own $0.02 based on past (similar) experiences: put a thick layer of kosher salt (NOT water) on the lower rack. This is a technique I've used when oven-baking bacon, and it catches the oil before it can hit the hot pan. (If there's going to be a lot of oil dripping, use a lot of salt; it's certainly cheap enough.)
The problem with using water in a baking pan below is that the water steams (natch), and that steam rises and surrounds whatever you're baking, keeping it to the temperature of the steam. (I made this mistake with a standing rib roast; as a result, it NEVER reached the right internal temperature, because the moist air around it was barely above 212ºF.)
Nick
Great idea. I didn't think about the steam situation, but you're right.
RaeDi
I was going to tell you about the water, I had a kitchen filled with smoke and called my Mom and she is the one that told me about the water, but she said to put boiling water half way up in the pan beneath and it worked out fine. I have a convection oven, not sure if that helped keep the temp for baking that Brian was speaking about. If someone knows if the difference is in cooking with a convection oven or not I would appreciate it. I will try using the salt in the pan next time. This looks so good that I am making a trip to the market to get the chicken to night to infuse in the buttermilk all night. T (me too) will love this we never have fried chicken.
Georgia
The judgement picture cracked me up. :P
And the chicken looks pretty darn good!
Katy
Yikes, a smoked-up kitchen and apartment! I saw this recipe in Cook's Illustrated as well and was interested in trying in. Not sure what to do about the smoke situation…that is quite the bummer though! Will be watching to see what solutions get thrown out there, although the salt in the pan might be worth a try.
Victoria
I have never tried the water in the pan, I bet it works but it would also make for a less crunchy chicken as it would steam the chicken a bit. The Kosher salt I have used when making a prime rib and it works like a charm. It will definately work here and the plus is the clean up is so easy. You can either let it cool and trash it or if you are brave enough pour it down you sink….I always throw it out as I don’t want clogged pipes from oil build in future years. I am going to soak my chicken tonight….I am so excited. I too saw a similiar recipe on America’s Test Kitchen….YUM! I will let you know if it fails, otherwise assume it was a huge hit.
Peter
I have often placed a pan with water in the bottom under things that were roasting in the oven, to catch the dripping fat, although never fried chicken. It made clean up far easier and perhaps also lessened the smoke problem, but I never found the steam to have a detrimental effect on the food being cooked.
Bill
I'm just glad someone else has to deal with a smokaphobe. Mine comes running at the tiniest waft of smoke and panics. So seeing your photo made me chuckle. Thanks!
V
What about lining the pan with aluminum foil? Makes for easy clean-up, too.
I really like how you explain the reasoning behind what you do. Thanks so much!
Mark
Thanks for the recipe. Have to make fried chicken for a crowd away from home and wanted a fry first, then bake recipe. My (belated) belated solution to the smoke and flare up issue which I’ve used for high heat recipes. Line the pan with sliced potatoes. They will catch all the drippings and taste great.
Nick
Mark, that’s an amazingly genius idea. Thanks for the tip!
ginger315
Simply cover the bottom of the pan with water…..no smoking!
Jesse
What kind of oil was used? If you use an oil that has a higher flash point than the oven temp it shouldn’t smoke out when it hits the pan.
Debra K Orr
I’ve been cooking fried chicken like this for years. I cut some of the skin from the chicken and dip them in water or buttermilk then in a zip top bag I put about 1or2 cups of flour and about a tablespoon of pepper and about one fourth cup of seasoning salt to the bag. Then I fry about 4 pieces of chicken in the skillet in canola oil. After that I line a large cast iron skillet lined with aluminum foil and place it in the oven at broil 450 degrees for about 25 minutes. It comes great every time.