I’m not a huge fan of most boxed cereals. This probably isn’t a surprise to you if you’ve been reading Macheesmo for a while.
I find that most boxed cereals fall in one of two categories: cheap and sugary or expensive and bland.
Instead of cereal, Betsy and I usually eat granola for breakfast with maybe a banana or some dried fruit.
Last week, just for a change, I decided to try to make some Homemade Bran Flakes and I was really happy with the results. Not only were the flakes nutty and delicious, but they also held up well to milk. They didn’t just dissolve right away like some bran flakes.
Let’s dive in and see how it’s done!
Homemade Bran Flakes
Equipment
- 1 Scraper
Ingredients
- 1 cup bran
- 1 cup oat flour
- ¼ cup whole wheat flour
- ⅓ cup peanut butter
- ⅓ cup tahini, or use ⅔ cup peanut butter
- ¼ cup sugar
- ½ teaspoon baking powder
- ½ teaspoon salt
- ⅔ cup milk
- ½ cup water
Instructions
- Preheat oven to 350 degrees. Combine dry ingredients in a large bowl. Stir in peanut butter and tahini if you’re using tahini.
- Add wet ingredients and combine well. Let sit for 5 minutes.
- Lay out a sheet of parchment paper in your sheet pan. Add 1/4 of the flake batter to the parchment paper. Cover with plastic wrap.
- Use a rolling pin or something to flatten the batter out into a very thin layer over the parchment paper. You should almost be able to see through it.
- Remove plastic wrap leaving just batter and parchment paper.
- Bake for about 10-12 minutes at 350 degrees and turn the pan once halfway through. Let flakes cool when they come out.
- Once cool, use your fingers or a dough scraper to cut the sheet into flakes. Repeat with all the batter. You can do more than one sheet pan at a time.
- Once all your flakes are made, add them all back to a sheet pan and turn the oven down to 250 degrees.
- Bake the flakes a second time for 20-30 minutes at 250 degrees to further crisp them up. Stir the flakes every 10 minutes.
- Store in an airtight plastic bag and serve with granola, dried fruit, and milk.
Notes
Nutrition
Did you make this recipe?
Homemade Bran Flakes
Bran Basics
Bran is really good for you. Even a small serving of it will put you well on your way to meeting your daily fiber needs. It also is really filling which is why it’s so popular in breakfast foods.
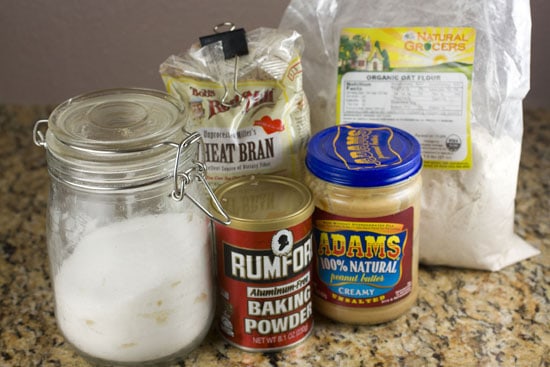
Real wheat bran also has an almost nutty flavor to it which really comes out in this homemade version. Besides the bran, you really just need a few ingredients to make this.
The original recipe that I adapted for these Homemade Bran Flakes called for using real nuts, but I thought it was easier to use peanut butter and some tahini. You could use all peanut butter or almond butter if you don’t have any tahini around.
Making the Batter
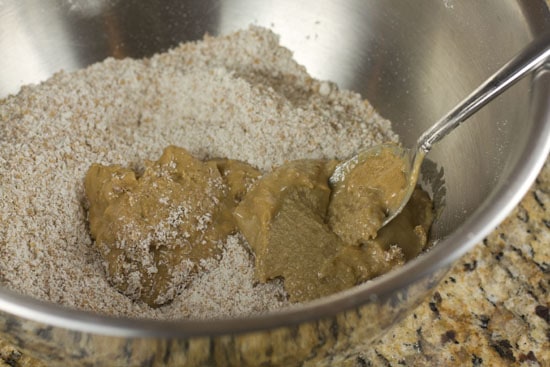
This is about as easy as it gets to make a batter. Just stir together all the dry stuff and then stir in the nut butter of your choice.
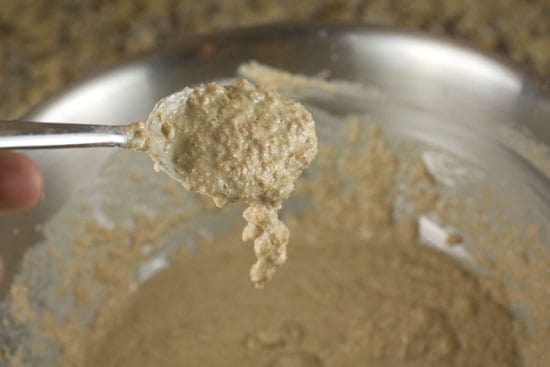
Then add the liquids and stir it all together. It’s a good idea to let the batter sit for a few minutes so the bran and flour can absorb the liquid.
The batter will be pretty wet which is good.
Making the Sheets
This Homemade Bran Flakes recipe makes four sheets of flakes and, to be honest, my first one didn’t turn out great. I think it takes a sheet to get the procedure down and also learn how thick to make the flakes. While you can make them on the thicker side, most people prefer a thin flake.
To actually make the sheet, just lay out a large piece of parchment paper that’s been cut to fit your sheet pans. Then add about 1/4 of the batter and top the batter with some plastic wrap.
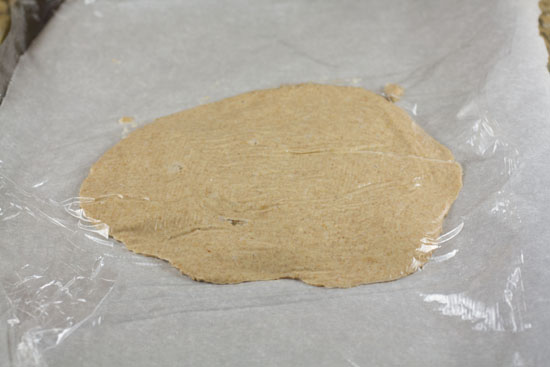
Then use a rolling pin or something flat to spread out the batter over the length of the parchment paper. It doesn’t have to be perfectly even, but it should be pretty thin. You should almost be able to see through it.
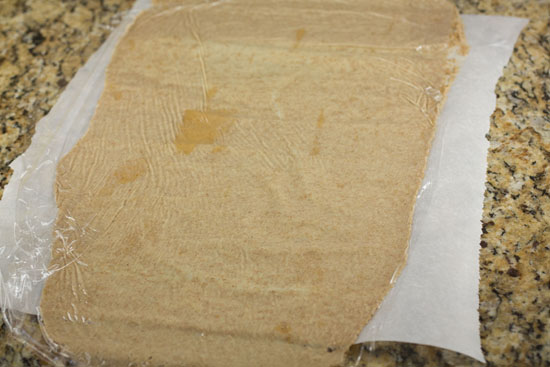
As you can see in the below picture, I got a bit carried away and rolled my batter right off the parchment paper.
If you do this, it will create a mess. I promise.
Baking the Sheets
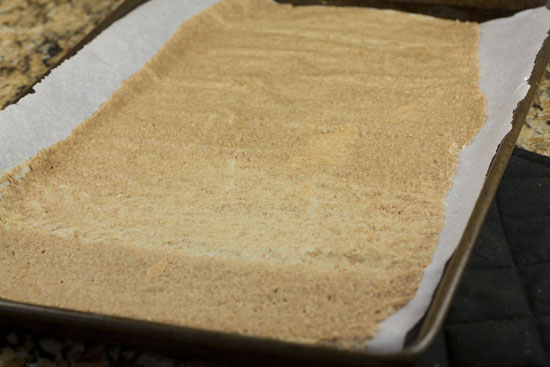
Once you have the sheet rolled out, just transfer the parchment paper to a sheet pan and bake it for 10 minutes at 350 degrees.
When it comes out of the oven, let the sheet cool for a minute or two. The bran sheet will look more or less the same, probably just a shade darker.
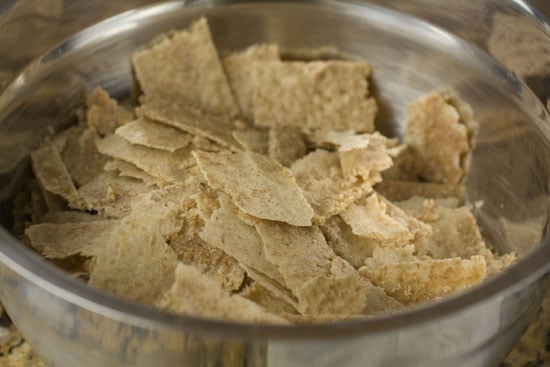
While you can use your hands to slowly pull of sheet and rip the sheet into flakes, I found it a lot easier to use a dough scraper to just chop the sheet into tiny squares and then run the scraper under the bran flakes to separate them from the parchment paper.
That worked like a charm and I was left with some really nice looking Homemade Bran Flakes!
Repeat this until all your batter is used. Like I said, you should be able to get four sheets out of the one recipe.
A texture note: At this point the flakes won’t be crispy. They will be more leathery. That’s okay though. We’ll dry them out more later. Now just get them off the parchment and cut into squares.
The Final Baking
Once all your flakes are made, add them all back to a sheet pan and stick them in a low temperature oven (250 degrees) for about 20-30 minutes. This will completely dry out the flakes and give them a really nice texture.
Just remember to give them a stir every 10 minutes so the flakes bake evenly.
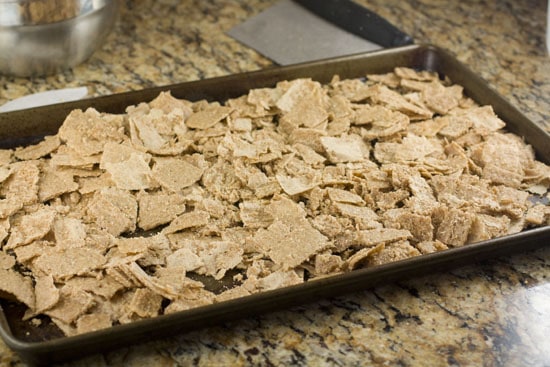
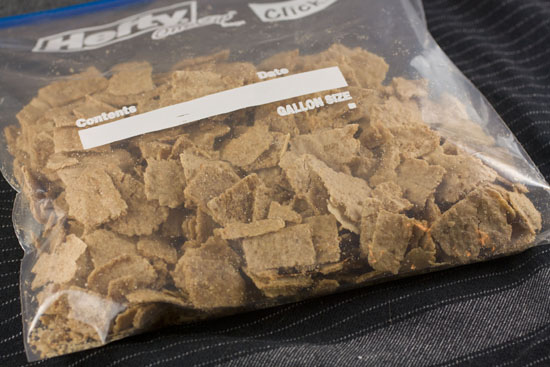
Once the flakes come out of the oven, let them cool completely and then you can just store them at room temperature in a large plastic bag.
These will keep fine for 2 weeks!
Serving the flakes
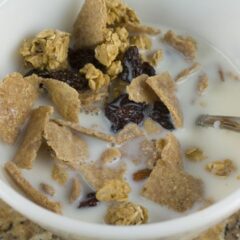
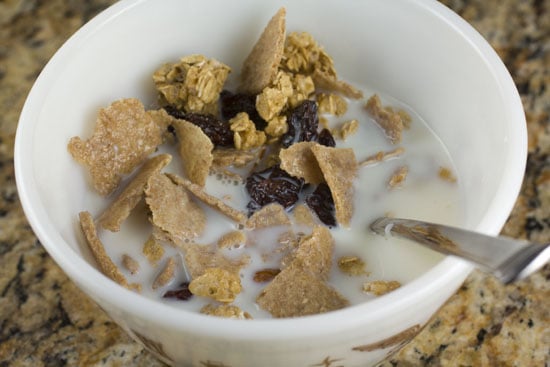
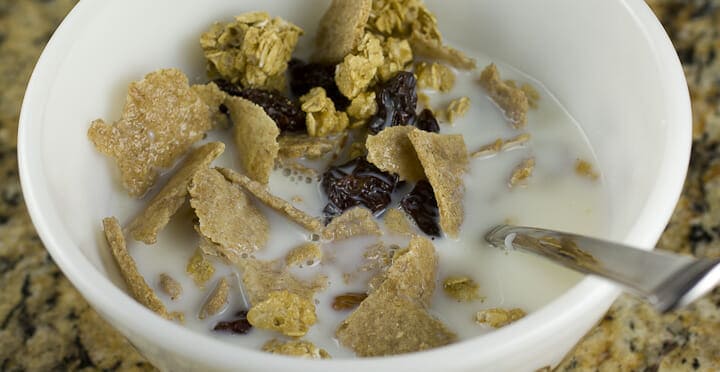
These Homemade Bran Flakes are really flavorful and substantial. They have a very nutty flavor which I think might even be a bit over-powering on its own. I found that these were best as a mix-in to my normal granola and dried fruit.
Just delicious and they maintain their texture for a good 5-10 minutes in milk which is all you can ask for in a cereal really.
Some people might scoff at this as completely a waste of time, but some people might find it valuable. I originally thought that these wouldn’t be worth the time and that they would be very hard to make, but they turned out to be not that hard really.
While I didn’t calculate the actual cost of these per serving, I’m pretty sure that I would come out ahead on it in the longrun. Bran, flour, milk, and peanut butter aren’t very expensive.
If you, like me, are upset by the boxed breakfast options in the stores, give these Homemade Bran Flakes a shot!

Mary Kathryn
This is great! Boxed cereals are so full of chemicals and preservatives. Those of us who’d like to avoid them are often left with few cereal options (besides constant granola), but you’ve just changed all that. Thanks!
corinne
People that think trying things yourself is a waste of time… I don’t have the time to argue with them, because I’m -enjoying- trying new things! Lameos.
I kind of love Mr. Breakfast.
janetha
OH MY GOODNESS! This is awesome, I can’t wait to try it out. I have made my own cereal before, but never bran flakes.. which is a favorite of mine. Thanks for the recipe!
CGCouture
I wonder how good these would be with Nutella instead of peanut butter…..
Nick
My educated guess is that it would border on amazing.
karen
bookmarked! hope to make this within the next few days!
September
This looks really good! We’re not really big fans of cereal in our house; my kids really need a hearty filling breakfast before school (especially my six yr old boy who is still adjusting to the fact that kindergarten doesn’t give him a snack every 15 minutes like mom does!).
I’ve actually been meaning to tell you that your egg mcmuffin post has pretty much changed my life. My kids don’t like english muffins, so I’ve modified it using homemade biscuits, and I usually scramble the eggs so I can put some sort of mix-in with them (spinach is the most popular here) then assemble with the ham and cheese. My kids *love* them–the best way to warm them up is definitely to pitch them into around a 375 oven frozen and wrapped in foil (if I remember I pull them to the fridge the night before, just to start the thawing process, but usually I don’t think that far ahead); 25 minutes or so later they have a hot and hearty breakfast sandwich and–rounded out with a side of fruit and juice–is exactly what they need before school. I can’t begin to tell you the hours you’ve saved me.
Nick
That’s awesome September! Glad you are liking them! I still make them also. :)
Bob
Holy crap, you’re a frigging genius! I never would have thought to make these. Love it, but when are you going to make Capn Crunch? ;)
Jessica G.
I am definitely going to make this! Another use for tahini – woohoo!
Erin
No way! I love bran cereals and I would never have dreamed to make it at home. Thanks for this inspired idea.
naomi devlin
Great to see someone making something like this at home – shop bought bran flakes are evil! You could further improve the ntritional value by adding a spoonful of live yogurt in place of some of the liquid and leaving it to ferment for 12-24 hours at room temp before you cook it. This reduces the anti-nutrients (phytic acid etc) that make bran tough to digest.
x x x
nailbreak
Yes, yes & yes… and I can really appreciate your Photos. Visualizing makes the reading so much easier. And… with making my own Bran, I control the Thickness. Plus… adding some Raisins, M &M’s, and a few peanuts – I can make a great Dry snack.
– Thanks
Bonnie
Awesome idea. Was wondering if you could put in a dehydrator to dry out instead of the oven