If there’s one thing that I can eat about as much of as you put in front of me, it’s ice cream. I’ve never really had the right tools to make it at home, but that all changed recently. To celebrate my new ice cream contraption, last week’s poll was an ice cream poll.
The end result was actually a tie so I let Betsy break the tie. She picked one of my favorite ice creams of all time: Pistachio.
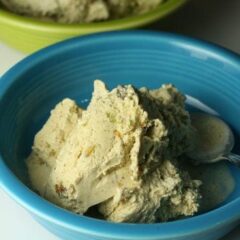
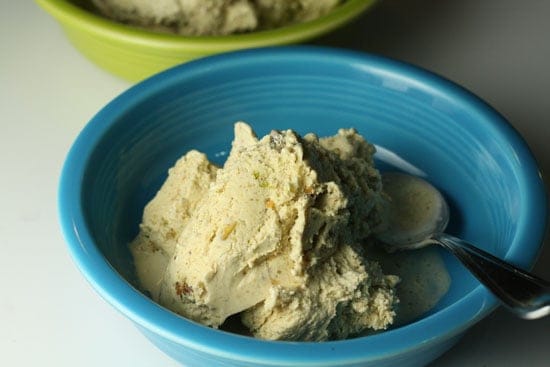
Most pistachio ice cream that you buy in the store is a crazy green color but, shockingly, that isn’t natural. While pistachios will give your ice cream a very subtle green tint, the final product won’t be intensely green, but it will be intensely good.
Pistachio Ice Cream
Equipment
Ingredients
Custard base:
- cup shelled, unsalted pistachios
- ¾ Cup sugar, divided into ½ and ¼ amounts.
- 2 Cups Whole milk, don’t skimp on the fat people
- ½ Teaspoon almond extract
- 4 large egg yolks, keep the whites for an omelet or something
Finishing the mixture will require:
- 1 Cup heavy whipping cream
- ¾ Cup unsalted shelled pistachios, roasted and roughly chopped (I bought mine roasted, but you can roast them in a 350 degree oven for a few minutes to get the desired affect also.)
Instructions
- Process 1 cup of pistachios in a food processor with ¼ cup of sugar. You can also just chop the pistachios finely and stir in the sugar.
- Add this mixture to your whole milk over medium heat in a medium saucepan. Stir in your almond extract as well.
- Bring this mixture to a light simmer. Watch it carefully and stir it regularly so it doesn’t scald. It should take around 10 minutes.
- Once the mixture is simmering, take it off the heat. In a separate bowl whisk together your egg yolks and ½ cup of sugar.
- Slowly whisk about a cup of the hot milk mixture into the yolks. This will temper the yolks and raise their heat slowly. After that, you can whisk the egg mixture back in with the rest of the milk mixture.
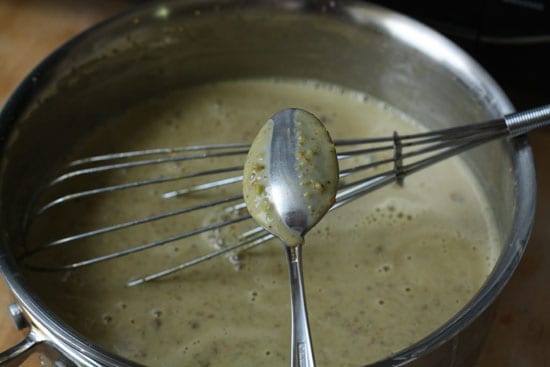
- Return your saucepan to the stove and turn your heat down to medium-low. Continue to cook your custard for 10-15 minutes until it gets very thick. Stir it constantly during this time. Continue to cook it until the custard is thick enough to coat the back of a spoon.
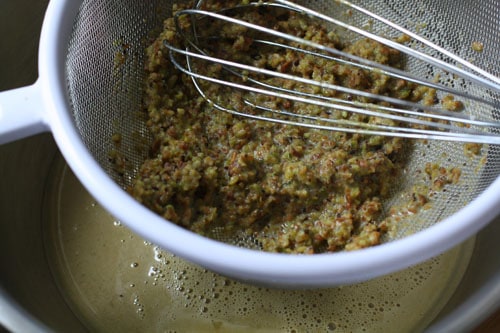
- Strain the milk mixture to remove all the pistachio pieces and any cooked egg yolk. Don’t worry, there’s plenty of pistachio flavor in the custard at this point.
- Chill your custard for at least two hours and then stir in your cream.
- Process your custard in an ice cream maker for 20-25 minutes until it’s soft serve consistency. Then stir in extra chopped pistachios for texture.
- Chill this for a few hours so the ice cream hardens!
Notes
Nutrition
Did you make this recipe?
Making the Custard Base
The nice thing about learning to make ice cream is once you get the basics down you can pretty much make any flavor you want which is awesome and dangerous at the same time.
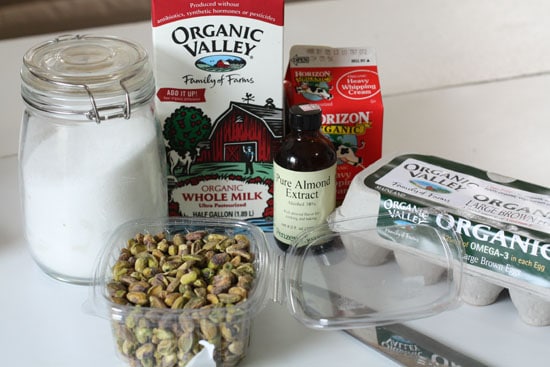
To start we need to make a custard base and then mix it with some cream and use that in our ice cream machine to get the final product.
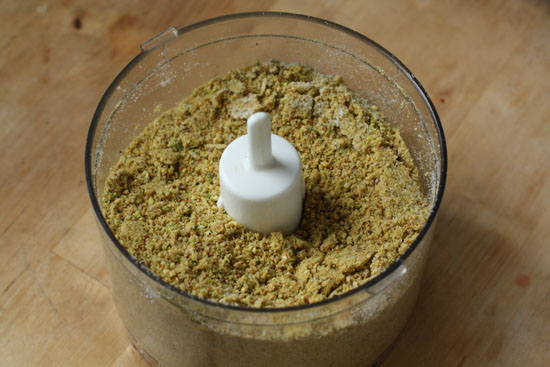
Start by processing 1 Cup of pistachios and 1/4 Cup of sugar in a processor or grinder until they are very finely ground.
Add this to your WHOLE milk in a medium sauce pan over medium heat. Also add your almond extract to this mix. I really do think that the almond extract is important here so try not to substitute it. Slowly bring this mixture to a boil, whisking the entire time.
It’ll take probably 10 minutes. While it cooks, the milk will be getting infused with that delicious pistachio flavor. Don’t take your eyes off of it for too long though or else it might scald.
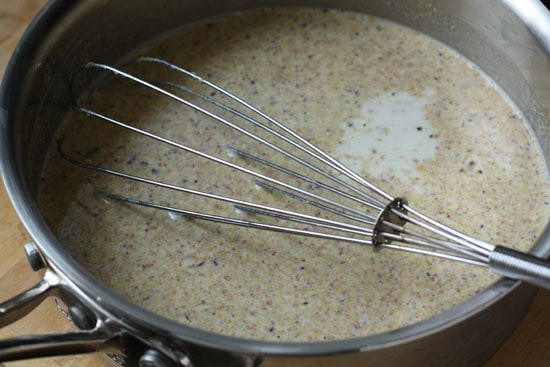
When the milk mixture has reached a light boil, take it off the heat.
In a separate bowl, whisk your egg yolks with the 1/2 Cup of sugar you have remaining.
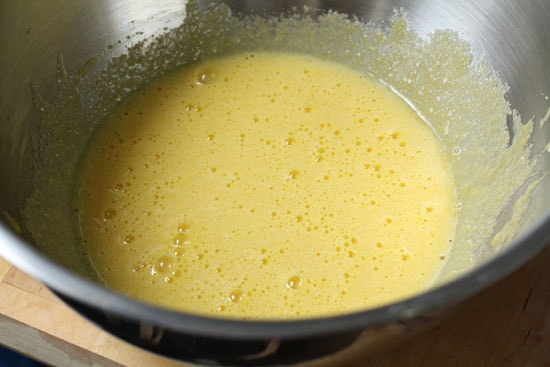
Tempering the Yolks
If you’ve never made a custard before, this part is important. You can’t just add the yolks straight to the hot liquid or you’ll end up with scrambled eggs, but if you slowly raise the temperature of the yolks and thin them out, then the won’t solidify from the heat. This is called tempering.
It’s actually really easy to do, just don’t forget to do it.
To temper the yolk mixture, slowly drizzle in about 1 cup of the hot milk mixture into the yolks and whisk furiously while you do it. This should heat up the yolks and thin them out a bit.
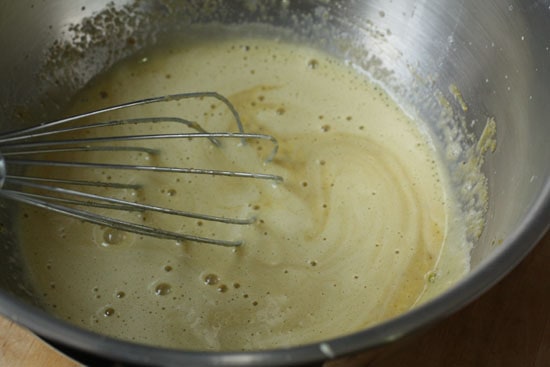
Then you can add the tempered yolk mixture back into the hot milk mixture. Again, keep whisking the whole time people.
Return your pan to the burner over low heat and continue to cook it for about 10-15 minutes. Now you don’t want the mixture to boil.
After a few minutes of low heat cooking, it should start to thicken nicely and easily coat the back of a spoon. Like this.
Strain the mix
It’s definitely not essential that you strain your custard, but it’ll result in a much smoother finished product. So if you have a mesh strainer or just a colander with some cheesecloth, strain the mixture.
Now you might be thinking, Nick, are you crazy?! There’s tons of pistachio flavor there! Well, there really isn’t. By this point, the very finely crushed pistachios have been cooking for like 20 minutes in milk and almost all of their flavor is long gone. Trust me. I tasted the mush.
Plus straining it will remove any little bits of yolk which may have cooked during the process.
Cooling and Creaming
Stick your custard base in the fridge for at least 2 hours until it’s really cold. You could make it a day in advance if you want.
When it comes to actually making the ice cream, there are a ton of ice cream makers on the market. I have the Kitchenaid Ice Cream attachment which is pretty simple to use. You just have to make sure to follow the instructions or you might not get a good finished product.
The cool thing about the KitchenAid attachment is that cleanup is super easy. You just have to wash a bowl and it doesn’t require you to have pounds of ice on hand or anything. The disadvantage is that you have to plan a bit. The bowl needs to be frozen for at least 15 hours (although I do mine for a full 24 just to make sure).
Standard ice cream makers might allow for some impromptu ice cream, but the clean up can be a bit messy.
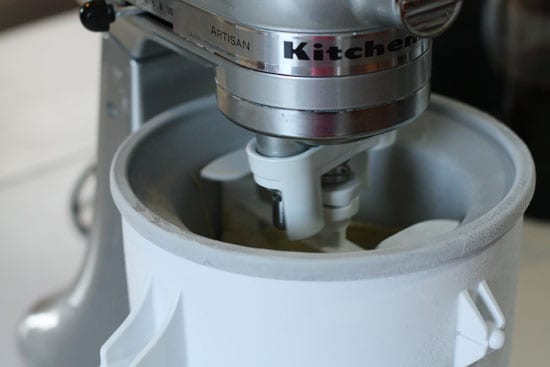
Anyway, once your custard is cooled, add your whipping cream to the custard and fire up your ice cream maker of choice. Follow the directions with your machine for best results.
If you don’t have an ice cream machine and can’t live without making this, I’ve tried this method of making ice cream without a machine with very good results. It’s not quite as creamy and smooth as the machine will make it, but it’s definitely still delicious. (Note: It’s also more work.)
Assuming you have a machine, it’ll probably need to churn for 20-25 minutes.
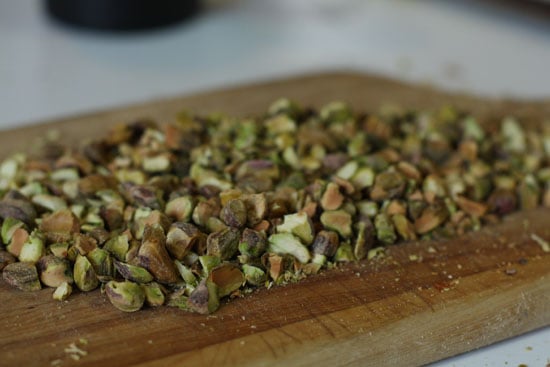
Right near the end of the process, add in your chopped pistachios for some extra crunchy texture.
Soft Serve
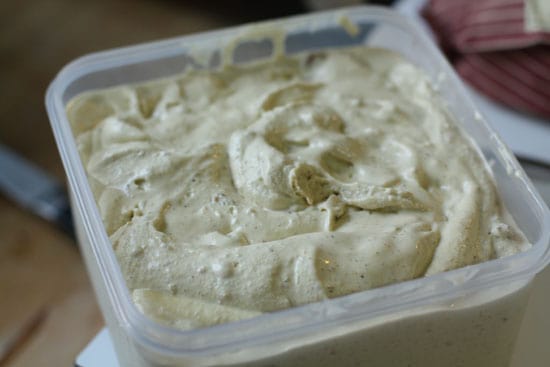
After 25 minutes or so of churning, you’ll have soft serve ice cream. It tasted good like this, but I wouldn’t recommend it. So just scoop it into a freezer safe bowl and stash it in your freezer for 3-4 hours.
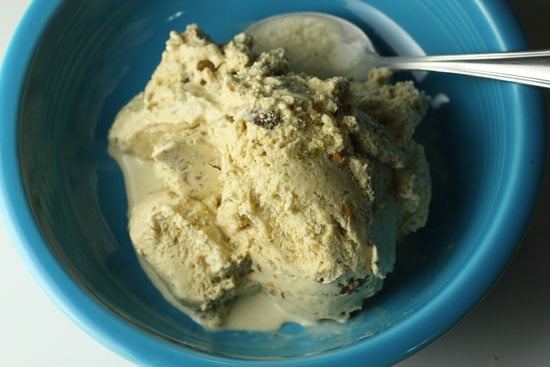
Then scoop it up and enjoy! The one thing that I noticed right away about this ice cream is that it’s A LOT richer than store bought varieties. It’s super flavorful and creamy and even I could only eat about one really large scoop of it.
I think I really like my new ice cream making hobby. If you didn’t notice though, this isn’t a process that you should rush through. Make sure you have enough time to properly make your custard, chill your custard, and freeze your ice cream after churning. If you rush any one of those steps your ice cream won’t be as good as it could be.
I have a feeling that in 2 or 3 months my freezer is going to look like a Baskin-Robbins…

Kelly
I'll admit… as a person who is watching her figure, I tend to want to skim right through your ice cream posts when they show up in my feed. However, as a person who loves ice cream, I tend to spend inordinate amounts of time drooling over the pictures.
Is there ANY way to lighten these recipes up a bit? Skim/soy milk? A substitute for the egg yolks? Splenda instead of sugar? I want to make ice cream SO badly, but I'm scared it will unleash the demons inside of me if I try! I realize I sound like a crazy person, but that's what ice cream does to me.
Nick
Sure! I don't know about substituting the yolks although I'm sure there's something you could use. You could definitely substitute skim or low fat milk for the whole milk though.
I like normal sugar but I don't think substituting a different sweetener would affect the texture or process at all.
Dan
your Kitchenaid ice cream maker seemed to work well. As I said before, mine never did the job! i guess it was either the Bermuda heat or my freezer sucked. Yum that looks good
Nick
Yea… it worked. I just made sure to get it really cold. It struggled a bit when I added all my pistachios at the end but powered through and the final product was very good.
Jeff
looks good…
Kara
Do you know if there's a reason for adding the whipping cream after the mixture is chilled instead of stirring it in before chilling? I've made a couple ice creams where it's mixed in before chilling and that's worked great for me. Just wondering if you know if it actually makes a difference…
vanillasugar
HA! you will be hooked. i finally got an ice cream maker last summer and I was hooked. wait till you start using booze in the ice cream…so good.
Paige
ooooh man, that looks great. Pistachio is my favorite, too. If you plan to be making lots of ice cream this summer, you should get David Lebovitz's book, Perfect Scoop. Everything I've made has been amazing. Granted, ice cream is pretty much amazing as it is…
Olga @ MangoTomato
this looks amazing! and now I wish I had an ice cream machine.
I had the best pistachio ice cream on my trip in madrid: thanks for bringing back memories.
Sommer @ A Spicy Perspective
This looks incredible! I adore pistachio ice cream, but do have issue with the green color. What a great idea to make it at home!
Jean Gogolin
I can’t look at pistachio ice cream without remembering the one time my husband Jack and I were in Rome. Wandering through the Piazza Navonna, we picked one of the gelato stands and started to order. Jack pointed to the pistachio and said “pis-tash’-io”, pronouncing the word as most Americans do.
The gelato seller looked at him witheringly, rolled his eyes, and said, “pees-TAHK’-io”! We’ve pronounced it that way ever since.
Patricia Solis
You are going to think I’m crazy because this recipe is perfect, but I would add fresh ground pepper to this just before the final mix and freeze. If you don’t want to see black flecks, use white pepper, but whatever, it kicks it just a little and you will be happily surprised.
Randy
Tried with Splenda. When the ice cream hardened in the freezer, can no longer scoop out of container as it was hard as ice. Had to leave at room temp for half an hour to soften.
Nick
Hey Randy, you can’t substitute artificial sweeteners for sugar in ice cream recipes without messing up the structure of the ice cream. Sorry!