At one point during the planning process for our wedding (very early), I was actually considering trying to put together a team of friends to cook the entire meal for the wedding. I very quickly realized that that was just too much to do on my own wedding day.
That said, I did want to make something. Betsy is from Pennsylvania originally and they have this tradition there of doing cookie tables for desserts at weddings instead of a big expensive wedding cake. Basically you just get a few family and friends to make a bunch of cookies and people can eat as many as they can stand.
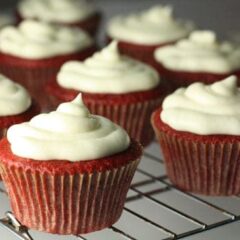
We used that idea for our wedding, but had other desserts besides just cookies. For example, my one contribution to the wedding food was these cute little red velvet cupcakes.
I really like red velvet cupcakes because well A) they are delicious but B) they are a prime example of the old motto that you eat first with your eyes. One time I made a batch of these and ran out of red food coloring so my cupcakes were more rust colored than RED. They somehow did not taste as good.
Red Velvet Cupcakes
Equipment
Ingredients
- ¾ Cup unsalted butter, room temp.
- 287 grams cake flour, not self-rising. About 2 1/2 cups.
- 3 Tablespoons unsweetened cocoa powder
- 1 ½ Teaspoons Baking Powder
- 2 Cups sugar
- 3 large eggs
- 1 Teaspoon vanilla extract
- ¼ Teaspoon salt
- 1 1- ounce bottles of red liquid food coloring
- 3 Tablespoons lukewarm water
- 1 Cup buttermilk, very important
- 1 Teaspoon baking soda
- 1 Tablespoon white vinegar
Basic Cream Cheese Frosting:
- 8 ounces cream cheese, at room temperature
- ½ Cup (1 stick) unsalted butter, at room temperature
- 1 Teaspoon vanilla extract
- 2 Cups confectioners sugar, sifted
Instructions
- To make batter, whisk cake flour, baking powder, and cocoa powder in a bowl.
- Cream together butter and sugar in a stand mixer or in a large bowl with a hand mixer until it’s nice and fluffy.
- Add eggs, one at a time, to the creamed butter. Then add water, salt, vanilla, and red food coloring.
- Add ⅓ of your dry ingredients to the mix, followed by ½ of you buttermilk, then another ⅓ of your dry stuff, followed by the last ½ of your buttermilk. Finally, stir in the last ⅓ of the dry stuff.
- Combine the baking soda and vinegar in a separate bowl and then stir that into the batter.
- Fill cupcake tins with liners and fill ⅔s full.
- Bake at 350 degrees for about 20 minutes.
- For the frosting, cream together the butter and the cream cheese until it’s very light and fluffy. Definitely whip it for 3-4 minutes. Then stir in the vanilla. Stir in the powdered sugar in 2 or 3 batches.
- Let cupcakes cool completely and then frost with the buttercream frosting.
Notes
Nutrition
Did you make this recipe?
Making the batter
I’m not a huge fan of box cake mix. My deal with it is that if I’m going to be eating something sweet and fattening, I want it to be as good as possible and I just really feel like that the made-from-scratch version of most baked goods is substantially better than the boxed version if you have the time to do it.
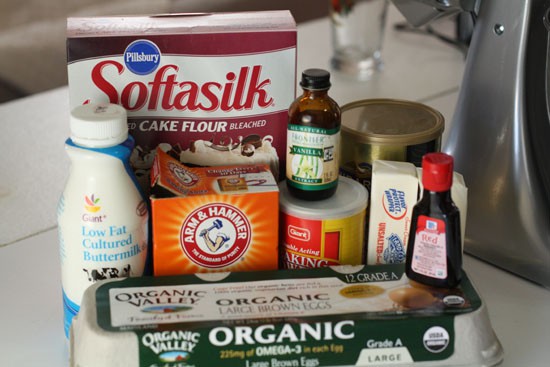
What you’ll realize after you start making stuff like this from scratch is that the whole boxed cake thing is kind of a scam. I mean, it doesn’t take that much longer to just make it from scratch and assuming you have a decently stocked pantry, it’s not necessarily more expensive either.
Anyway, to make this batter, start by whisking your cake flour, baking powder, and cocoa powder in a bowl. Cake flour is extremely important for any cake recipe hence the name.
Just to make sure that I have no clumps in my dry ingredients, I usually sift them once, but I’ve made these by just whisking them for a bit to combine well and it worked fine also.
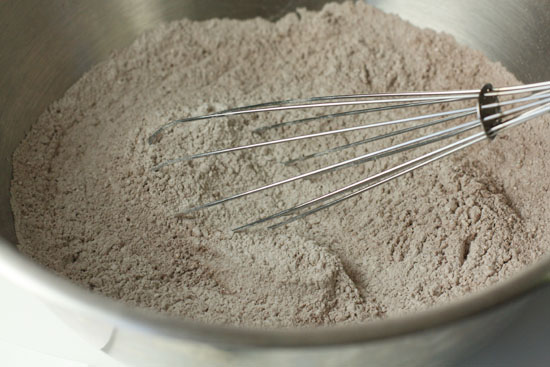
The only other thing I’ll mention about the dry ingredients is that it’s pretty hard to measure out the flour correctly without a digital scale. If you’re baking even occasionally, this is a kitchen tool you should have. If you don’t have one then check this one out!
Back to the batter… once your dry ingredients are combined, add your butter and sugar to your mixer and mix on medium for about 3-4 minutes until the butter and sugar are combined and really fluffy. This is the creaming step.
If you don’t have a stand mixer you could definitely use a hand mixer.
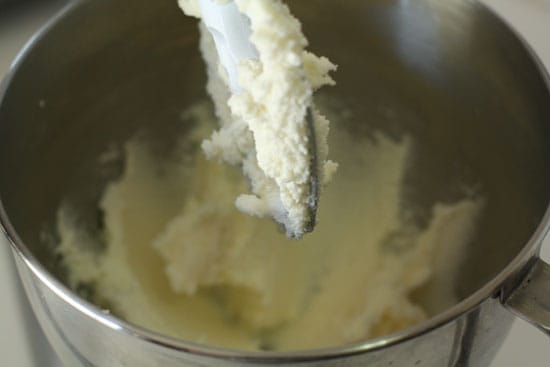
Next, slowly add your eggs, one at a time and then add the water, salt, vanilla, and red food coloring.
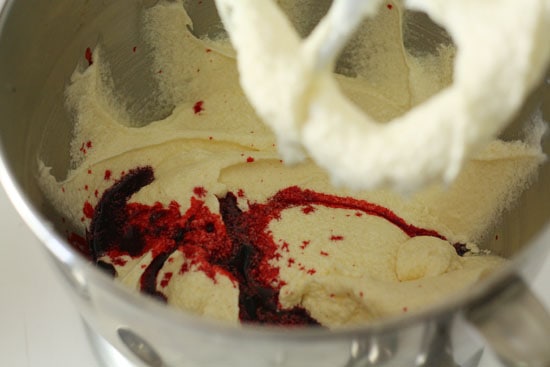
Be careful with the red food coloring. It’ll stain anything it touches. It especially stained the white shirt I was for some reason wearing while I was making these…
Once you have the base for your batter done, you just need to incorporate your buttermilk and dry ingredients. Start by slowly adding 1/3 of your dry ingredients, then 1/2 your buttermilk, then 1/3 of your dry ingredients, then the last half of your buttermilk. Finally, the last of your dry ingredients. So: dry, wet, dry, wet, dry.
At the very end, you’ll want to combine your vinegar and baking soda to provide some fizz to the finished cakes.
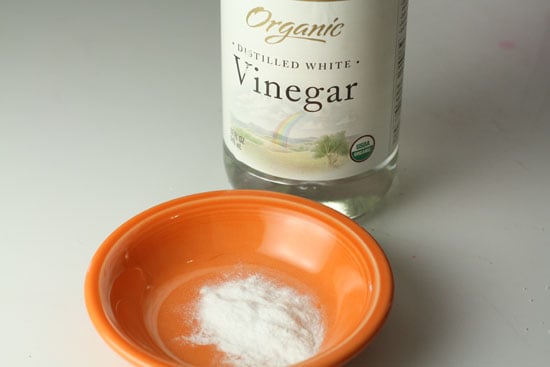
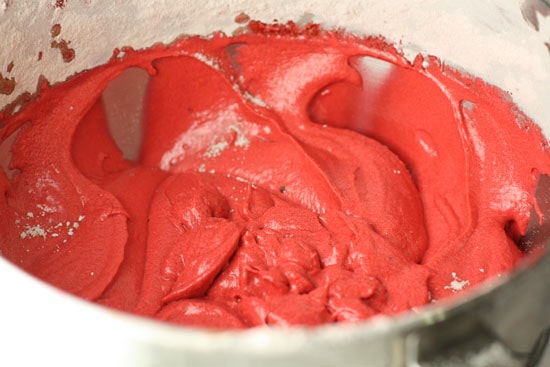
You’re final batter should be really light and fluffy and very, very red. If you’re using a stand mixer, remember to scrape down the sides of your bowl occasionally. This was something that I did a kind of bad job at for this batch.
Baking the cupcakes
Preheat your oven to 350 degrees and line your baking cups with cupcake liners. Fill up your cupcakes until they are about 2/3 full. I also, without fail, overfill my first batch.
For example, these are overfilled.
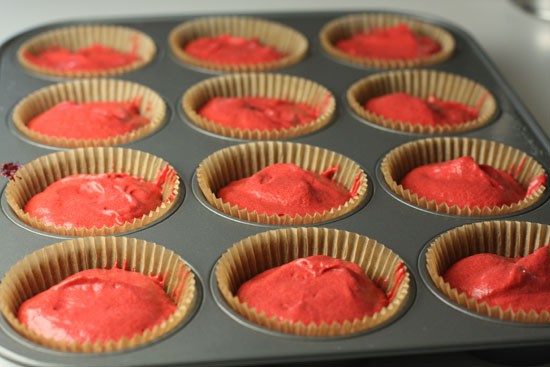
Assuming you fill them correctly, they’ll need to bake for about 20 minutes at 350 degrees.
These were my overfilled ones.
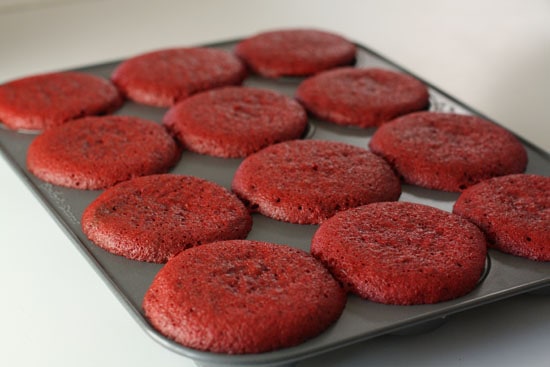
The good news about cupcakes is that even if they overflow a bit they’ll still taste good as long as you slather on some good cream cheese frosting.
The Frosting
In my opinion, there’s really only one option when it comes to frosting a red velvet anything: cream cheese frosting. It’s sweet and tangy and just perfect with the subtle chocolate flavor of the cake.
This frosting is about as easy at it gets to make.
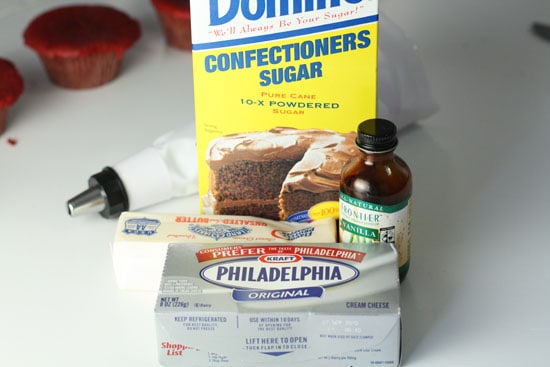
Just add your butter and cream cheese to a stand mixer or bowl with a hand mixer and start mixing until the mixture is light and fluffy. Don’t be afraid about over-whipping. I whipped mine for 3 or 4 minutes. Then add your vanilla and mix it in.
Next, start adding your sifted confectioner’s sugar in two or three batches. Mixing it in well after every batch. You should end up with a fluffy but very flavorful frosting.
I put mine in a pastry bag to pipe it onto the cupcakes, but you could definitely just smear it on.
The Most Important Thing
The most important thing to remember before frosting these guys is to make sure they’re completely cool. I cooled mine on a wire rack for about 30 minutes before I even thought about frosting them.
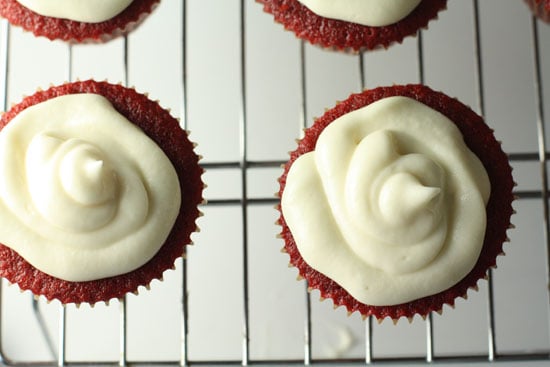
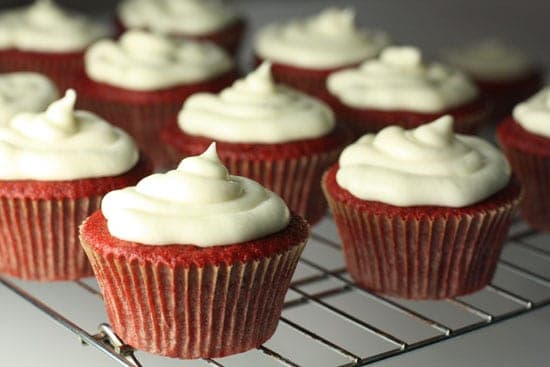
These were really good. For the wedding, I even made them two days in advance and they were still one of the first desserts to be devoured!
So if you’re in the market for a good cupcake recipe, give this one a shot!

Zoe
These we delicious! Brian and Larisa fought over the last one.
I have been meaning to ask you — how did you store them so that they would stay fresh/moist for two days? I've never had a Magnolia cupcake stay good for even one night.
Thanks again for an amazing weekend! And much love to you and your wife! :)
Nick
I stored mine in the fridge in an airtight container. I made sure they were completely cool and frosted them first. I think they keep okay for 2 or 3 days. After that it's downhill.
Of course they are best on day one ;)
kitty
no cocoa?
Nick
3 Tablespoons. Trust me… that's enough ;)
Jo
I've always thought boxed cake/brownie mixes were silly. How much more time can it take to measure out some flour and a couple other dry ingredients? It's not worth the shortcut.
Those cupcakes look delicious! I've never had red velvet cake, but I might need to give these a try.
trish
might be a silly question, but do you combine the baking soda and vinegar together before pouring it into the batter and mix? or do you just put both in the batter and mix. thanks!
Nick
Mix them before and then add them to the batter ;)
Ashrita
Okay I tried these and they turned out amazingly light and yummy. Not to mention that the frosting made it a million times better! I love this site!
I also tried the Cherry Almond Coffee Cake and the Orange You Happy About cake, both were delicious too, but mine turned out not too moist. Is that because the batter was less runny as compared to normal cakes?
I love this site, thanks!
Millie A
I want to make these but I'm wondering how important the vinegar is to the recipe really? what will happen without it?