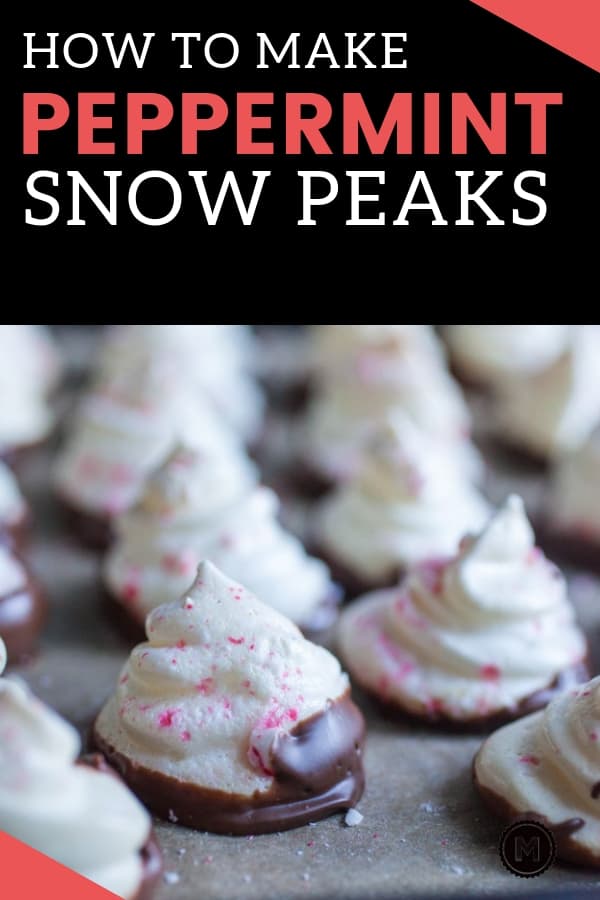
There are some recipes that I consider to be magical. I don’t exactly understand the science behind them so to me it seems like a magical fairy has decided to bless my kitchen with special powers. These Chocolate Dipped Peppermint Meringues, or Peppermint Snow Peaks, are that kind of magic.
This isn’t the first time I’ve made a meringue, but this is one of the few times I’ve relied on the meringue to stay completely in shape. Needless to say, it worked, these Peppermint Meringue Snow Peaks are wonderful, and they might just be the perfect light treat to have around during the holidays, especially if you have gluten-free guests coming since these are naturally gluten-free.
How to Make Meringues
When I say these Peppermint Meringues are a light treat, I mean it. They are like biting into a freakin’ cloud. You can get about forty little snow peaks out of just four eggs. You can do the math and see that there isn’t much to these things.
This is one of those recipes that I highly recommend having a stand mixer or hand mixer before you try to make them. If you don’t have some sort of electric mixer, it is going to be a serious workout.
Could you make them with a whisk? Definitely. There were meringues before there was electricity. But trust me, you won’t be able to feel your forearms the next day.
Here’s a few tips for getting the meringues started:
1) Separate each egg individually. That way if you get a drop of yolk into the white, you can just re-do that one egg and not all four of them. And yes, one drop of yolk will ruin the recipe.
2) Make sure the eggs are room temperature. They will beat easier that way.
Then just add your egg whites to a large mixing bowl and beat egg whites on medium-high speed with the whisk attachment until they start to stiffen. Then add the cream of tartar. The tartar will help the egg whites really firm up and hold their shape. (You can try the recipe without the tartar but they won’t be quite as sturdy.)
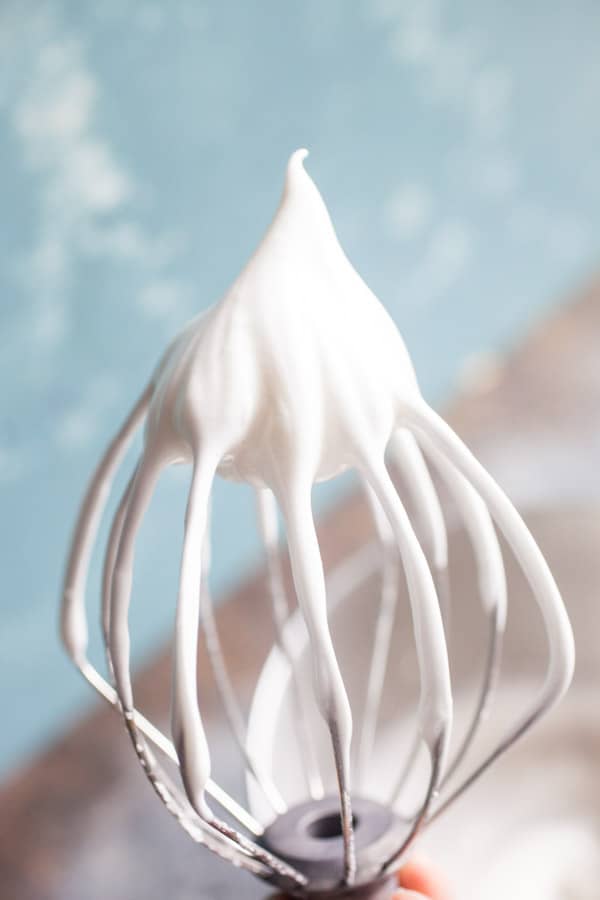
Once the eggs start to thicken, whip in the vanilla and sugar slowly. Don’t add the sugar all at once to the mixture or it will deflate. Also, try to use ultrafine baking sugar or powdered sugar which you should be able to find in any grocery store in the baking aisle. It will just mix better.
You are getting close when the whites start to cling to the whisk and soft peaks form in the bowl.
Keep going though! At this point, if you make a pile of the meringue it will eventually melt back into the pot. That’s not what we want.
After another minute or two, the meringues should be forming very stiff peaks which means that if you pick up the whisk, the meringue stays almost exactly where it is.
Making the Peppermint Meringues (Snow Peaks)
Once you are sure your meringue is stiff enough to work with, you need to get it into a piping bag. To be honest, you could just scoop it into a large plastic bag and snip the tip of the bag off with some scissors. That would get the job done.
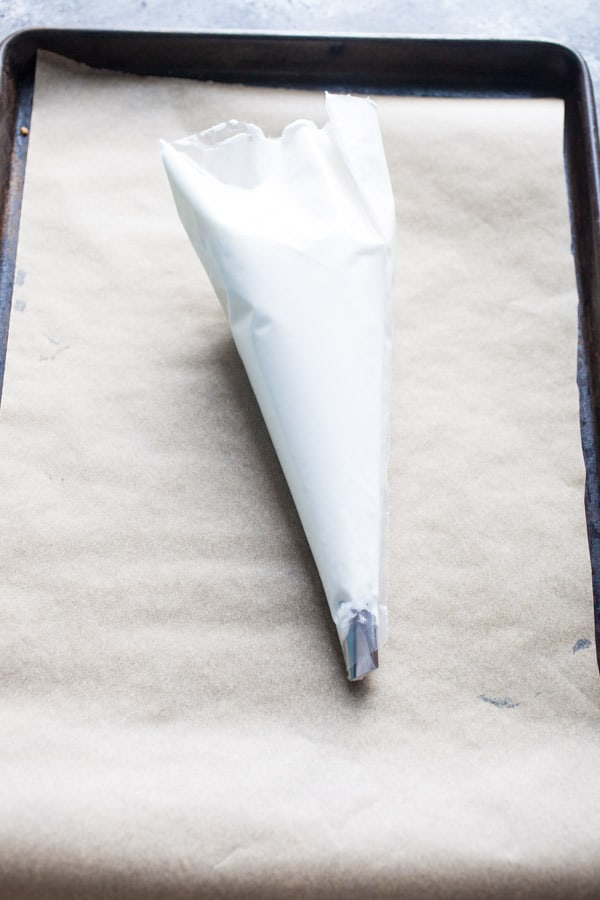
But if you want to be fancy then get a pastry bag with a large tip on the end and set it upright in a cup to make it easier to fill. Then just fill it full of meringue!
Carefully pipe the snow peaks onto a few baking sheets lined with parchment paper. You should be able to get about 24 per sheet.
It’s so cool to see the meringue just sit perfectly in place. I was pretty giddy about this.
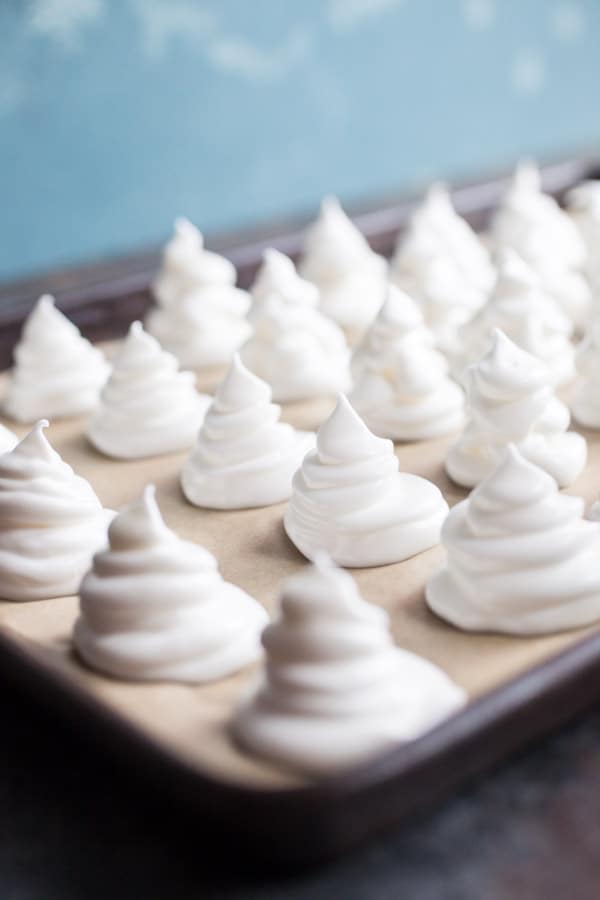
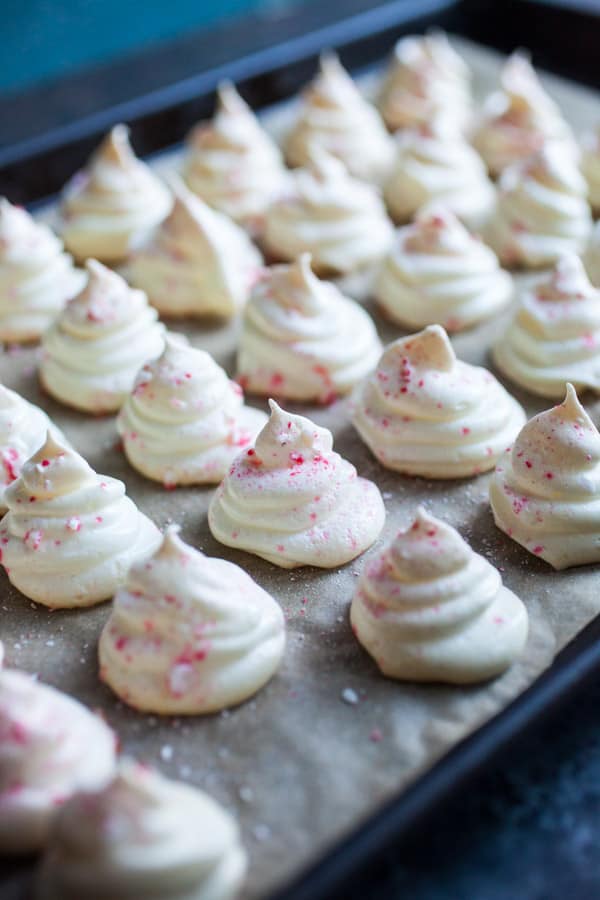
Now for the peppermint part. Dust the meringues with crushed peppermint before they go in the oven. Go light here. A little peppermint candy goes a long way on these. You could add a tiny drop of peppermint extract to the meringues, but I was worried that might cause mine to fall so I just went with a dusting of candy instead, which worked great.
Bake the meringues on a prepared baking sheet at 225 degrees Fahrenheit (that isn’t a typo) for 60-90 minutes. You basically want to slowly dry them out. I recommend going longer if you have the time as it will make them really light and crispy.
Finishing the Meringue Snow Peaks
As soon as the baking time is up, take the peppermint meringues out and let the meringues cool completely. This will take about 30 minutes.
Meanwhile, melt your chocolate over a double boiler or in the microwave in 20-second pulses until the chocolate chips are just melted.
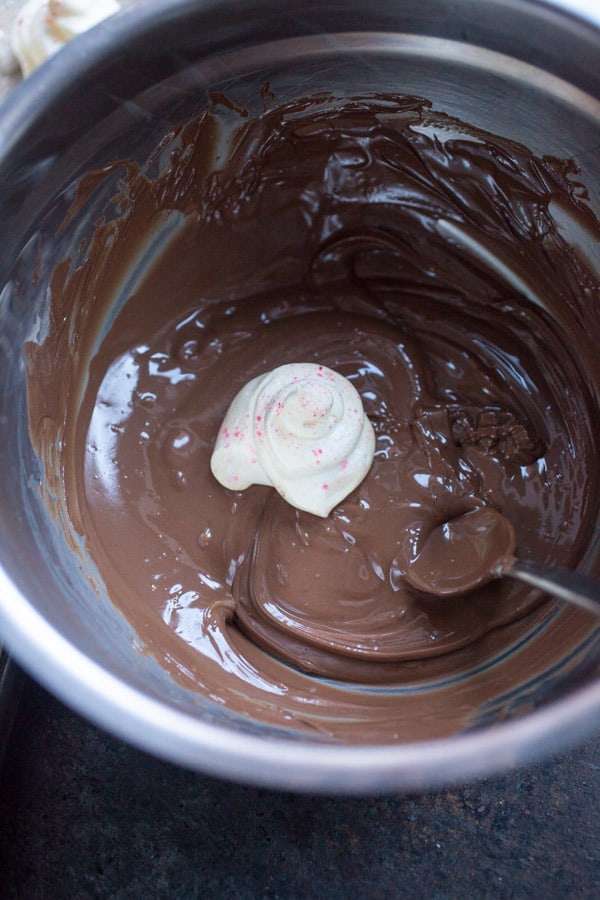
Then dip the bottom of each snow peak into the chocolate!
Set the dipped meringues back onto the parchment paper so the chocolate can set up completely.
These guys are pretty much done!
I couldn’t help taking a bite out of one.
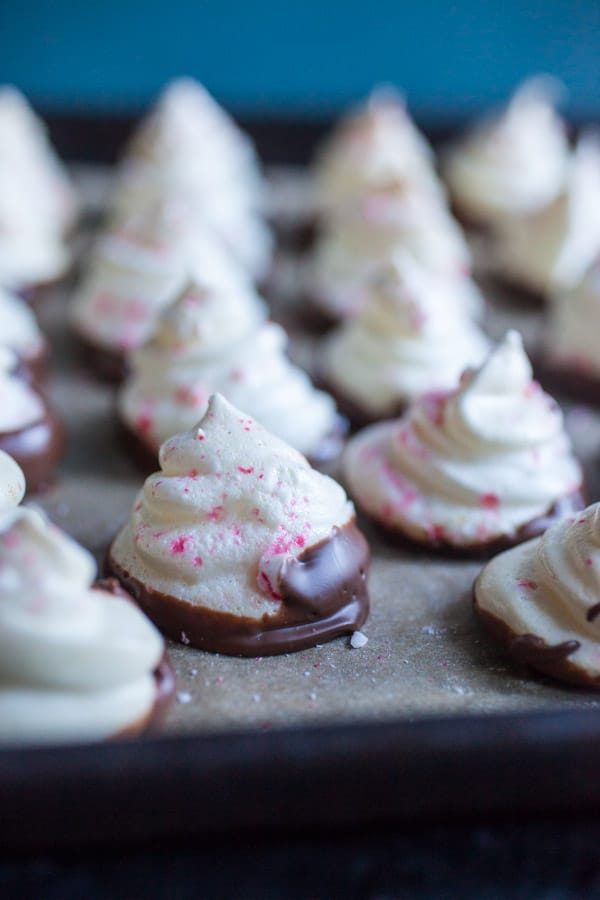
Very tasty!
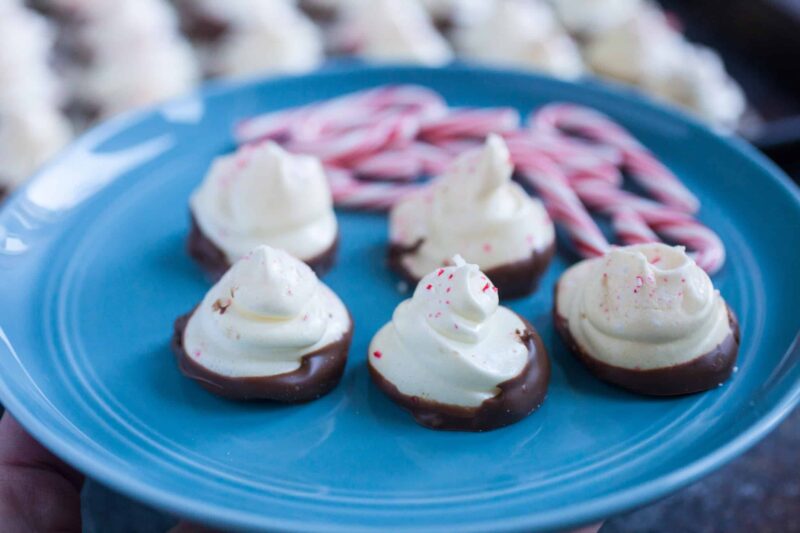
These Peppermint Snow Peaks are light and crunchy and just slightly sweet. They really are the perfect holiday sweet snack!
If you are storing these for later, be sure to keep them in an airtight container as they will actually suck moisture out of the air and become spongy if you let them sit on the counter. You want them to keep their crispiness.
Peppermint Snow Peaks
Equipment
Ingredients
- 4 egg whites, room temperature
- 1 teaspoon cream of tartar
- 1 teaspoons vanilla
- 1 cup + 2 tablespoons extra fine baking sugar
- 2 cups semi-sweet chocolate chips, melted
- 6 peppermint candy canes, crushed
Instructions
- Make sure eggs are room temperature and then separate out the whites from the yolks carefully. Work with one egg at a time and then transfer the whites to the larger bowl just to make sure you get no yolk in the mix. One drop of yolk will ruin this dish.
- Add the egg whites to a stand mixer with a whisk attachment or use a hand mixer to beat the egg whites until they start to stiffen. Then add the tartar and continue to mix on medium for 1-2 minutes.
- Slowly add in the sugar and vanilla and continue to beat the eggs on medium until they are very stiff and hold their shape completely.
- Scoop meringue mixture into a piping bag with a large tip and pipe the meringue into little snow peaks on a few baking sheets lined with parchment paper.
- Bake meringues at 225 degrees Fahrenheit for one hour.
- While meringues dry out in the hot oven, add candy canes to a plastic bag and crush well.
- When meringues come out of oven, immediately dust with crushed candy so it lightly sticks to the meringues. Then let the meringues cool completely which will take at least 30 minutes.
- Once the meringues are cooled, dip in melted, but not hot, chocolate and return to parchment paper to dry further.
- Once chocolate sets, store the meringues in an airtight container at room temperature (not in fridge).
Notes
Nutrition
Did you make this recipe?
Here are a few other great cookie recipes!
- Strawberry Cookie Sandwiches
- Nutella Surprise Cookies
- Christmas Cheesecake Cookies from Yellow Bliss Road



Flora
Those are beautiful, and they sound so delicious! It’s rare to see a new cookie recipe that’s really innovative, but this is one of those.
My grandmother used to make meringues when I was a kid, with the whites left over from baking. The outsides would be dry but the centers would stay chewy. The flavor was pretty mild but I loved the contrasting textures. It was like a homemade vanilla gumball.
Yasmin
I have a recipe for meringues that requires putting the melted chocolate in with the egg whites to make chocolate swirls in the meringues – but, mine never came out right! I would just end up with brown-ish meringues ; p Dipping them in the chocolate is the perfect solution! I don’t know why I didn’t think of that!
Also – any thoughts on chocolate chips vs a chocolate bar? If you’re gonna melt the chips and have them lose their shape, why specify chips in the recipe? I heard that chocolate chips have something added to them that helps them keep their shape, even at higher temperatures (that’s why you put them in chocolate chip cookies – so that you have chips in the cookies after baking, rather than melted chocolate) – does using chocolate chips help the chocolate keep its shape once it cools again or something? Any insight?
Nick
Hmm… not sure that there would be much of a difference in chips vs. bar for this type of recipe. I just said chips because it’s what I used and it worked great. I imagine a bar would work just fine also.
Stoon Girl
Mmmm!! Growing up my family would have a version of Pavlova as a dessert on a fairly regular basis with pretty much anything as toppings: berries, ice cream, fruit preserves, Nutella (or just plain). We’d have them as individual servings, kind of a bird’s nest shape and size and then load ’em up! Love the outside crunch and super chewy in the middle….even better, mom would usually made very-rich brownies with the leftover yolks! Great, now I need to eat meringue RIGHT NOW!!
Nick
Pavlova looks awesome and always sort of intimidated me. Now that I have meringue down though I might give it a shot. :)
Stoon Girl
They’re super easy, not to worry! If I could do it as a hyper 12 year old, you’ll be fine. The worst outcome is if they come out still runny which is easy to fix (keep on baking) or if they don’t hold their shape (in which case, we would smash them up and use like sundae toppings). Individual Pavlovas really seem to impress the hell out of guests too, they work great as a dinner party dessert with some high-quality ice cream and berries. WOW am I craving them now!! Good luck!
Laura
My four year was devastated to miss the traditional kiwi pavlova we always have at our family Xmas (we’re away travelling) so I’ve been thinking of giving meringues a go, same same but different, I’m not game enough to bake a pav either!
Michelle B
OH those look awesome!!! I usually make “glittering meringue stars” or trees at Christmas (a recipe from Martha Stewart), but I think I may give these a go this year instead!!!
k
I really want to try these! I wonder if one could up the flavor and add a drop of mint extract to the meringue?
OOO and now a huge pile of seasonal ideas come to mind…lemon drops with colored candy bits for easter, orange (flavor + color) drops with plain chocolate for halloween, pink drops with white chocolate for valentines….
Nick
I think that would work as long as it’s extract and not oil! Any sort of fat would completely destroy the meringue structure.
Radhika
These look divine! Merry Christmas!
R
geometry dash
The cakes are beautiful, look so delicious!